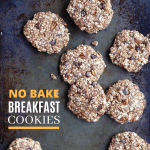
Made with oats and sweetened with dates and a touch of maple syrup, these delicious No Bake Vegan Breakfast Cookies are a quick, healthy breakfast!
Also Featured In
This recipe is also featured in the following vegan recipe roundups:
I wasn't planning on sharing the recipe for these No Bake Vegan Breakfast Cookies so soon on the blog, but after showing them multiple times on my Instagram feed and stories, I knew I needed I bump them up in my posting schedule. I guess breakfast recipes that are easy to make, full of whole food ingredients and pre-made interest more people than just me!
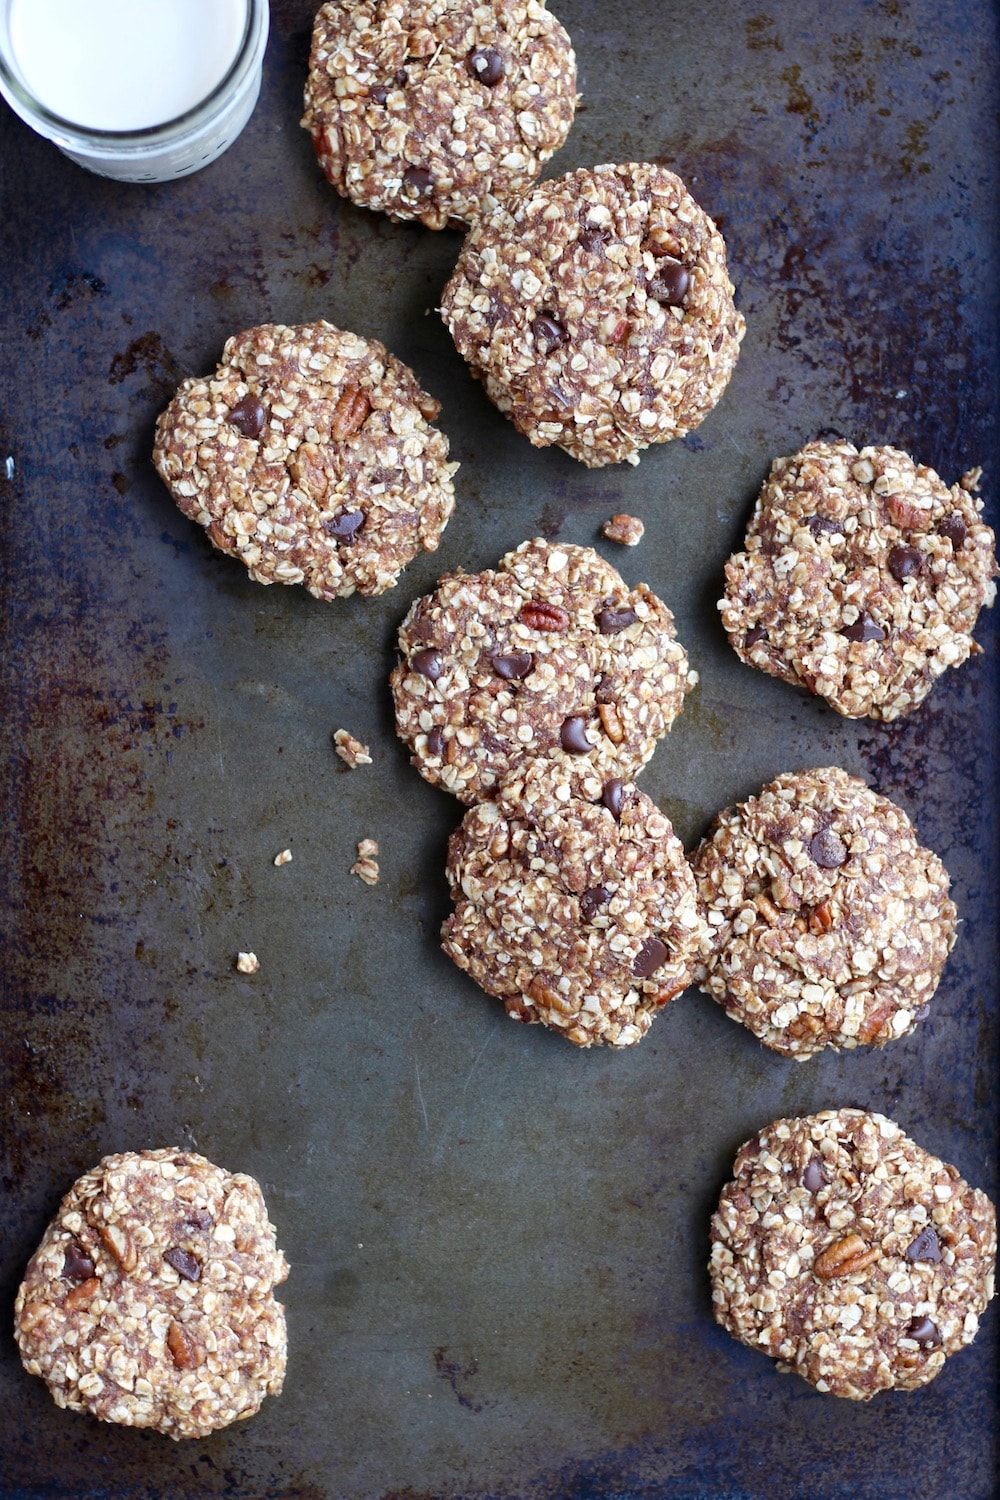
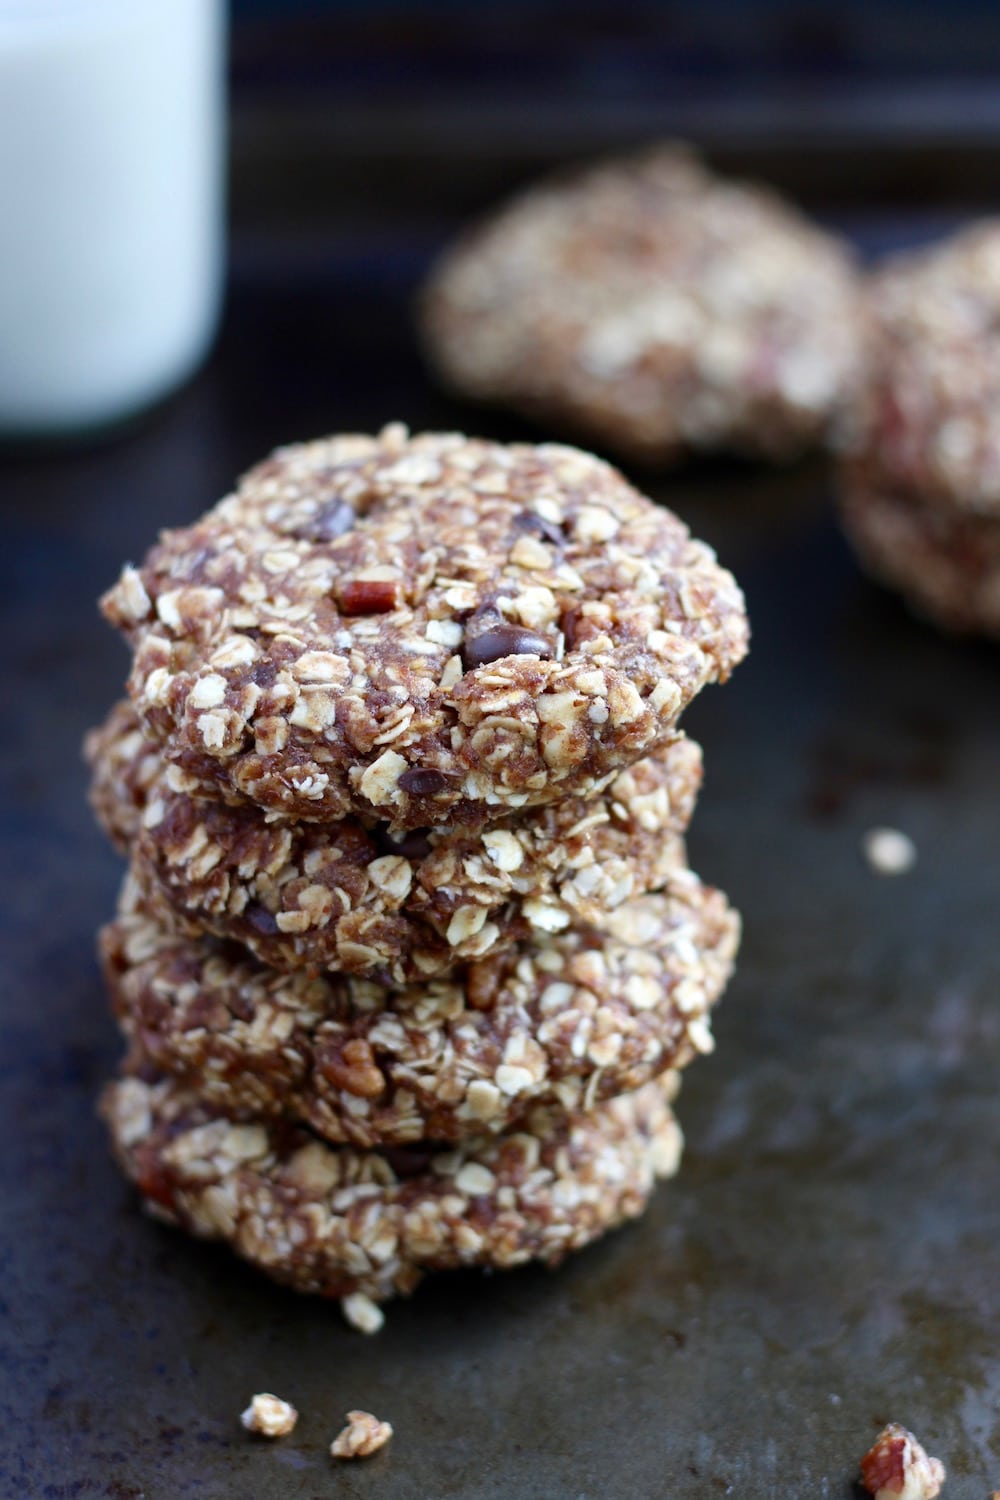
I whipped together these No Bake Vegan Breakfast Cookies a couple of days before we left Houston to start our travels along the east coast. They have come in so handy, not just for breakfast, but also for late night snacks, afternoon pick-me-ups and even airplane meals when in a bind.
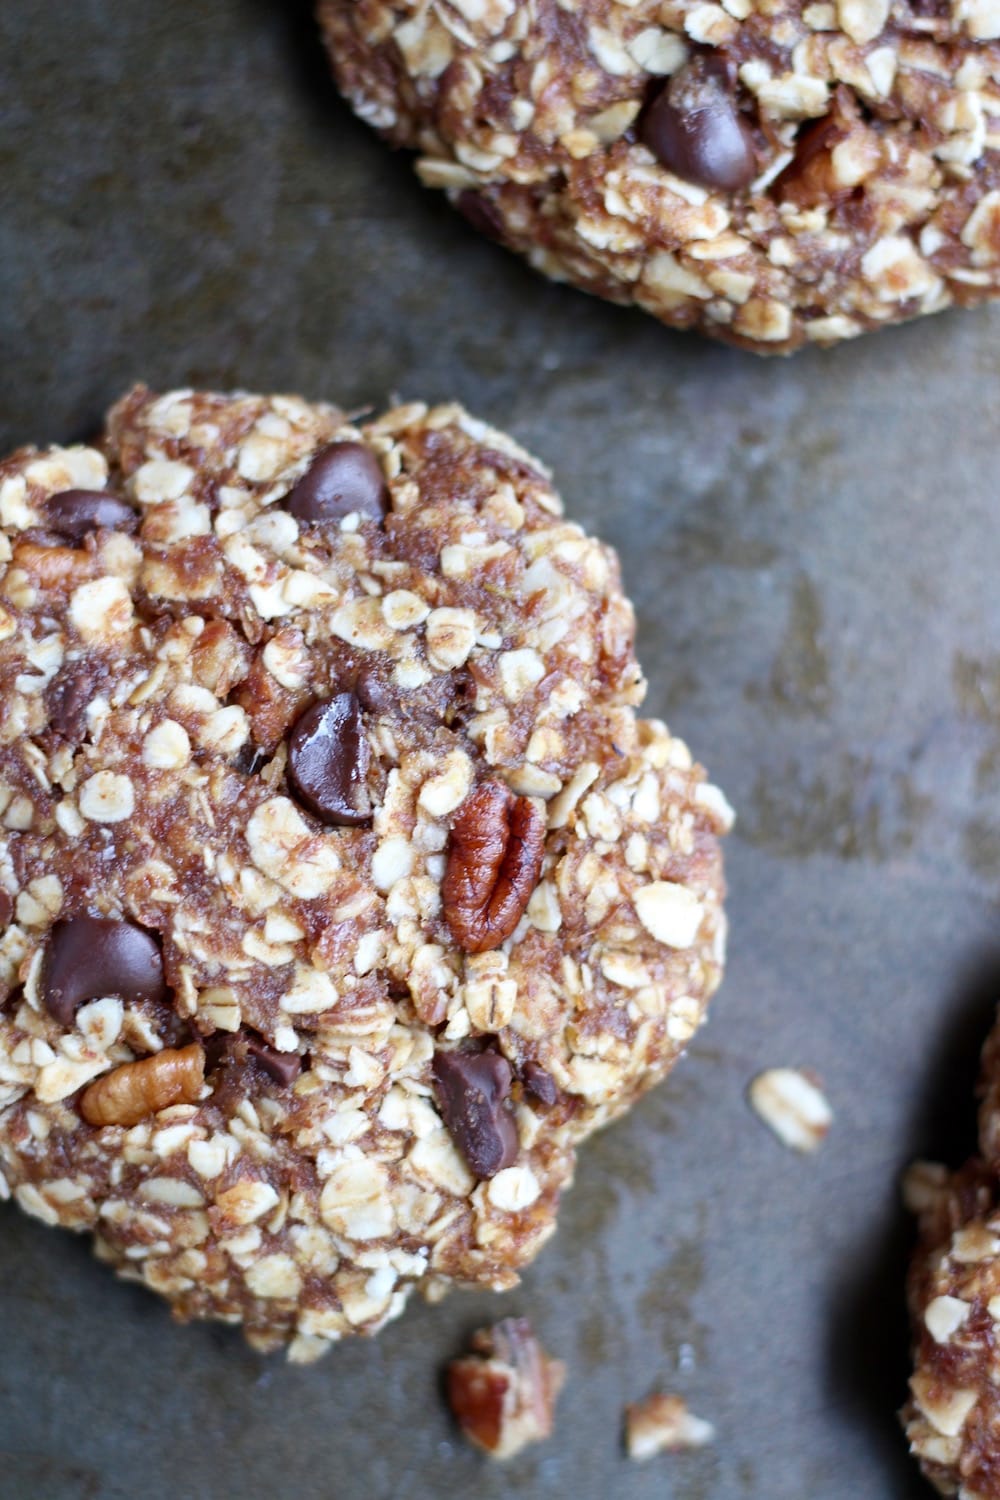
These cookies have all my favorite breakfast ingredients rolled into a cookie-shaped package: whole grain oats, fiber-rich ground flaxseed, healthy fat filled nut butter and decadent chocolate chips. If you aren't big into chocolate for breakfast like I am (don't worry, we can still be friends), than you can swap out the chocolate chips for another kind of add in. You could use raisins, chopped dates, cacao nibs, etc.
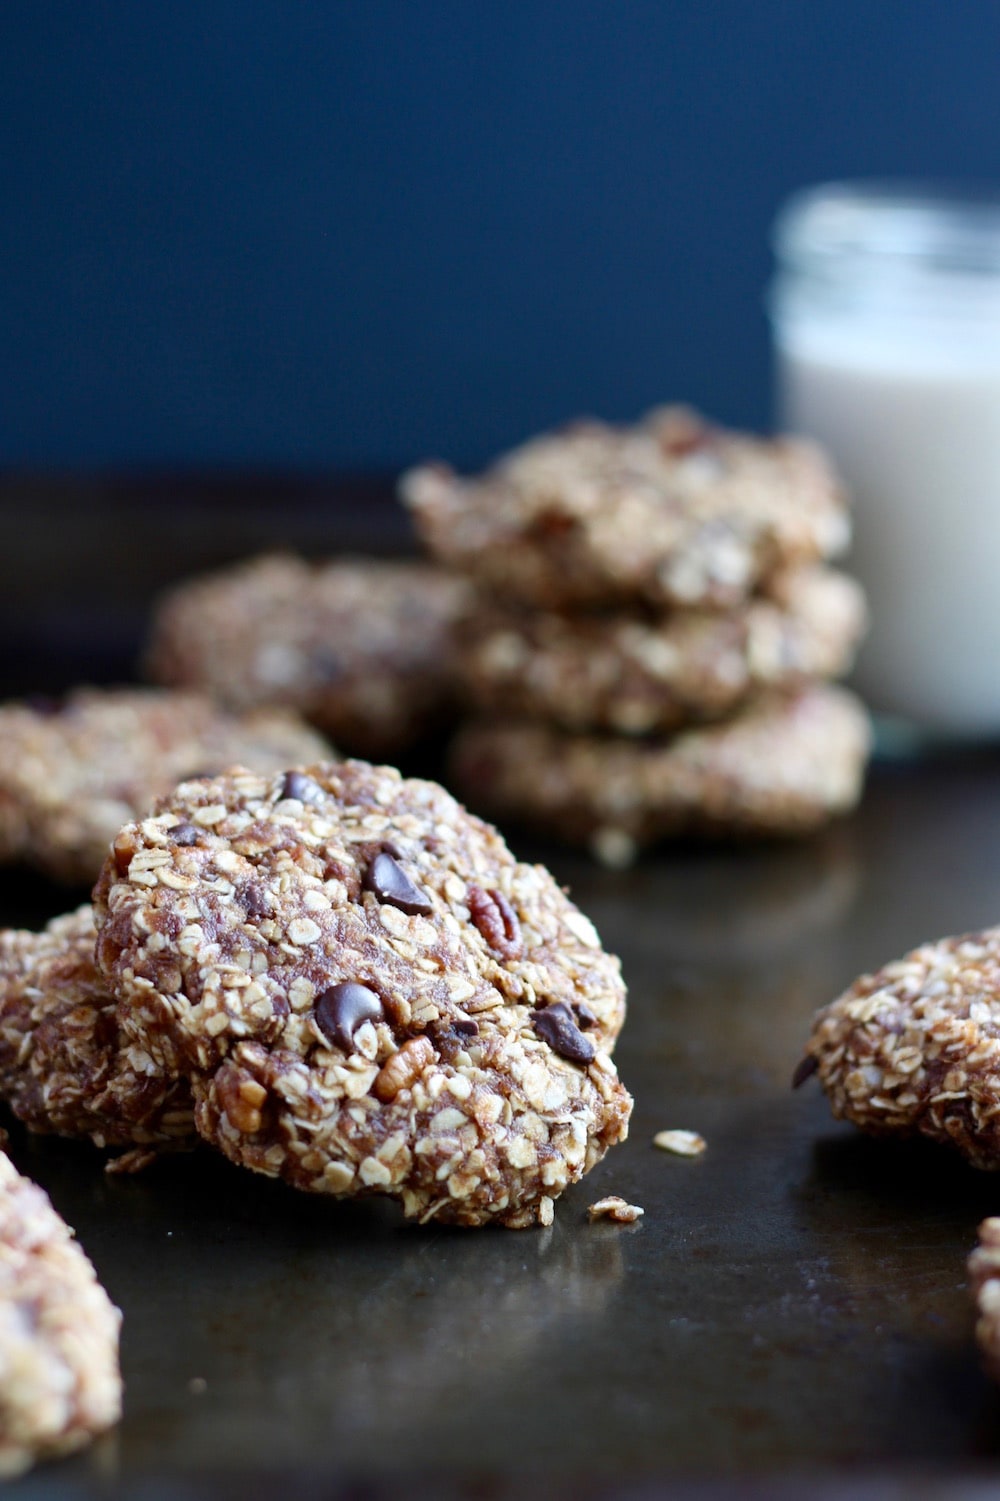
While I love how hearty and nutritious these No Bake Vegan Breakfast Cookies are, one doesn't fill me up for breakfast. I'm the kinda girl with a big morning appetite, so I like to have a couple for a meal or pair one with some fruit or yogurt.
I love to know if you give these simple, No Bake Vegan Breakfast Cookies a try! Leave a comment down below or take a photo of the final product and tag @theconscientiouseater on Instagram so I can see your final creation!
📖 Recipe
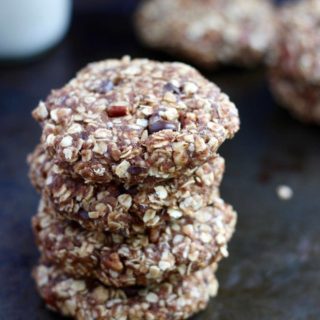
No Bake Vegan Breakfast Cookies
Equipment
Ingredients
- 1 cup (really packed) pitted dates
- 2 cups quick oats*
- ½ cup ground flaxseed
- ¼ cup chopped nuts
- ¼ cup chocolate chips
- 2 tablespoons maple syrup
- ¾ cup nut butter**
Instructions
- Start by placing the pitted dates in a bowl and covering them with boiling water to soak for about 10 minutes. Make sure you check for pits in your dates, even if you buy them already pitted!
- While the dates soak, stir together the dry ingredients in a large mixing bowl, from the ground flaxseed to the chocolate chips.
- Once the dates are soft, drain the water and place the soft dates in a small food processor with the 2 tablespoons of maple syrup. Process until a smooth paste forms.
- Pour the date paste and ¾ cup of nut butter into the mixing bowl with the dry ingredients and stir well until everything combines and a sticky dough forms.
- Take handfuls of dough and form them into cookie shapes. Pack the dough together well.
- Store in an airtight container in the fridge!
Notes
**Use whatever nut butter you like best! I've made these with natural peanut butter and Abby's Better Date Pecan Butter. Both were delicious!



Marie says
I´ve been waiting for this recipe after seeing it on your instagram multiple times. Thank you so much for sharing! I will definitely try this very soon - just need to pick up some dates ! I bet they would freeze ok as well if needed? Or how long would you guess they hold in the fridge?
Faith says
I'm so glad you're excited to try them out Marie! I definitely think they would freeze well. You could just take a couple out of the freezer out of the time to thaw in the fridge overnight so they'd be soft in the morning. In the fridge, mine have lasted over a week! Let me know what you think once you make them!
Marie says
Thank you for the reply and suggestions if I need to/ end up freezing some for later. Good to know that they last a while in the fridge as well !
Faith says
You're so welcome Marie! I hope they come in handy for you!
Erin says
These look and sound so good! How well do they hold up out of the fridge?
Faith says
I’ve traveled with them in a Tupperware after they’ve been in the fridge and they did well! The Tupperware was packed mostly full though, so they didn’t have much space to move around. The tighter you pack them initially, the better they’ll stay together when unrefrigerated. You could also wrap them each individually if you know you’ll need to have them out of the fridge for a long time!