
Follow this non-dairy yogurt recipe to make your own homemade non-dairy yogurt using a crockpot! This easy, affordable method will make you never want to purchase yogurt from the store again!

Jump To
Who knew making homemade yogurt in a crockpot was a thing?! Even non-dairy yogurt! I just learned this a couple of weeks ago.
Now I can't imagine not making my own homemade yogurt!
There are so many reasons I love to make my own yogurt at home - it's cheap, adaptable (I can experiment with all the flavors!) and delicious!
Oh, and did I mention it's cheap? I find non-dairy yogurt to be so expensive at the grocery store and I still don't understand why. The method for making non-dairy yogurt is just like making regular yogurt, except you just use, well, non-dairy yogurt!
If you want to save some money and have fun experimenting in the kitchen, then definitely try making your own homemade yogurt in your crockpot!
Tools for Making Non-Dairy Yogurt in a Crockpot
- Large sauce pan
- Candy thermometer
- Whisk
- Jar and lid that will hold a little more than 1 quart
- Crockpot
- Towels, a couple small ones and a couple big ones
Ingredients for Homemade Non-Dairy Yogurt
- 4 cups of non-dairy milk (1 quart)*
- 2 heaping tablespoons of cornstarch (or other thickener)
- 1 tablespoon of store-bought non-dairy yogurt OR 2-3 tablespoons of the non-dairy yogurt from your previous batch
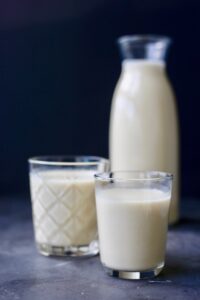
DIY Pro Tip: If possible, make your own non-dairy milk! Check out how to make homemade almond milk here. You can always buy some from the store too. The first time I made my yogurt I used Blue Diamond Almond Breeze.

How to Make Non-Dairy Yogurt in a Crockpot
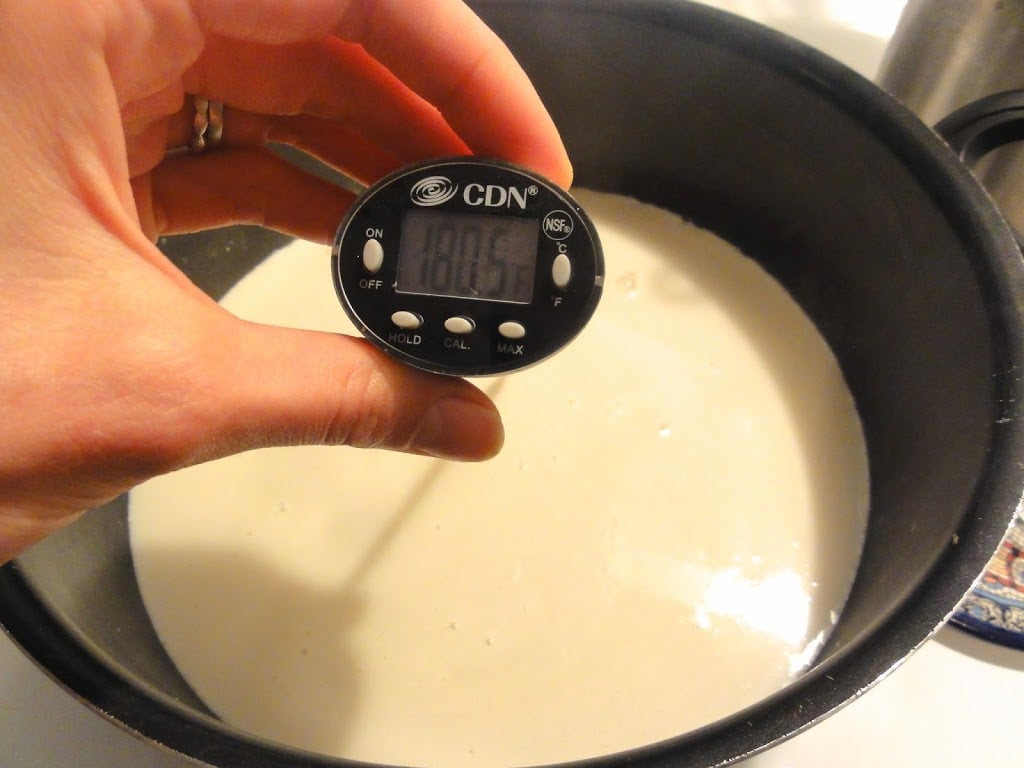
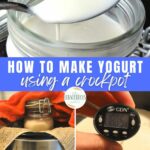
Step 1: Start by pouring the milk into a large saucepan over medium heat and whisking in 2 heaping tablespoons of cornstarch. Make sure you whisk well so that no clumps form.
Step 2: Continue whisking and increasing the heat until your milk reaches 180 degrees. Don't let it boil! Just increase the temperature a little at a time.
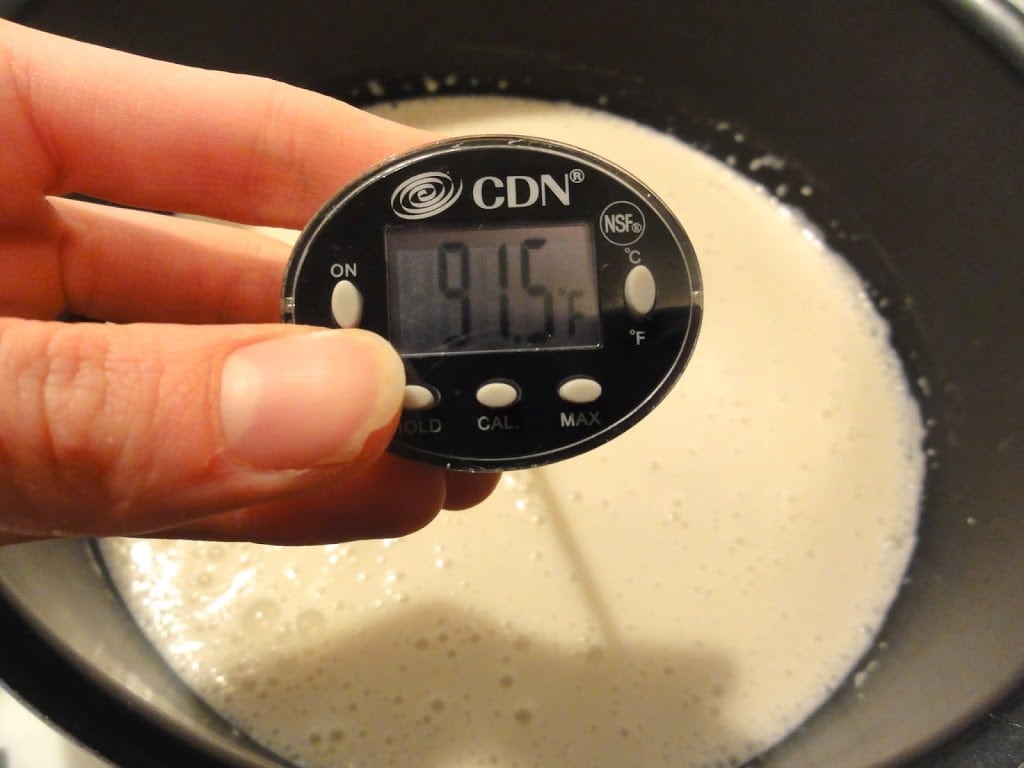
Step 3: Once the milk has reached 180 degrees, take the saucepan off of the heat and let the milk cool, whisking it often. This can take from 1 to 2 hours. Let the milk cool between 90-100 degrees.
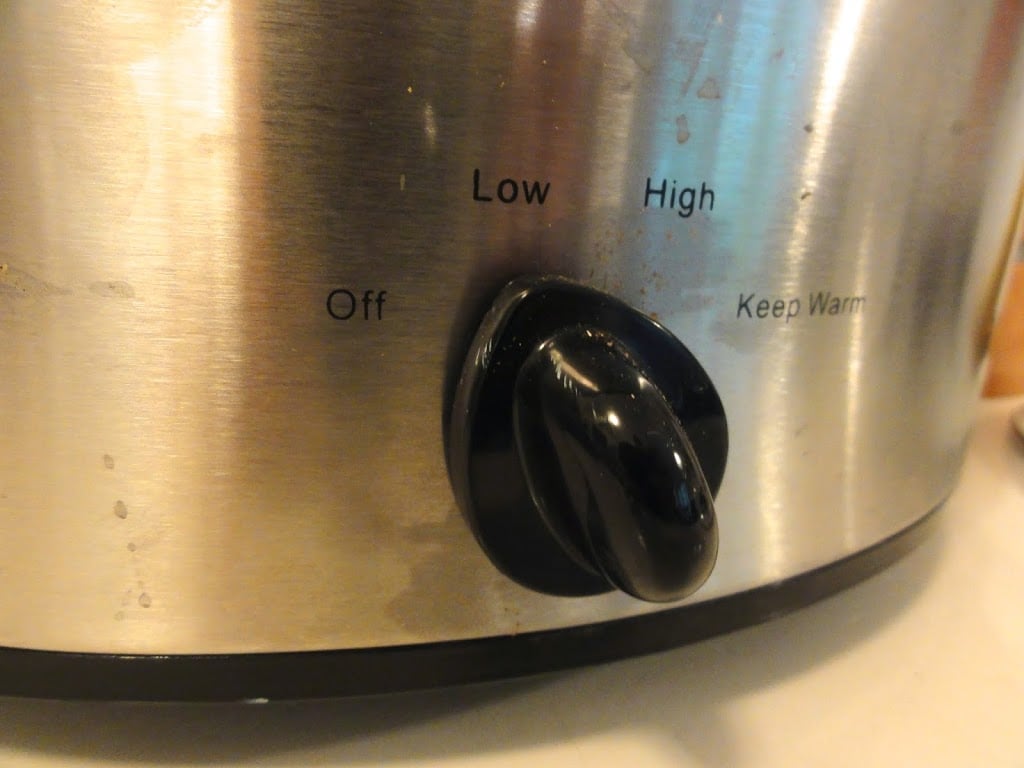
Step 4: While the milk is cooling, place your crockpot in the middle of a large towel and turn it on low. Also at this time remove from the refrigerator either the 1 tablespoon of store-bought yogurt or the 2-3 tablespoons of yogurt from your previous batch of yogurt and let it come to room temperature.
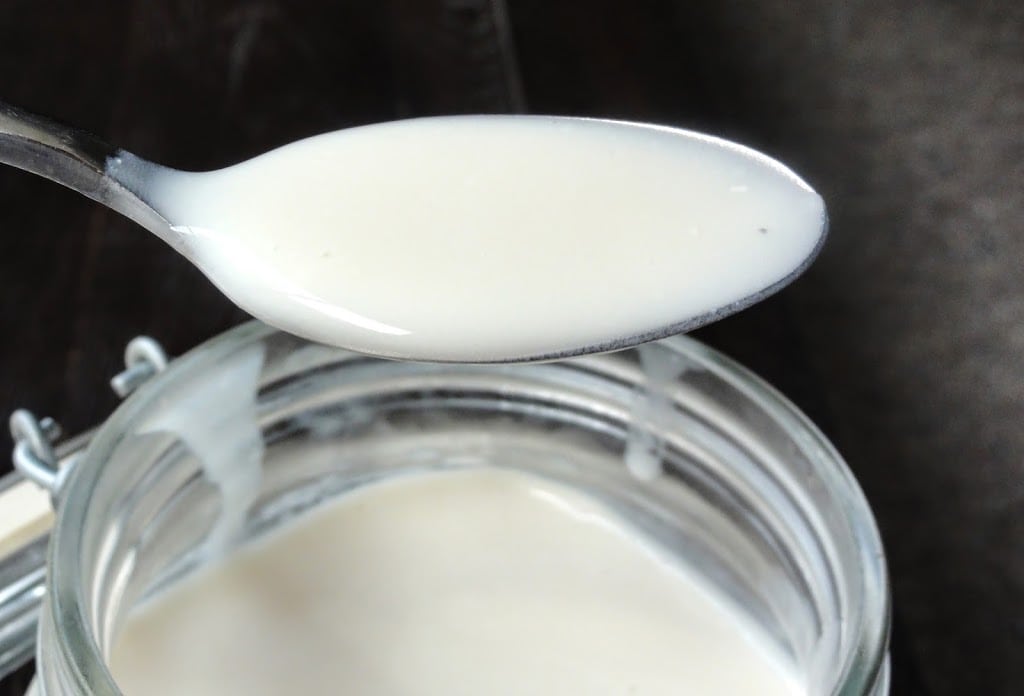
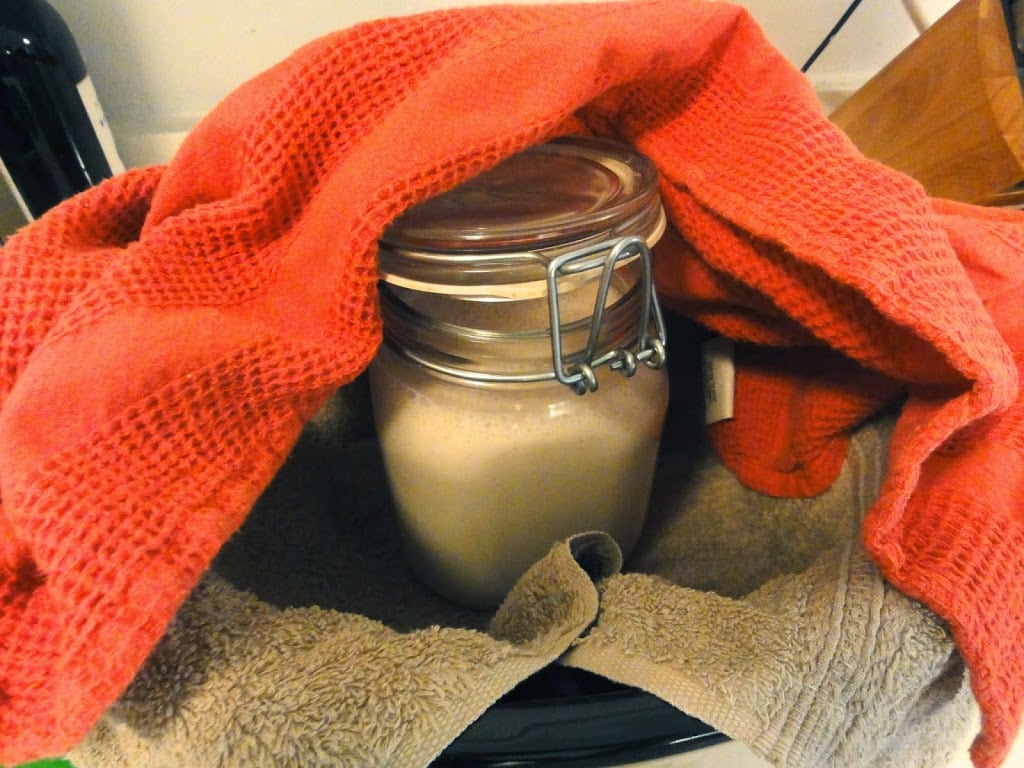
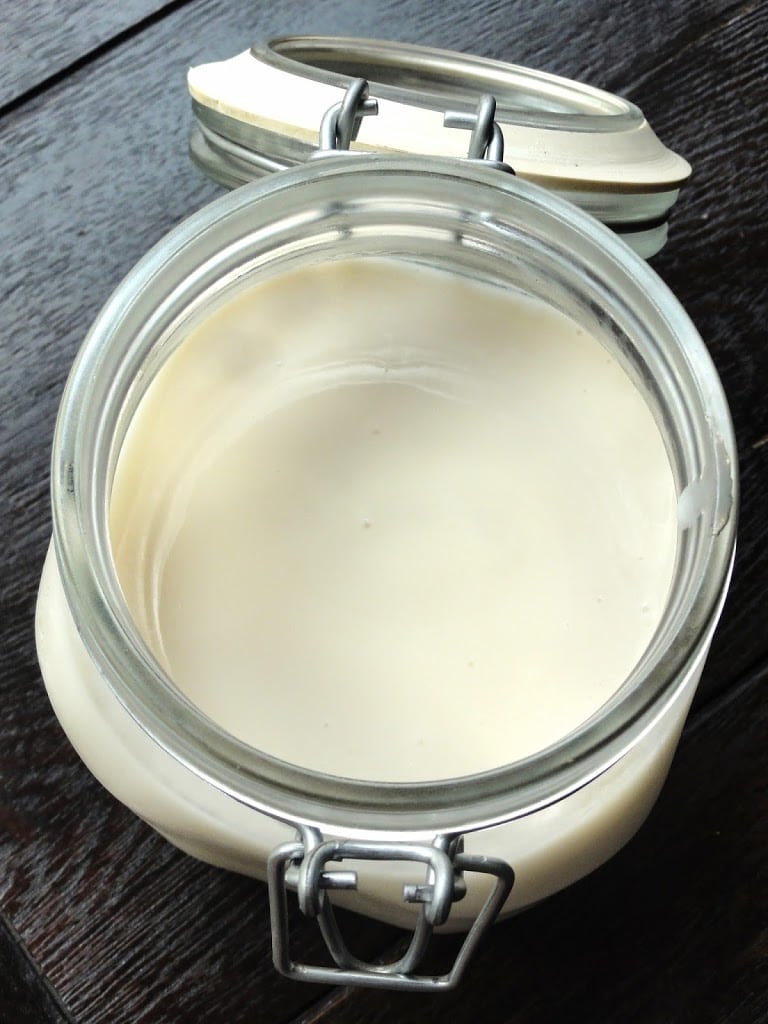
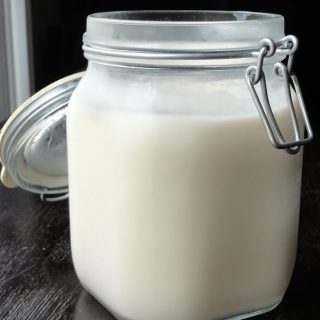
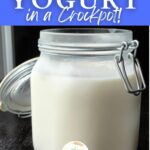
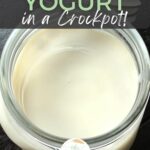
Step 5: Once the milk has cooled to between 90-100 degrees, thoroughly whisk in the 1-3 tablespoons of yogurt. Then pour the entire mixture into your glass jar. Loosely put the lid on top, but don't tighten it.

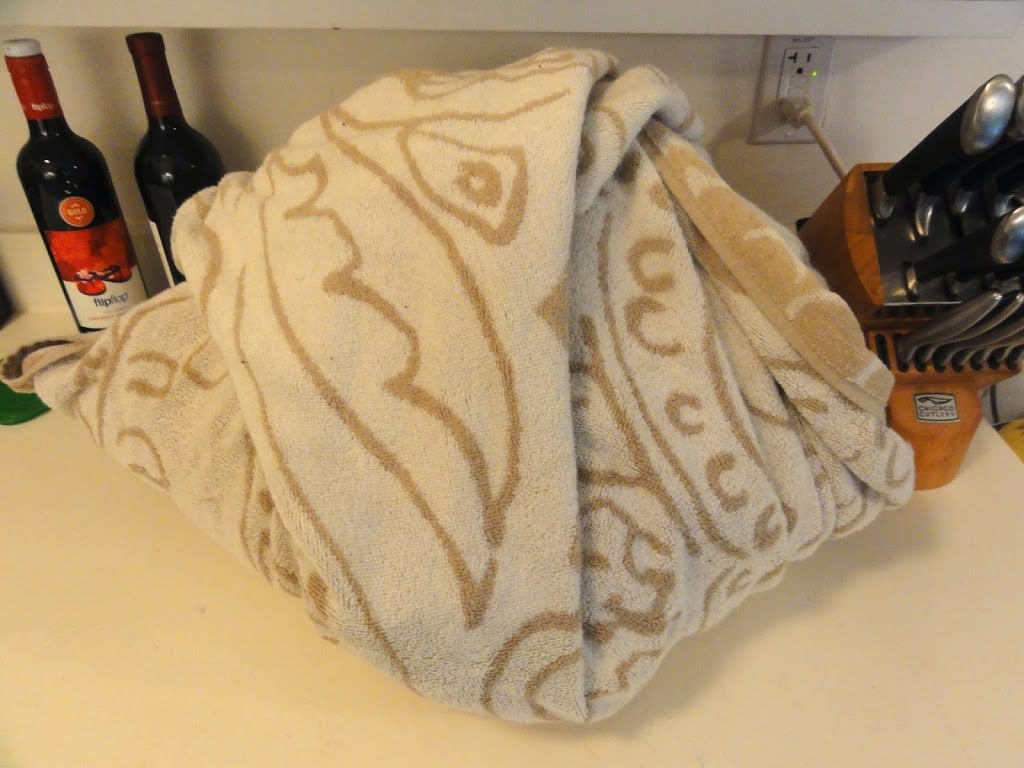
Step 6: Turn off the crockpot and unplug it. Then tightly wrap the jar full of milk in smaller towels and place it in the crockpot. Take the larger towel and wrap the entire crockpot tightly.

Step 7: Let the yogurt "incubate" from 12-18 hours. The longer you let it incubate the more bitter/sour and thicker it will get. It really varies on the type of milk you use and the heat of your crockpot. The first time you make it, start by checking your yogurt at 12 hours. Give it a stir and taste it. If it's not too sour, wrap it back up and let it sit longer (you can even turn on your crockpot for a minute or so to re-heat it.
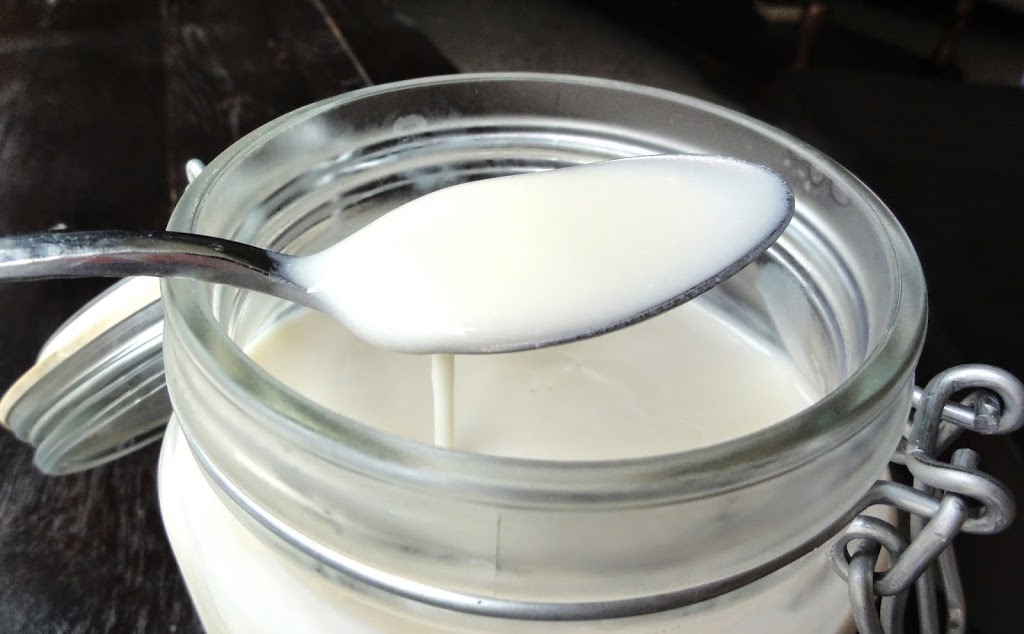
The first time I made this yogurt I let it incubate for 12 hours before I tasted it and ended up letting it go about 15 hours total, checking it every now and then. It was sweet, but a little runny.
The second time I made it, I let it sit for 15 hours before looking at it and it was a bit too sour for me, but a lot thicker. In order to get ride of some of the sourness, I just added some sweetener to it and then it was good to go.
Basically you may need to experiment a little before you get your yogurt to be just how you like it. Also, you may find this homemade yogurt to not be as thick as store-bought yogurt, but there are ways to make it thicker.
Tips for Thickening Homemade Non-Dairy Yogurt
- During step 2 allow your milk to stay heated at 180°F / 82°C for about 20 minutes. This allows some of the moisture in the milk to evaporate, making your yogurt thicker.
- Let it "incubate" longer, but remember this will make it more sour.
- Strain your yogurt from up to 1-2 hours to overnight, depending on how thick you want it. You can use something like cheesecloth on top of a strainer over a bowl.
- Add gelatin or pectin. You'll want to start with a small amount, about 1 teaspoon of thickener per quart of milk. During step 1, whisk 1 teaspoon of thickener into some of the milk in a separate bowl and let it "bloom". Then whisk it into the sauce pan of milk.
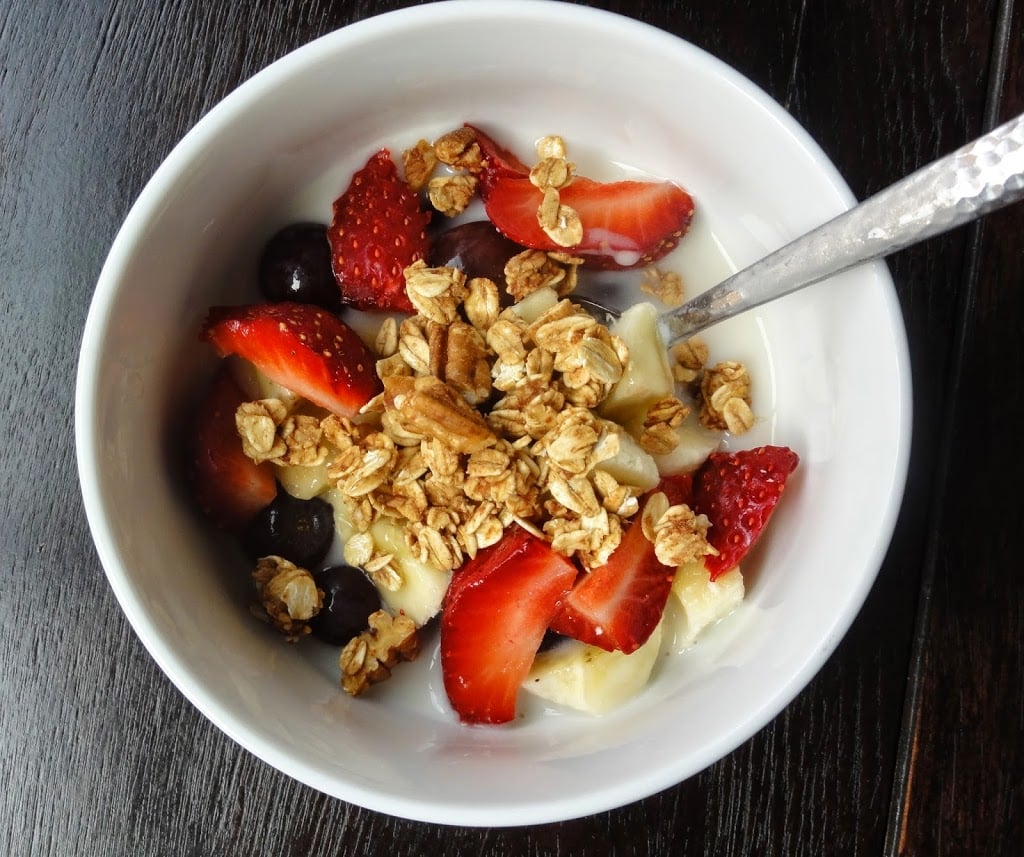
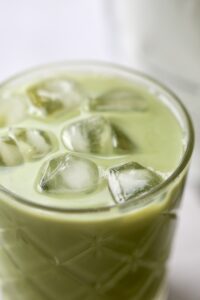
I plan to keep experimenting with this and eventually I want to make flavored yogurt. I'll keep you posted on what I learn! But for now I'm going to enjoy some homemade yogurt with granola and fruit. Yum!
📖 Recipe
Homemade Non-Dairy Yogurt Recipe
Ingredients
- 4 cups of non-dairy milk 1 quart*
- 2 tablespoons (heaping) cornstarch or other thickener
- 1 tablespoon of store-bought non-dairy yogurt OR 2-3 tablespoons of the non-dairy yogurt from your previous batch
Instructions
- (see process shots above) Start by pouring the milk into a large sauce pan over medium heat and whisking in 2 heaping tablespoons of cornstarch. Make sure you whisk well so that no clumps form.
- Continue whisking and increasing the heat until your milk reaches 180 °F. Don't let it boil! Just increase the temperature a little at a time.
- Once the milk has reached 180 °F, take the saucepan off of the heat and let the milk cool, whisking it often. This can take from 1 to 2 hours. Let the milk cool between 90-100 °F.
- While the milk is cooling, place your crockpot in the middle of a large towel and turn it on low. Also at this time remove from the refrigerator either the 1 tablespoon of store-bought yogurt or the 2-3 tablespoons of yogurt from your previous batch of yogurt and let it come to room temperature.
- Once the milk has cooled to between 90-100 °F, thoroughly whisk in the 1-3 tablespoons of yogurt. Then pour the entire mixture into your glass jar. Loosely put the lid on top, but don't tighten it.
- Turn off the crockpot and unplug it. Then tightly wrap the jar full of milk in smaller towels and place it in the crockpot. Take the larger towel and wrap the entire crockpot tightly.
- Let the yogurt "incubate" from 12-18 hours. The longer you let it incubate the more bitter/sour and thicker it will get. It really varies on the type of milk you use and the heat of your crockpot. The first time you make it, start by checking your yogurt at 12 hours. Give it a stir and taste it. If it's not too sour, wrap it back up and let it sit longer (you can even turn on your crockpot for a minute or so to re-heat it.


Mel says
How long will the yogurt keep?
Faith VanderMolen says
I'd say about 1 week. I'd just make sure it always smells normal and doesn't have any mold/weird discolorations.
Monika says
Hi. I'd like to try and make this, but I cannot have cornstarch.
Are there any low-carb thickeners you can recommend?
Thank you.
Faith VanderMolen says
I know arrowroot powder and tapioca starch are substitutes for cornstarch. I haven't tried them in this recipe, but you could give it a try!
Rose A. says
Hi! I often thicken up my homemade nondairy yogurt with a small amount of chia seeds. I've not tried using cornstarch but now I'll give it a try. What nondairy milks have you used and which do you prefer? I'm sure the results vary by milk.
Thanks!
Faith VanderMolen says
Hi Rose! I love the thought of using chia seeds to thicken yogurt. I'm guessing they gel up and add some texture? And I haven't made homemade yogurt in a while, but I find soy milk to be a great milk for things like this. Which do you use?!
Mel says
I discovered today that the "plain" coconut yogurt I purchased has sugar in it! Very happy I had bookmarked this recipe. I have 2 questions: Can you make half of the recipe? How long will it keep in the frig?
Looking forward to trying it!
Faith VanderMolen says
Hi Mel! I'm glad you found my recipe as well! If you halve the recipe, it may get too thick? I'm not sure though! And I'd say this yogurt lasts about 5-7 days. You just need to smell it to make sure it hasn't gone off!
Karen O'Connor says
Can this be made in a yogurt maker that can be set for a specific time and temperature?
Faith VanderMolen says
Yes, that should work! In fact, that's preferable! I hope it works out for you:)
Carollynn says
Although the the title of this recipe is non dairy yogurt, you refer to yourself as "going vegan".
Then you go on to recommended adding gelatin, as an alternative to cornstarch, as a thickener.
I have found that many folks who are inexperienced in cooking, vegetarianism and veganism are unaware that gelatin is made from animals, usually bovine (cow) origin.
It's misleading and contradictory that you include its use here.
Faith VanderMolen says
I'll add a clarifier that if you aren't vegan you can use gelatin. Thanks for making me aware of the confusion!
Carollynn says
Gelatin isn't suitable for vegetarians either. It isn't a dairy product - - it's animal collagen made from the boiling hydrolysis of bones, hides, tendons, liganents and other connective tissues. Thank you so much for informing your subscribers !!!
Faith VanderMolen says
You're very right! I forgot to add that, but will edit it now. Thanks Carollynn!