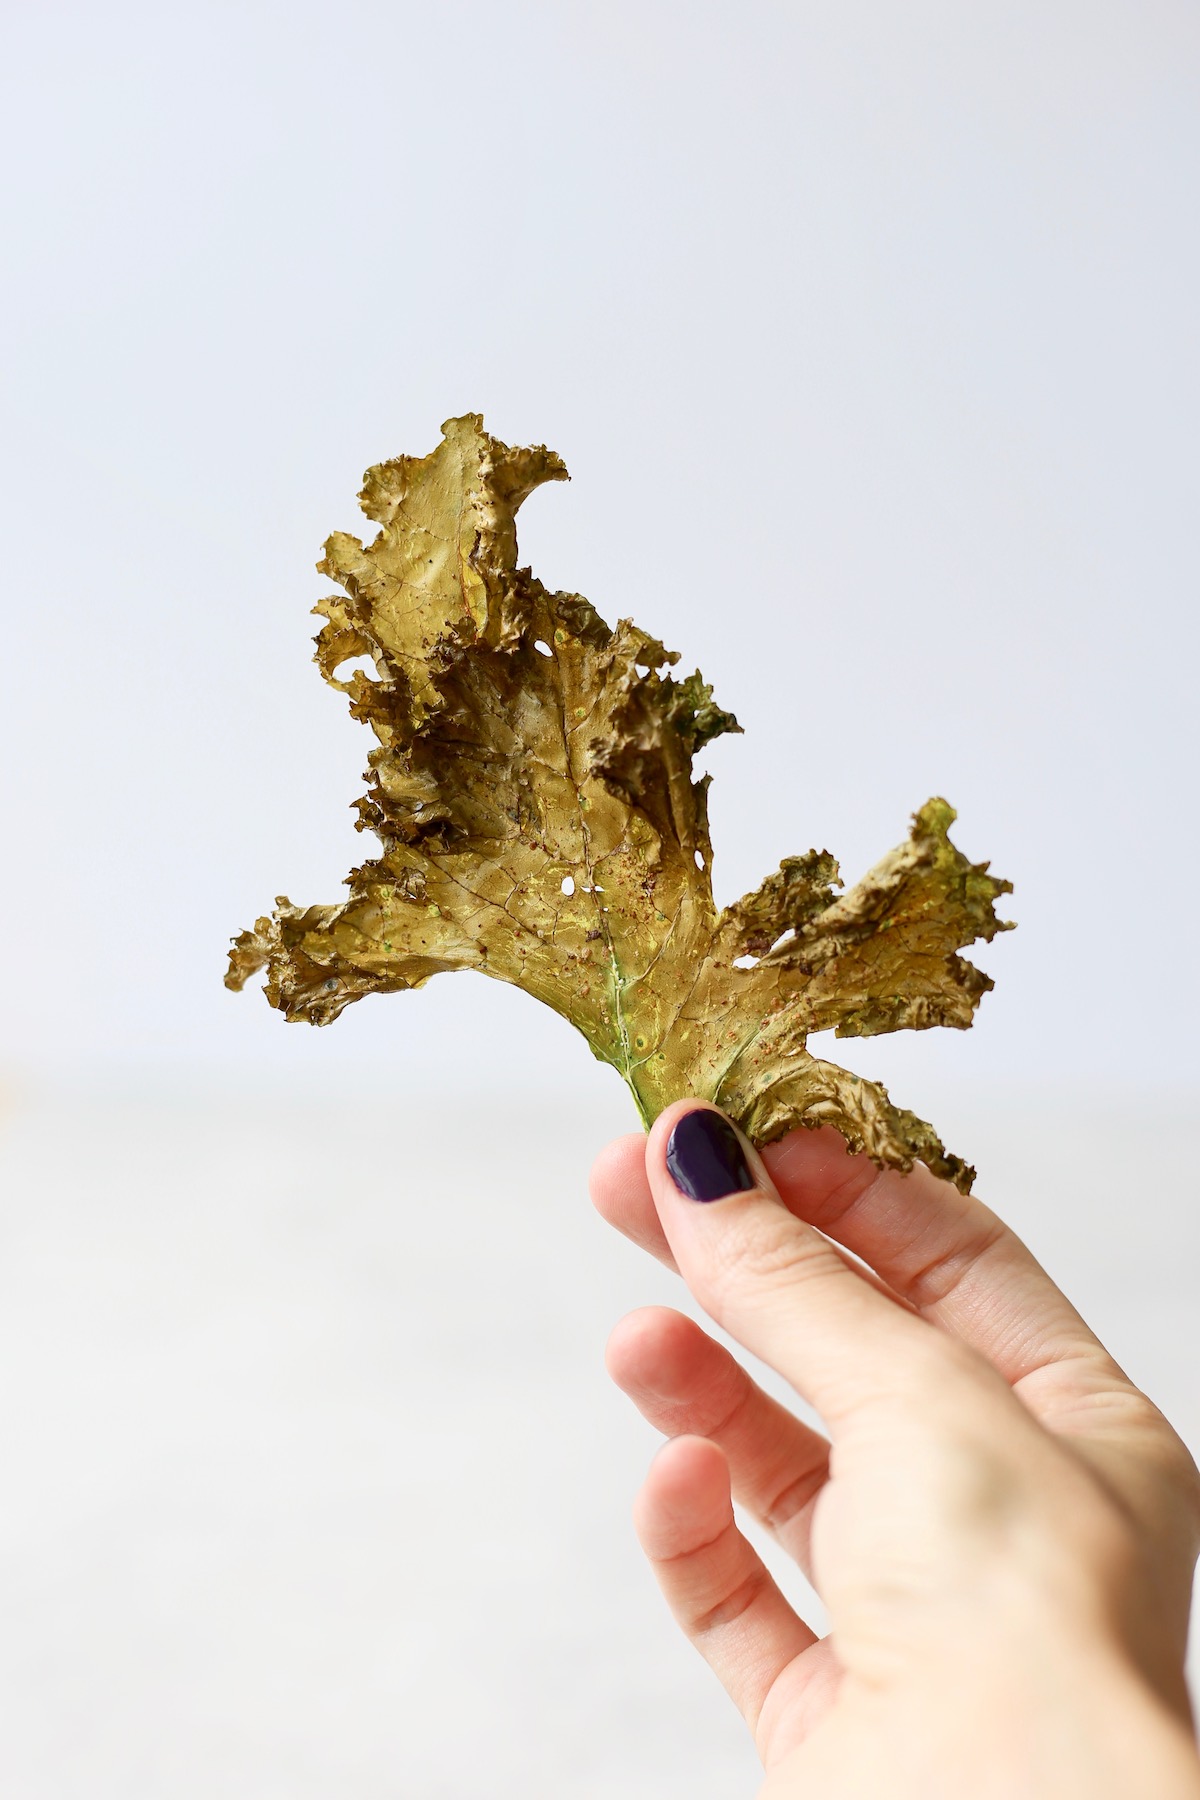
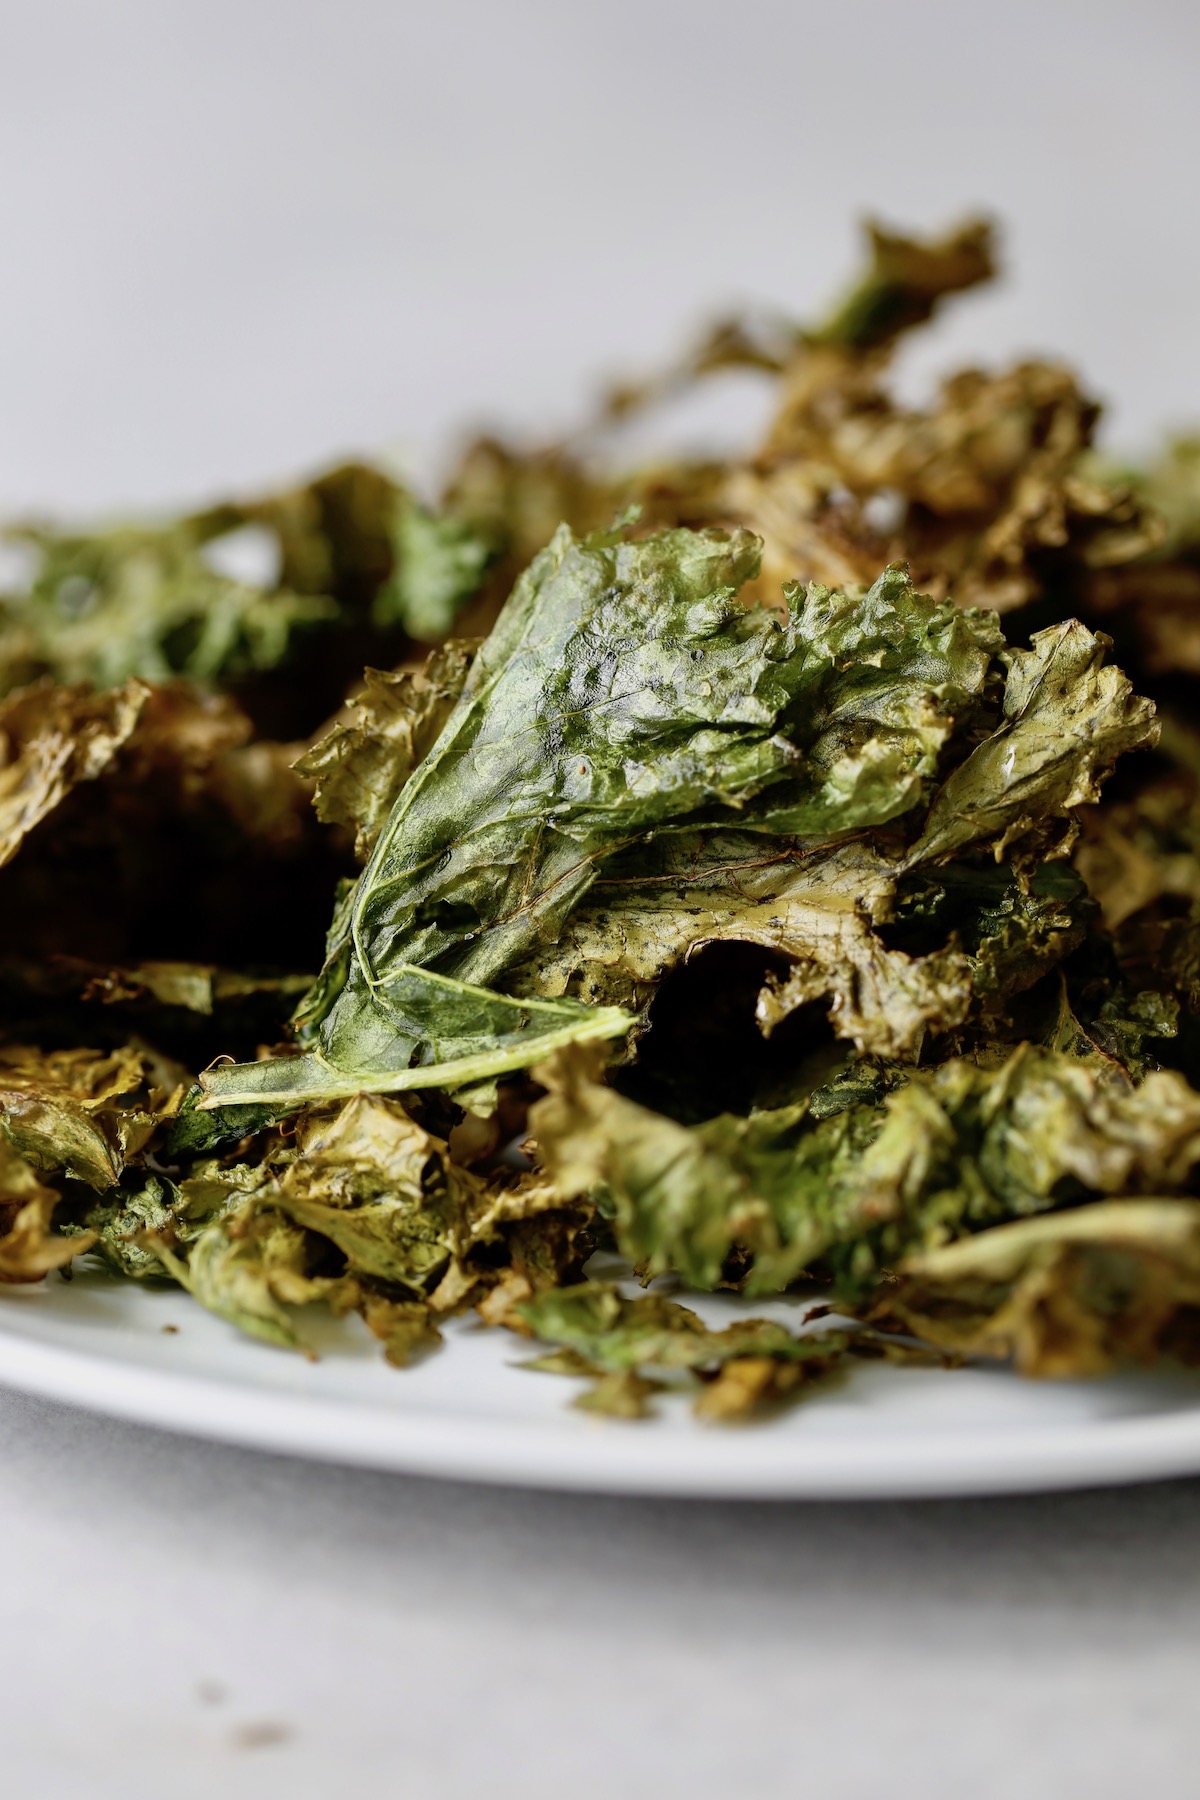
You'll want to have kale every day once you discover how to make kale chips at home! They're crispy, salty and melt in your mouth. Eating your greens will never be easier!
Jump To
Also Featured In
This recipe is also featured in the following vegan recipe roundups:
While I love chocolate, I love eating veggies just as much!
In the past, eating vegetables meant having a green leaf salad with some carrots, cucumber and store-bought dressing drizzled on top.
Now, I enjoy a wide variety of vegetables, cooked in a variety of ways.
While eating kale raw (like in this Quinoa, Kale and Squash Salad) is a great way to get in your greens, my current favorite obsession is baked kale chips.
You guys. If you've never baked your kale, you're in for a real treat!
What are kale chips?
Companies are sneaking veggie powders into all kinds of processed foods these days. So while you may think kale chips are green, store-bought chips with a little kale powder snuck into them, think again!
Real kale chips are just...kale!
But baked.
Yes, you can turn kale leaves into crispy, melt-in-your-mouth chips, simply by baking them in a little oil and salt.
I'll show you how to do it below!
Ingredients
Like I mentioned above, making kale chips at home really only requires three ingredients, which I'll list out below:
- Kale
- Oil
- Salt
Yes, you can get more creative using a variety of spices and even sauces, but for simple chips that's all you need.
Best type of kale for making homemade kale chips
There are three more common types of kale:
- Curly Kale
- Tuscan Kale
- Russian Red Kale.
I personally love to use curly kale as it is hearty and has lots of creases and crevices to make for a crispy, delicious chip. It's also readily available at most local grocery stores (which is a huge plus).
6 tips for making kale chips
Kale chips are so easy to make and you can easily get creative when making them. However, there are a few things to keep in mind when trying to create super crispy, delicious kale chips.
- Use curly kale. All the creases and crevices make for the best kale chips!
- Dry your kale thoroughly. If your kale is wet in any way, it won't crisp up, but instead will steam. To get crispy kale, you need to make sure your kale leaves are super dry!
- Don't overcrowd your baking sheets. Just like you need your kale chips to be dry in order for them to become crispy, you also need to give them lots of space on the baking sheet so that they have room to breath.
- Add oil. While you don't have to use a lot, you need to add a little bit of oil in order to get nice and crispy kale chips.
- Experiment with spices. I personally love to use garlic salt when making homemade kale chips, but you can definitely bump up the flavor by using different, bolder spices!
- Watch them closely. Kale chips can burn easily, especially ones that are smaller in size, so be sure to watch them closely towards the end of the baking time.
If you follow all of these top tips, you'll most likely end up with some delicious kale chips!
How to make kale chips (step-by-step)
Below I'll share step-by-step instructions on how to make your very own kale chips.
Step 1: Preheat your oven to 400°F / 205°C and line 2 baking sheets with silicone baking mats or spray them with cooking spray. De-stem the kale by pulling the leaves off the stems.
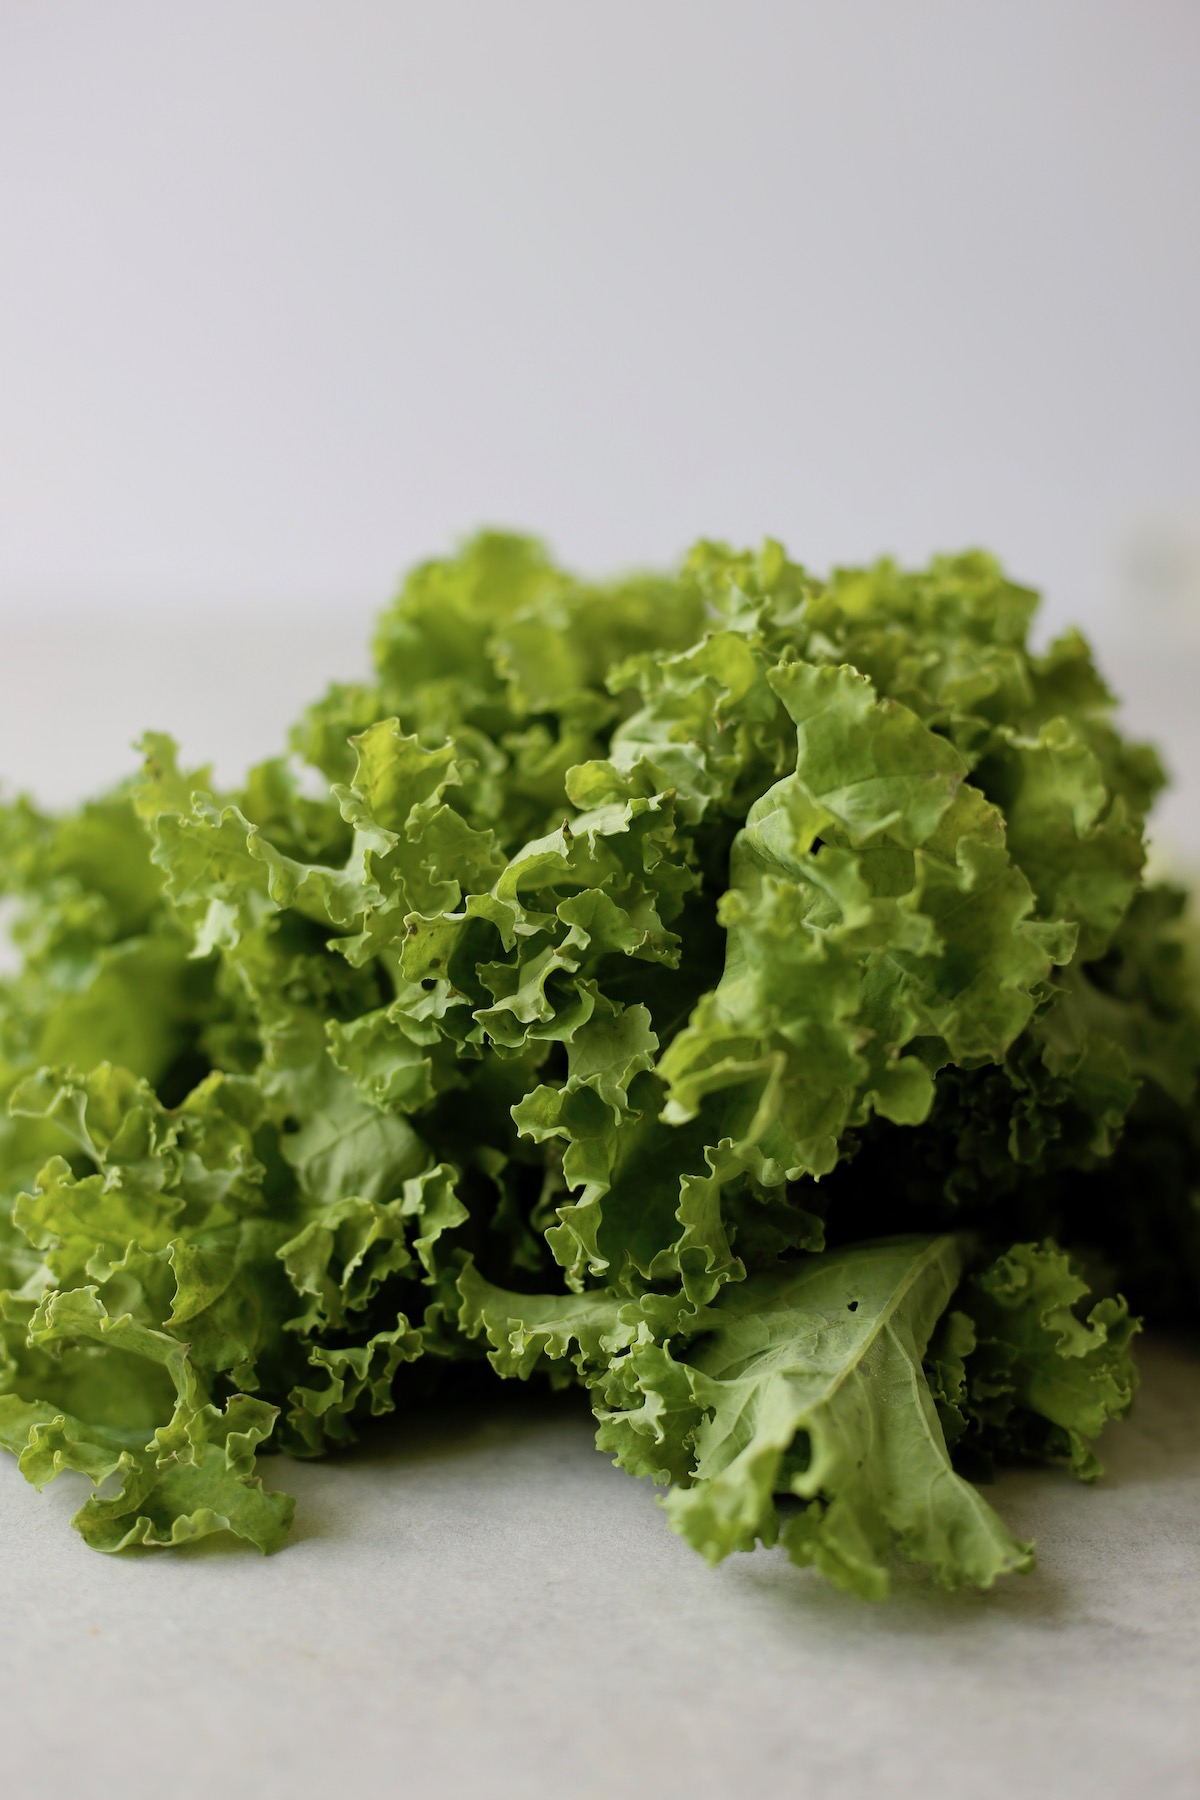
Step 2: If your kale isn't organic, wash the leaves and then dry them as much as possible with a tea towel. Your kale won't get crispy if it's wet! If you are using organic kale, I often just look for dirt and bugs. If the leaves are clean I honestly just leave them as is so that they are as dry as possible!
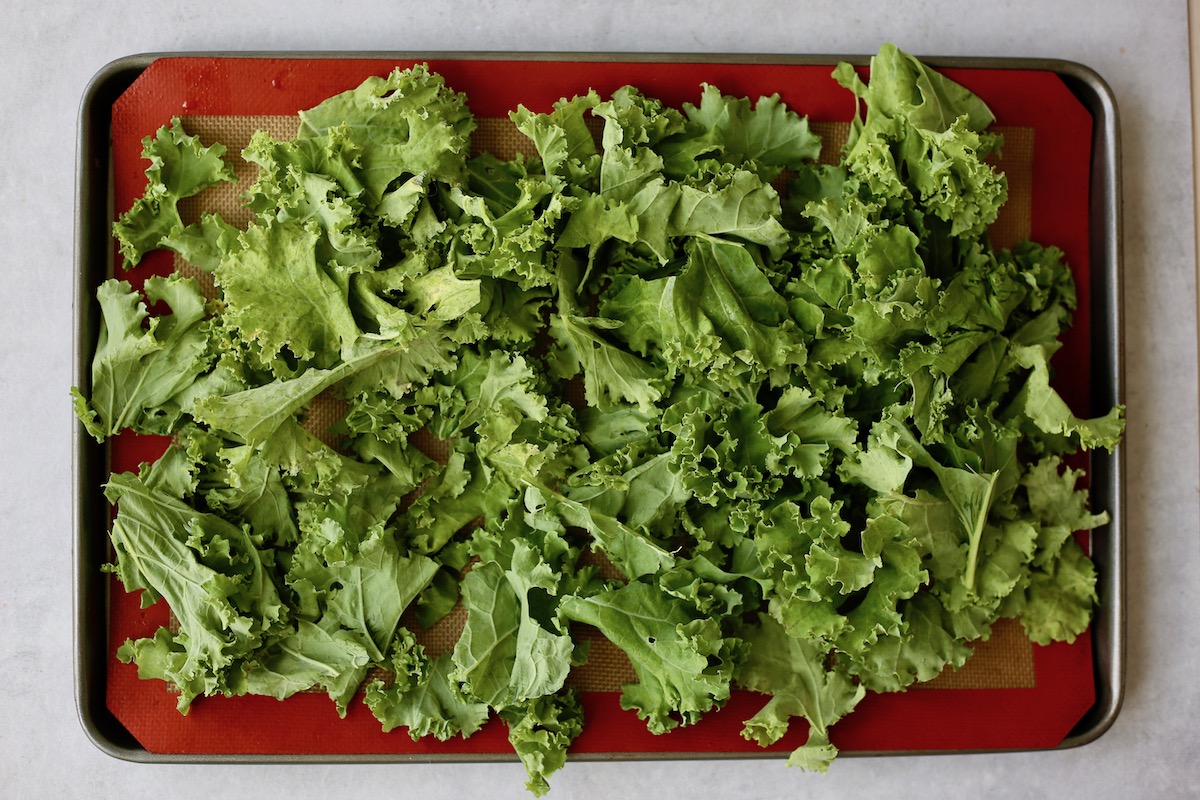
Step 3: Place the dried leaves into a large mixing bowl and drizzle a little olive oil over the top of the kale leaves. Use your hands to gently massage the oil onto all of the leaves so that every leaf has been lightly coated. Rip any larger leaves into smaller pieces.
Step 4: Spread the leaves out into a single layer so that there aren't any leaves on top of each other. You may not be able to fit all of the kale on two baking sheets. If that's the case, cook them in multiple batches or use the remaining kale in a salad, etc. Sprinkle the oil-coated kale with a little sea salt or, my personal favorite, garlic salt!
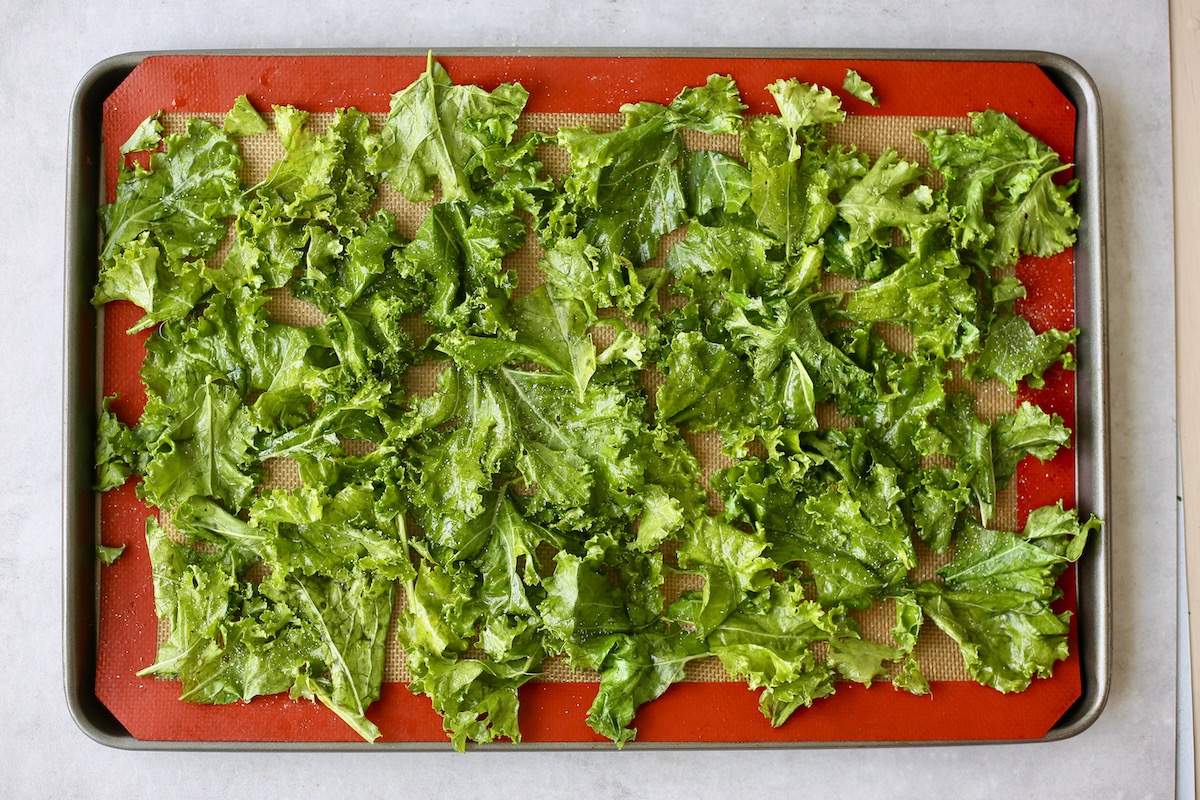
Step 5: Bake the kale at 400°F / 205°C for 10-15 minutes or until slightly brown and crispy. The pieces of kale can burn quickly so keep an eye on them towards the end as every oven varies!
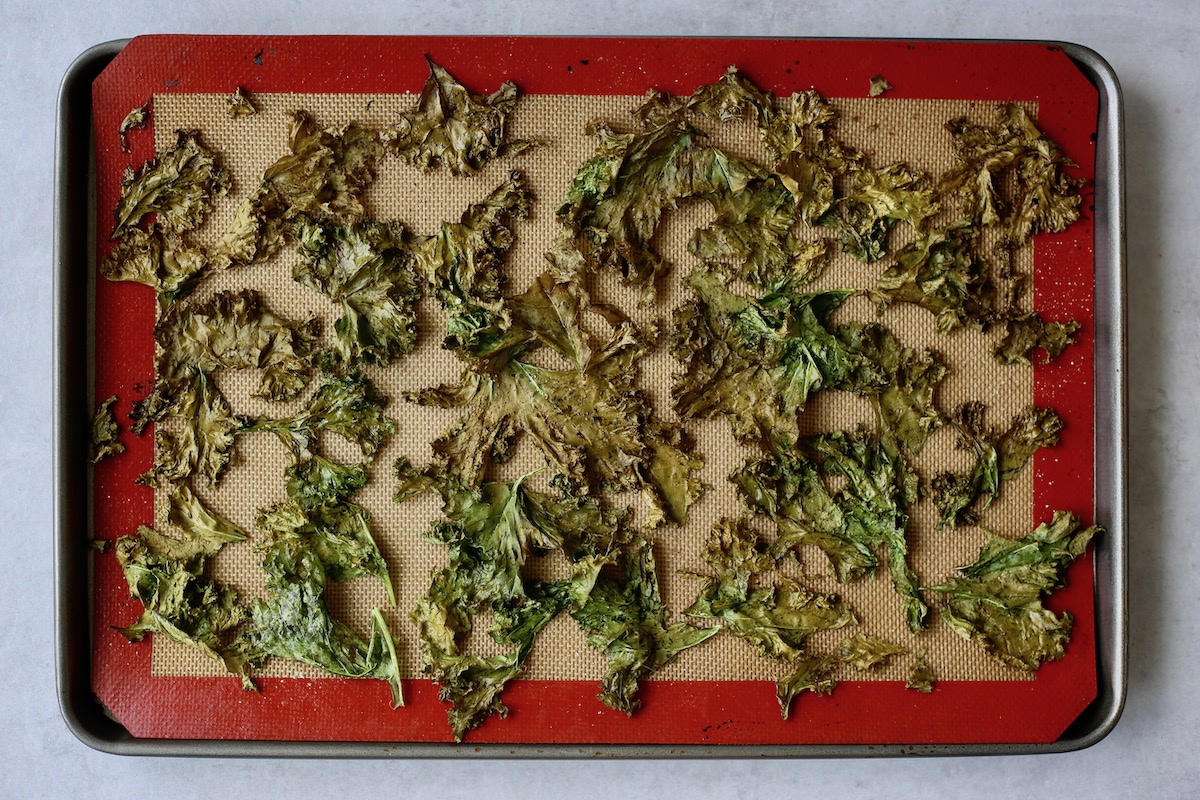
Step 6: Allow the chips to cool a little before enjoying. They taste best and are crispiest just after baking.
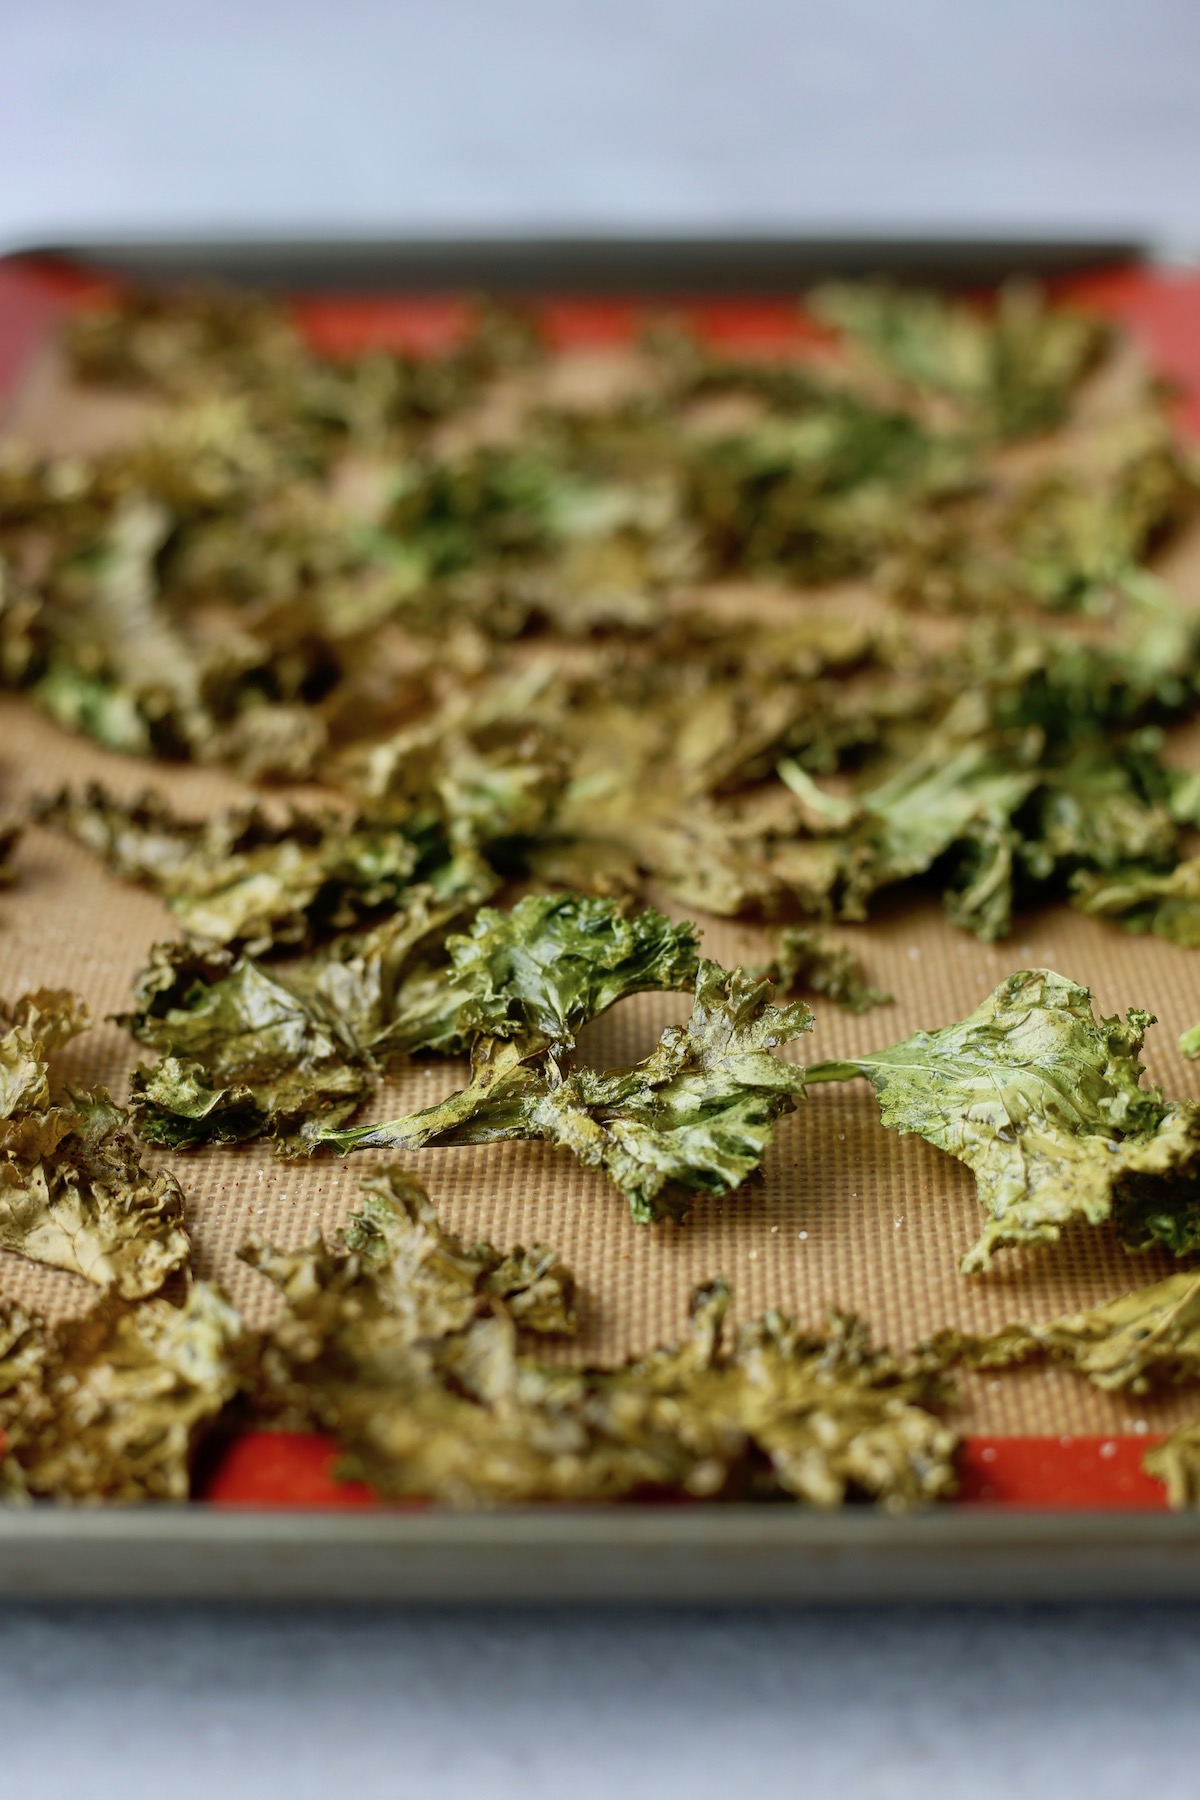
Once I learned how easy it is to make homemade kale chips this way, I went overboard making them almost every day!
Eventually... I toned it down.
But don't say I didn't warn you!
Storage
In my opinion, kale chips are crispiest and taste the best immediately after baking.
However, if you have leftovers, my recommendation is to store them in an air-tight container at room temperature for 1-2 days. They will lose their crispiness, but will still taste delicious.
Alternatively, you can also store them in an air-tight container in the fridge, but they will definitely wilt. If you do that, you could use them in a salad or stir them into a stew.
📖 Recipe

How to Make Kale Chips
Ingredients
- 1 head curly kale stems removed
- ½ tablespoon olive oil
- Salt or garlic salt! to taste
Instructions
- Preheat your oven to 400 °F and line two baking sheets with silicone baking mats or spray them well with cooking spray.
- De-stem your kale by pulling the leaves off the stems. If needed, wash the leaves and dry them thoroughly with a tea towel. The leaves have to be dry in order for them to get crispy!
- Place the leaves into a large mixing bowl and drizzle over a little bit of olive oil. Massage the oil into the leaves so that each leaf is lightly coated in oil. While you massage the leaves, rip any larger leaves into smaller pieces.
- Spread the leaves out onto your lined baking sheets, making sure they are in a single layer and not on top of each other. If you have too many leaves, you can always bake them in multiple batches.
- Sprinkle the leaves with salt or garlic salt (or whatever spices you desire) and bake them for 10-15 minutes, watching carefully towards the end to keep them from burning.
- Remove the chips from the oven and allow them to cool slightly before enjoying! They taste best and are crispiest when eaten soon after baking.




Sharri Meeks says
Really good! Much healthier than store bought and easy to make.
Faith VanderMolen says
I'm so glad you liked these Sharri! Thanks for sharing!