Save tons of money and still enjoy your favorite drink by learning how to make Kombucha at home with this easy step-by-step process and video demonstration.
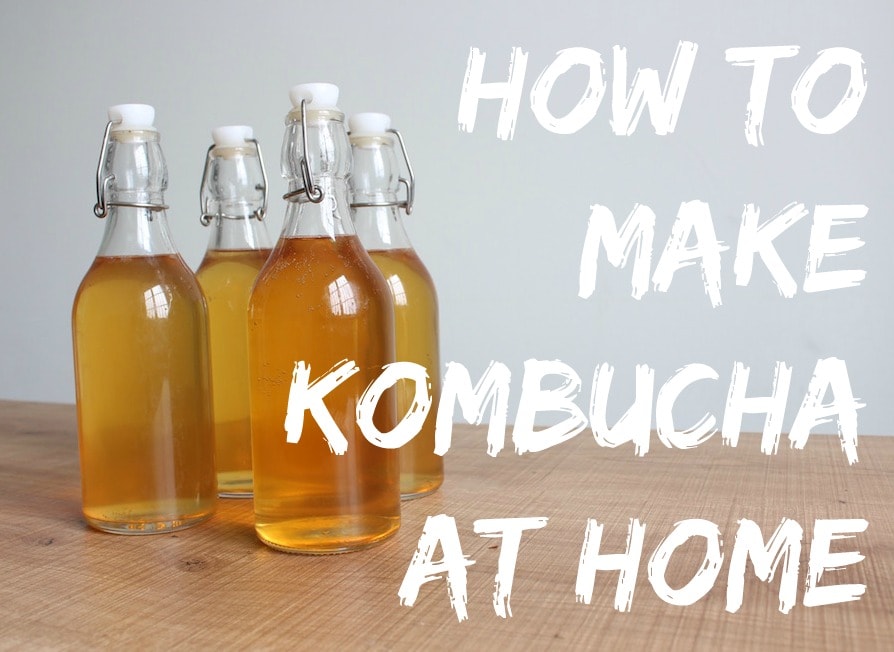
Oh Kombucha.
You're so delicious.
You're so expensive.
And you're so intimidating!
At least these are the three things that used to come to my mind when I thought about Kombucha. When I lived in America, I drank Kombucha only as a special treat. Actually, now that I think about it, I feel like I only drank Kombucha when Brett and I were staying at his parent's house during the season when we were "homeless" right before we moved to China. I'm guessing that was only because I had their credit card in hand. Sorry Mama! But trust me, it was only like once every 2 weeks:)
Anyways, Kombucha was a drink I loved, but it was too expensive for me to justify drinking 1 every day. When we moved to China, however, I felt like Kombucha would be a good drink to have on hand when we faced tummy troubles from all the spicy, oily Chinese food. I took the plunge and decided to buy a Kombucha making kit to help me get started once we got settled into our new home in China.
While I'm so glad I got the kit, mainly because it actually got me to start making Kombucha and not feel so intimidated, I have come to find that a kit is completely unnecessary and that Kombucha is SO simple to make. So today I'm going to show you how to make Kombucha at home...the easy way!
I personally would have loved someone to teach me how to make Kombucha in person, so I decided to make a video showing you how I do it. In the past month I've shown 3 different people how to make Kombucha, so I hope this video will help even more people! If you don't want to watch the video, feel free to read the directions below.
📖 Recipe

How to Make Homemade Kombucha
Ingredients
- Lots of purified water
- 3-4 black tea bags
- 1 cup sugar
- 1 mother scoby
- 1 cup of store-bought or homemade Kombucha from your previous batch
UTENSILS
- 1 gallon glass jar
- Spatula
- A thermometer optional
- A mesh cloth and rubber band
- Funnel optional
- 6 spring top bottles optional
Instructions
- Before you start, make sure your utensils are clean and don't contain any leftover soap. I actually don't use soap to wash my utensils, but just rinse everything with hot water.
- In a small sauce pan bring 4 cups of water to a boil on the stove. Once boiling turn off the heat.
- Add 3-4 black tea bags into the just boiled water and allow the bags to steep for about 5 minutes.
- After 5 minutes remove the tea bags and add in 1 cup of sugar. Stir the sugar in the hot water until the sugar completely dissolves.
- Once the sugar dissolves pour the sugar tea into your clean 1 gallon glass jar.
- Into the same 1 gallon glass jar with the sugar tea, add in cold purified water until the jar is almost full but has about 2-3 inches of air in the top.
- Allow the liquid to cool to below 88 degrees. If you don't have a thermometer, just wait about 20 minutes or so to allow the tea to cool down.
- Once cooled down to about 88 degrees or less, use rinsed hands to add in your scoby and about 1 cup of store-bought or homemade kombucha from your previous batch.
- Give everything one gentle stir with a clean spoon or spatula.
- Cover the top of the jar with a mesh cloth so that the tea can breath but bugs can't get in.
- Store the glass jar/kombucha in a dry, cool place away from direct sunlight.
- Allow the Kombucha to brew for about 6-7 days. After 6 days, use a clean spoon to give your kombucha a taste test to see if it has the right balance of sweetness and vinegar taste. If it's too sweet, allow it to ferment another day or two. If it's too vinegary...check it sooner next time or add in fruit juice when you bottle it up!
TO BOTTLE:
- If you like the taste of your kombucha after 6-7 days, it's time to bottle it up. Remove the scoby with clean hands and reserve about 1 cup of kombucha for your next batch.
- Then pour the remaining Kombucha into clean, sealable bottles and seal well. I use a funnel for this step and usually get about 6 16-ounce bottles per batch.
- I usually but 1-2 bottles into my fridge to cool so I can drink them right away and the rest I keep in a cupboard and just add them to the fridge to chill when needed.
TO BREW THE SECOND BATCH:
- Repeat from the beginning the above steps, useing your scoby and leftover kombucha to ferment your next batch.



Heather says
Hi Faith. Great tutoiral thanks.
I'm just wondering if you can keep the scobi somehow or if you have to be in aconstant cycle of making it every week?
Thx
Heather
Faith says
Hi! Yes you can keep it. Keep it in a glass jar (the one you brew the Kombucha in would work!) outside of the fridge fully covered with extra Kombucha. Then keep the lid of the jar covered in mesh so no bugs get in but it can breathe. It should be fine as long as it doesn’t dry out!
Sheldon says
Thanks for the tutorial....gunna give this a try!!
Faith says
Yay! I hope it works for you Sheldon!
Laura @ Sprint 2 the Table says
I love making my own kombucha. I use 6 tea bags though... hmmmmm... I guess 2 bags isn't a huge difference.
There is a company here call Boochcraft that makes boozy kombucha. It's like 8%! It's fantastic. Wish I could make THAT at home, but that might be trouble. 😉
Faith says
Now that would be impressive to make boozy kombucha! My husband would probably start drinking it more if we had that kind on hand haha!
Kate @ Kate Lives Healthy says
Great video Faith. I've been tempted to brew a batch but am leary of mold growing and ruining the tea. I've heard it can be a common issue. Have you had any issues with mold growth?
Faith says
Glad you liked it Kate! I did get mold one time, but that's (I think) because I didn't rinse out all the soup before making a new batch. That's why I just rinse all my jars and bottles with hot water now instead of using soap. You should definitely give it a try thought! It's so easy and it's such a treat to have a fun drink in the house...that's cheap too!