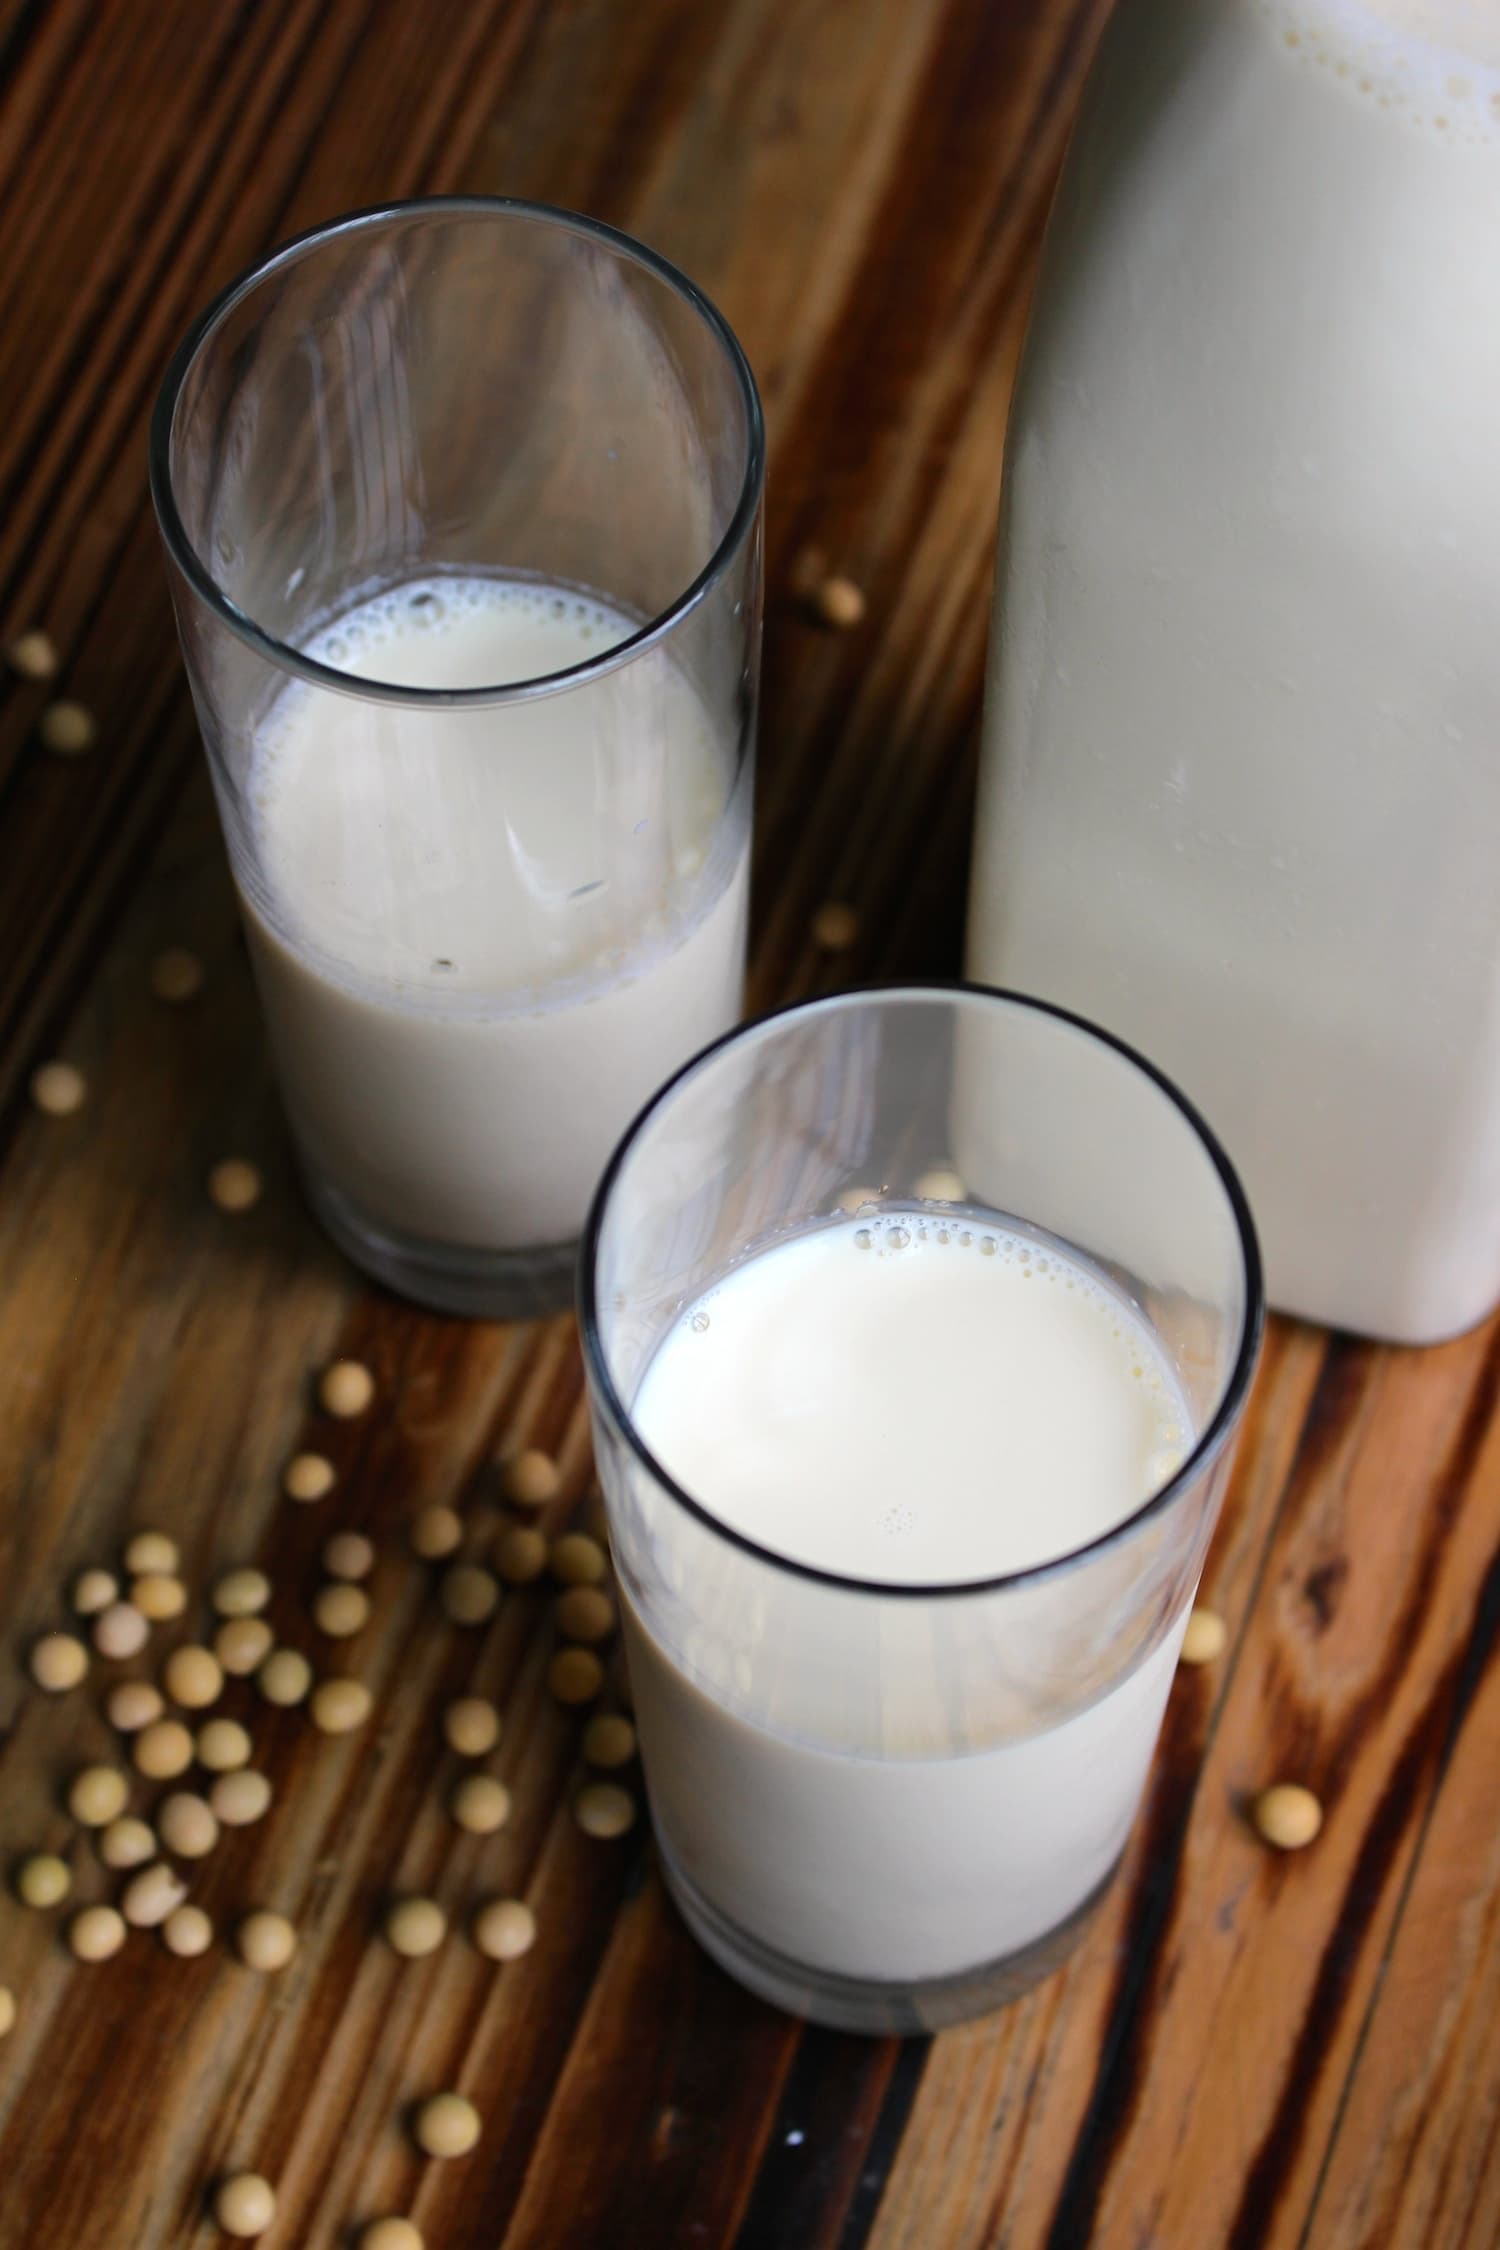
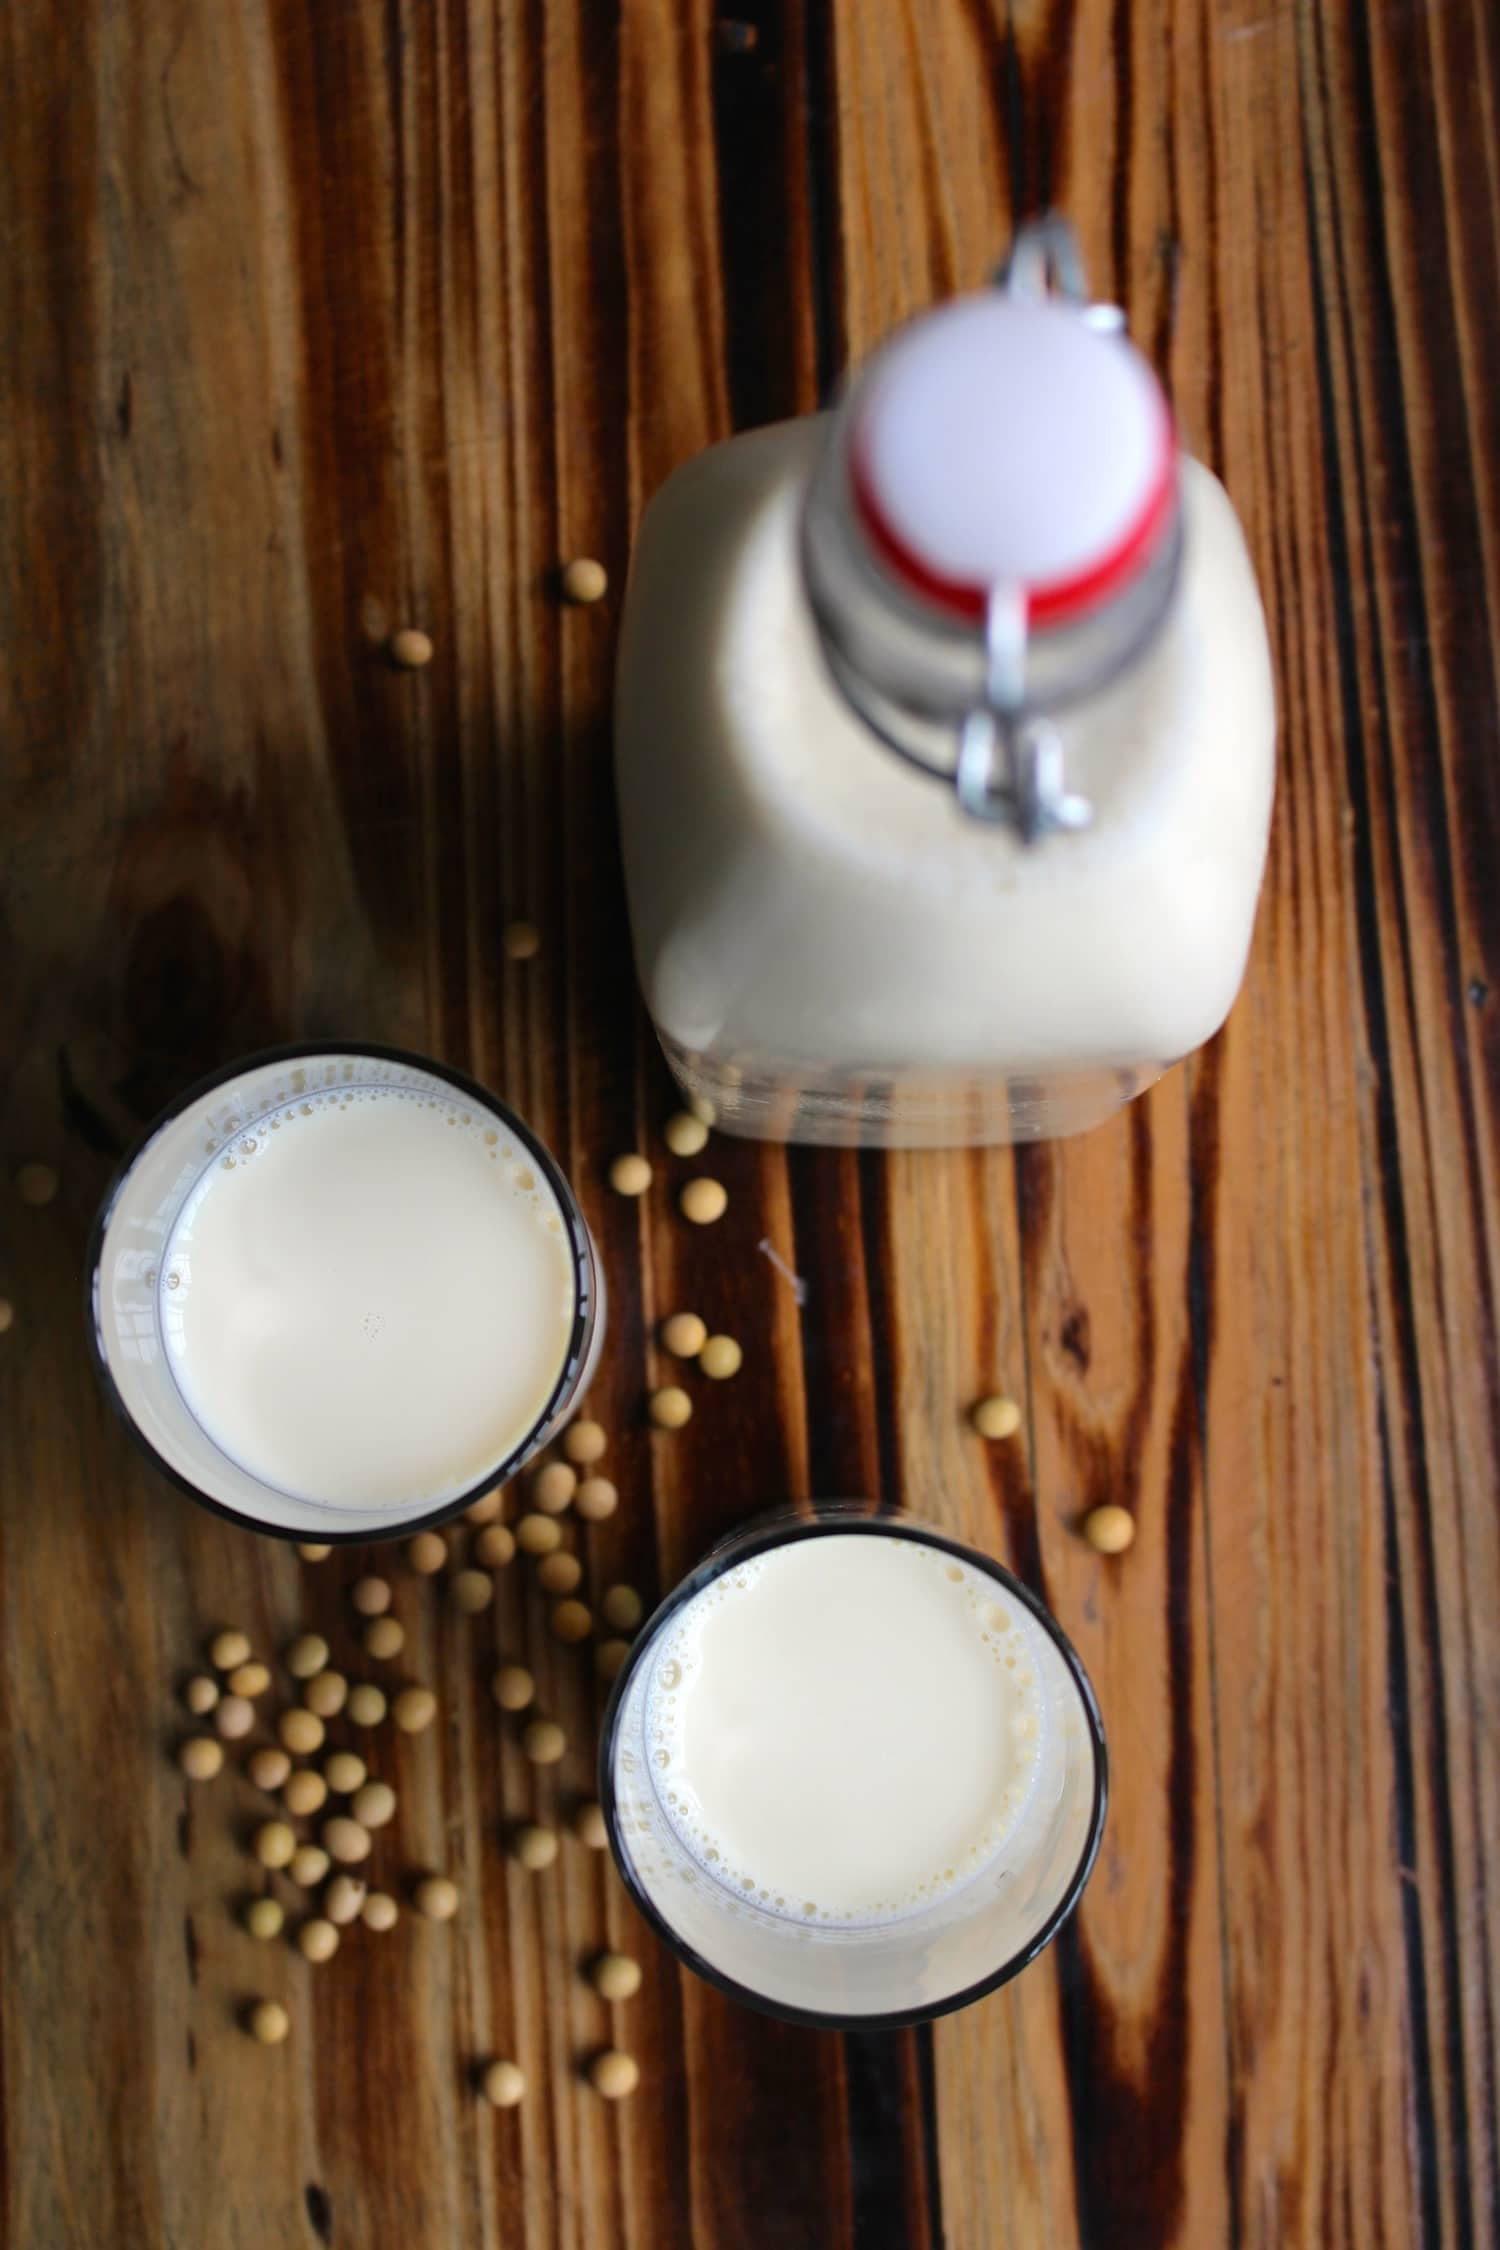
This Homemade Soy Milk is a delicious and affordable way to enjoy homemade non-dairy milk every day!
Jump To
- Also Featured In
- Can Soy Milk be Made at Home?
- Health Benefits of Soy Milk
- How Long Does Homemade Soy Milk Last?
- Can You Freeze Soy Milk?
- Is Homemade Soy Milk Better Than Store-Bought?
- How Do You Make Homemade Soy Milk?
- Can You Make Flavored Soy Milk?
- What to Do with the Leftover Soy Milk Pulp?
- 📖 Recipe
- Homemade Soy Milk
Also Featured In
This recipe is also featured in the following vegan recipe roundups:
I never new much about soy milk until my husband and I moved to China back in 2015.
I had just started eating a plant-based diet and soy milk was the only non-dairy milk I could find in the small city we moved to.
Soon after arriving in China I started making my own homemade soy milk so that I could control the amount of sugar in my milk, as most of the soy milk sold on the streets was super sweet.
Making soy milk at home can be intimidating, but it's doable!
And not only is it doable, but homemade soy milk is also CHEAP and delicious!
Eventually, I purchased a soy milk maker that would quickly make soy milk for me, but today I'm going to show you how to make soy milk at home using just a few kitchen utensils, raw soy beans and water!
Let me show you how to do as well as answer some commonly asked questions.
Can Soy Milk be Made at Home?
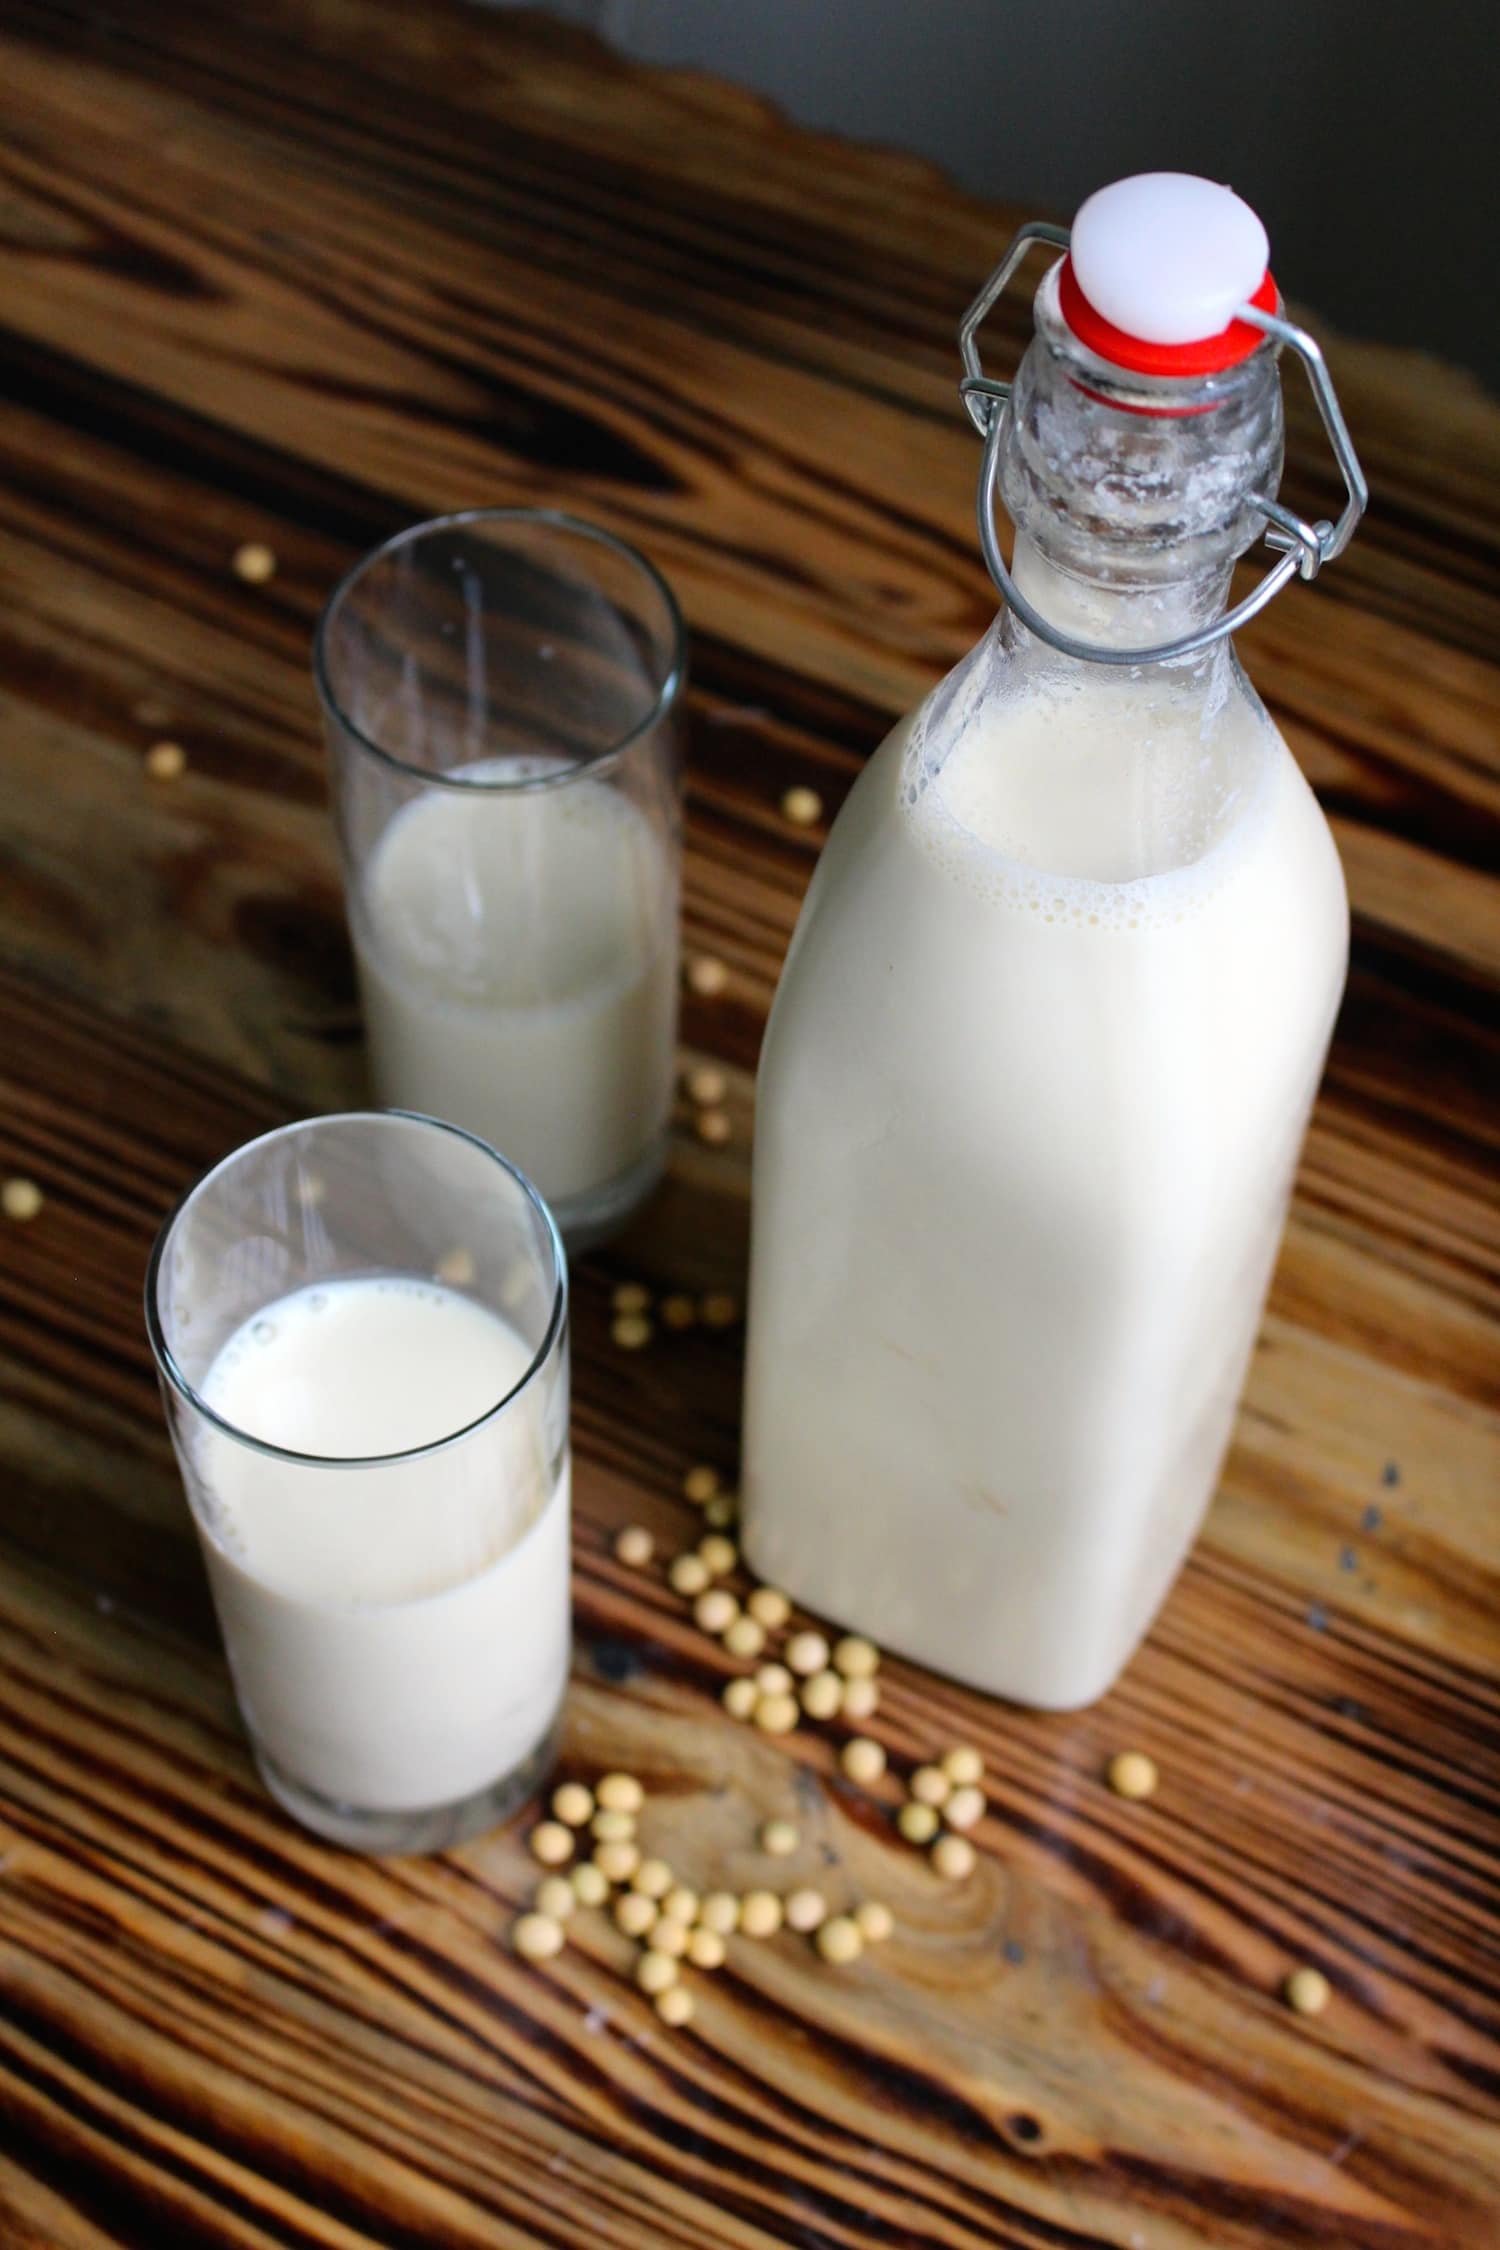
Obviously, if you clicked on this post, you probably already know that yes, soy milk can be made at home!
However, unlike homemade almond milk or homemade oat milk which you just blend, strain and enjoy, homemade soy milk has to be boiled before you drink it.
But we'll talk more about that later.
Health Benefits of Soy Milk
I think soy milk is a great beverage to include in your diet. Let me tell you why!
Soy milk is high in plant-based protein to help support your muscles and organs.
We all know the importance of Omega-3 fatty acids and soy milk is rich in Omega-3s! Our bodies can't make Omega-3 fatty acids on their own, so we need to be consuming plenty of these fatty acids in our diet.
Whether or not your soy milk is fortified, it is high in potassium, which can help support your cardiovascular system.
Soy milk is a good source of:
- Calcium
- Folate
- Choline
- Vitamin A and B
- Potassium
- Retinol
Soy Milk Nutrition Facts
Let's look more closely at a serving of soy milk, which is 1 cup:
1 cup of soy milk contains the following:
- 100 Calories
- 7 grams of protein
- 4 grams of fat
- 8 grams of carbs
- 1 gram of fiber
Everyone always wonders where I get my protein as a plant eater and one of the many ways is by drinking soy milk!
How to Add Soy Milk to Your Diet
There are so many ways you can include more soy milk in your diet.
- Add it to smoothies
- Bake with it
- Add it to your tea and coffee
- Pour it over cereal
- Cook your oatmeal in it
- Mix homemade chocolate syrup with it to make protein-rich chocolate milk
How Long Does Homemade Soy Milk Last?
Homemade soy milk should last for at least 3 days, sometimes up to 5.
If you've passed the three day mark, smell the soy milk before using it to make sure it doesn't smell sour. If it smells off in any way, then it's bad and you shouldn't drink it.
Can You Freeze Soy Milk?
Yes!
You can freeze soy milk. It can last in the freezer for 3-6 months.
However, the texture of the soy milk may change when you thaw it, but the nutritional content will remain the same.
Is Homemade Soy Milk Better Than Store-Bought?
It depends on what your view of better is.
Let's look at the pros and cons of homemade soy milk:
PROS:
- It's super cheap!
- You can control the amount of sugar and additives in it
CONS:
- It doesn't last as long
- It may taste more "bean-y" than store-bought soy milk
- It's not fortified
I think there are benefits of both homemade and store-bought soy milk, so maybe you can enjoy both!
How Do You Make Homemade Soy Milk?
The process for making homemade soy milk is fairly similar to making any homemade nut milk.
First you start by soaking the soy beans overnight.
Next you blend them with water.
Then you strain the liquid through a nut milk bag to remove the soy bean pulp, called okara. (Don't throw the okara away! You can make Okara Hummus or Vegan Okara Brownies with it!)
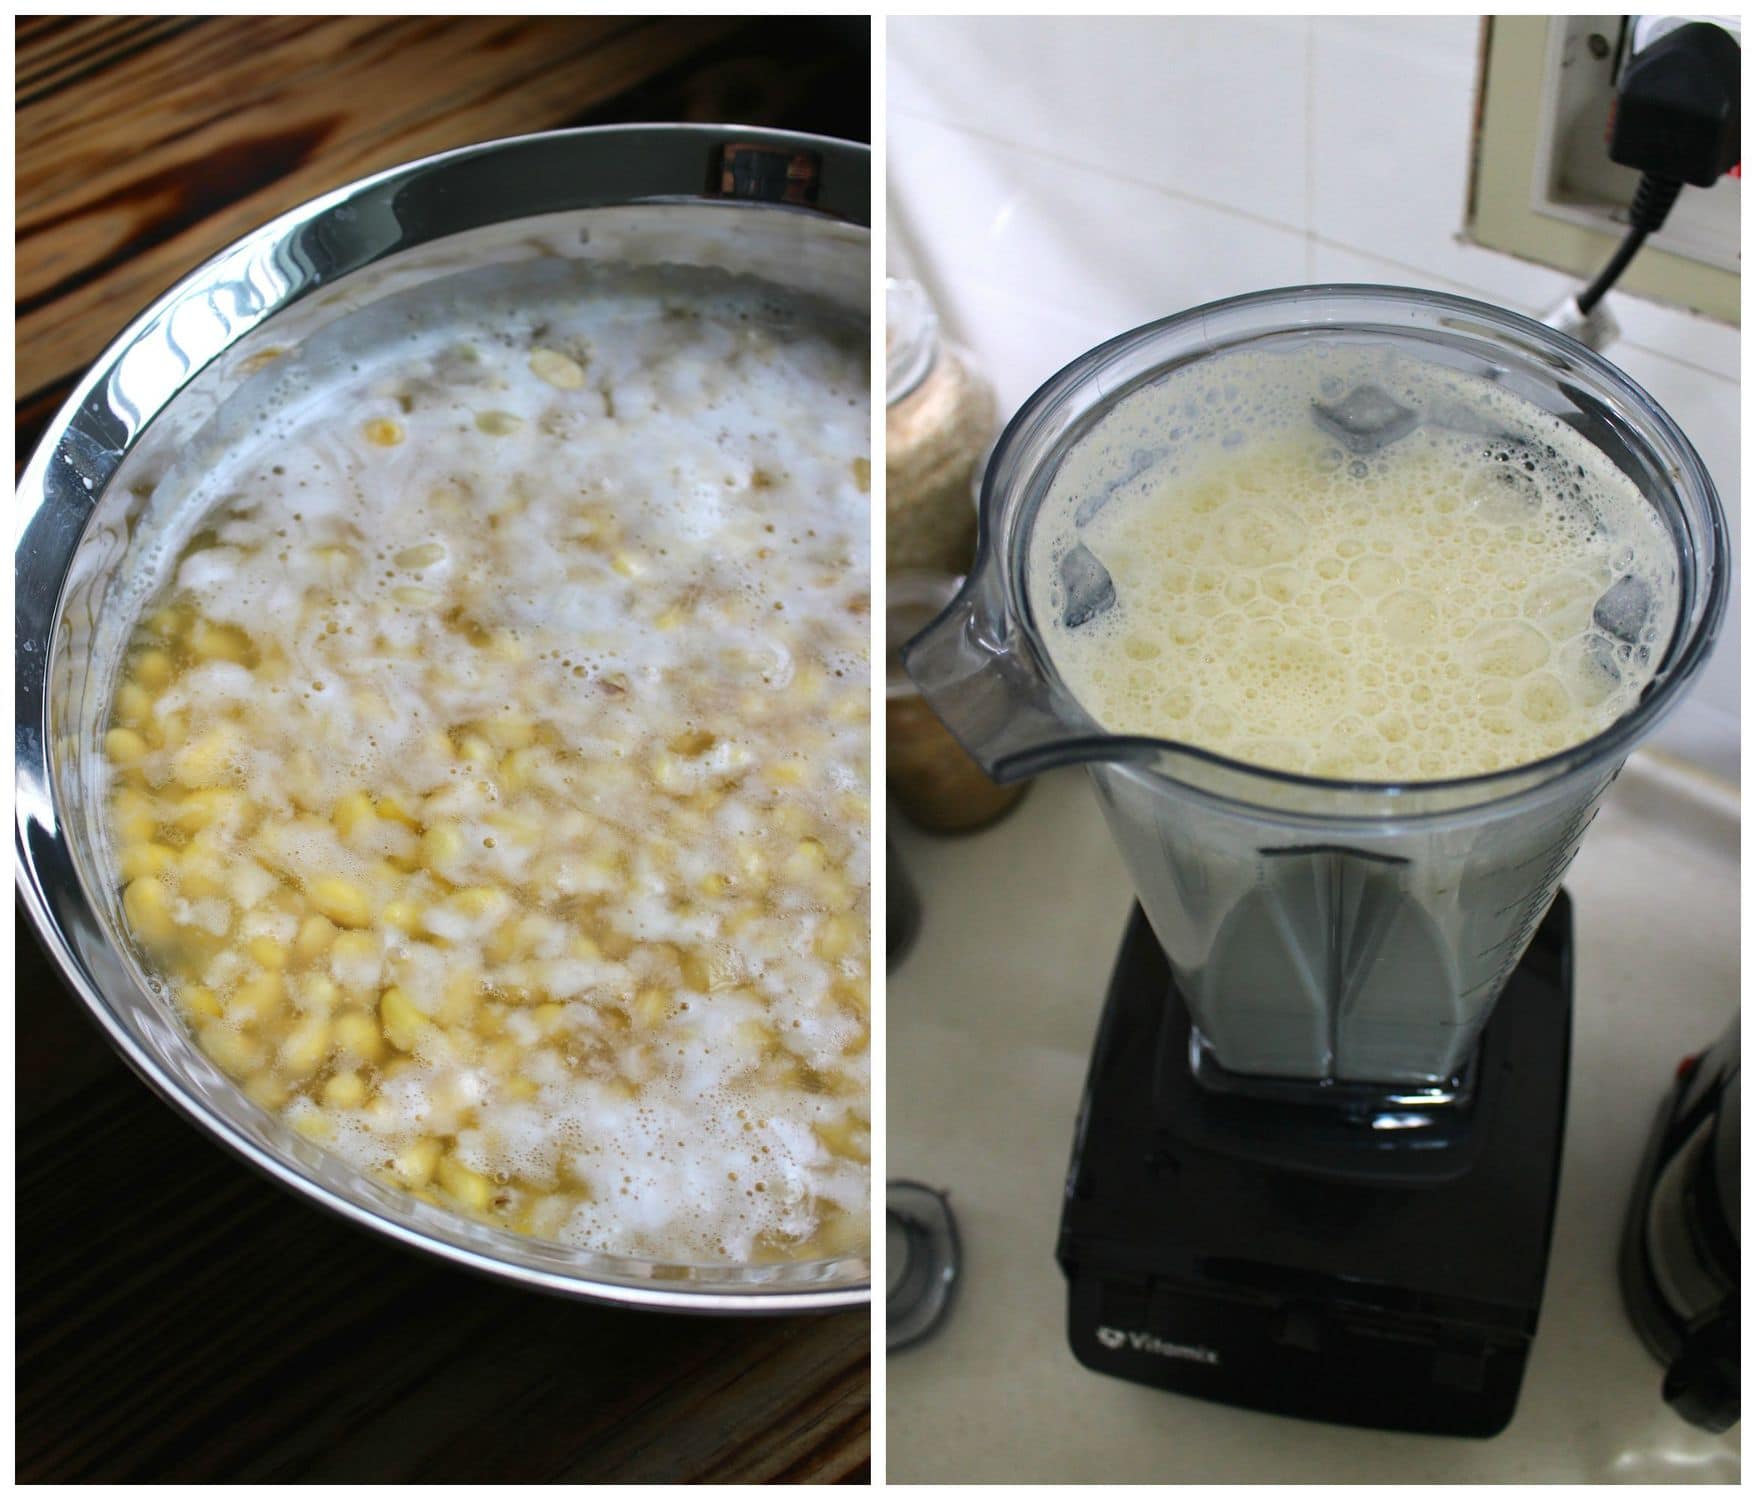
Next, unlike other non-dairy nut and oat milks, you have to bring the strained soy milk to a boil to rid it of the beany smell and taste. Once it comes to a boil, reduce the heat to a simmer and allow the milk to cook for 15-20 minutes. Watch it carefully so that it doesn't foam/boil over!
Lastly, allow the cooked soy milk to cool completely, scraping off any skin that forms on the surface, before storing it in an airtight container in the fridge.
Can You Make Flavored Soy Milk?
Don't stop with just plain soy milk!
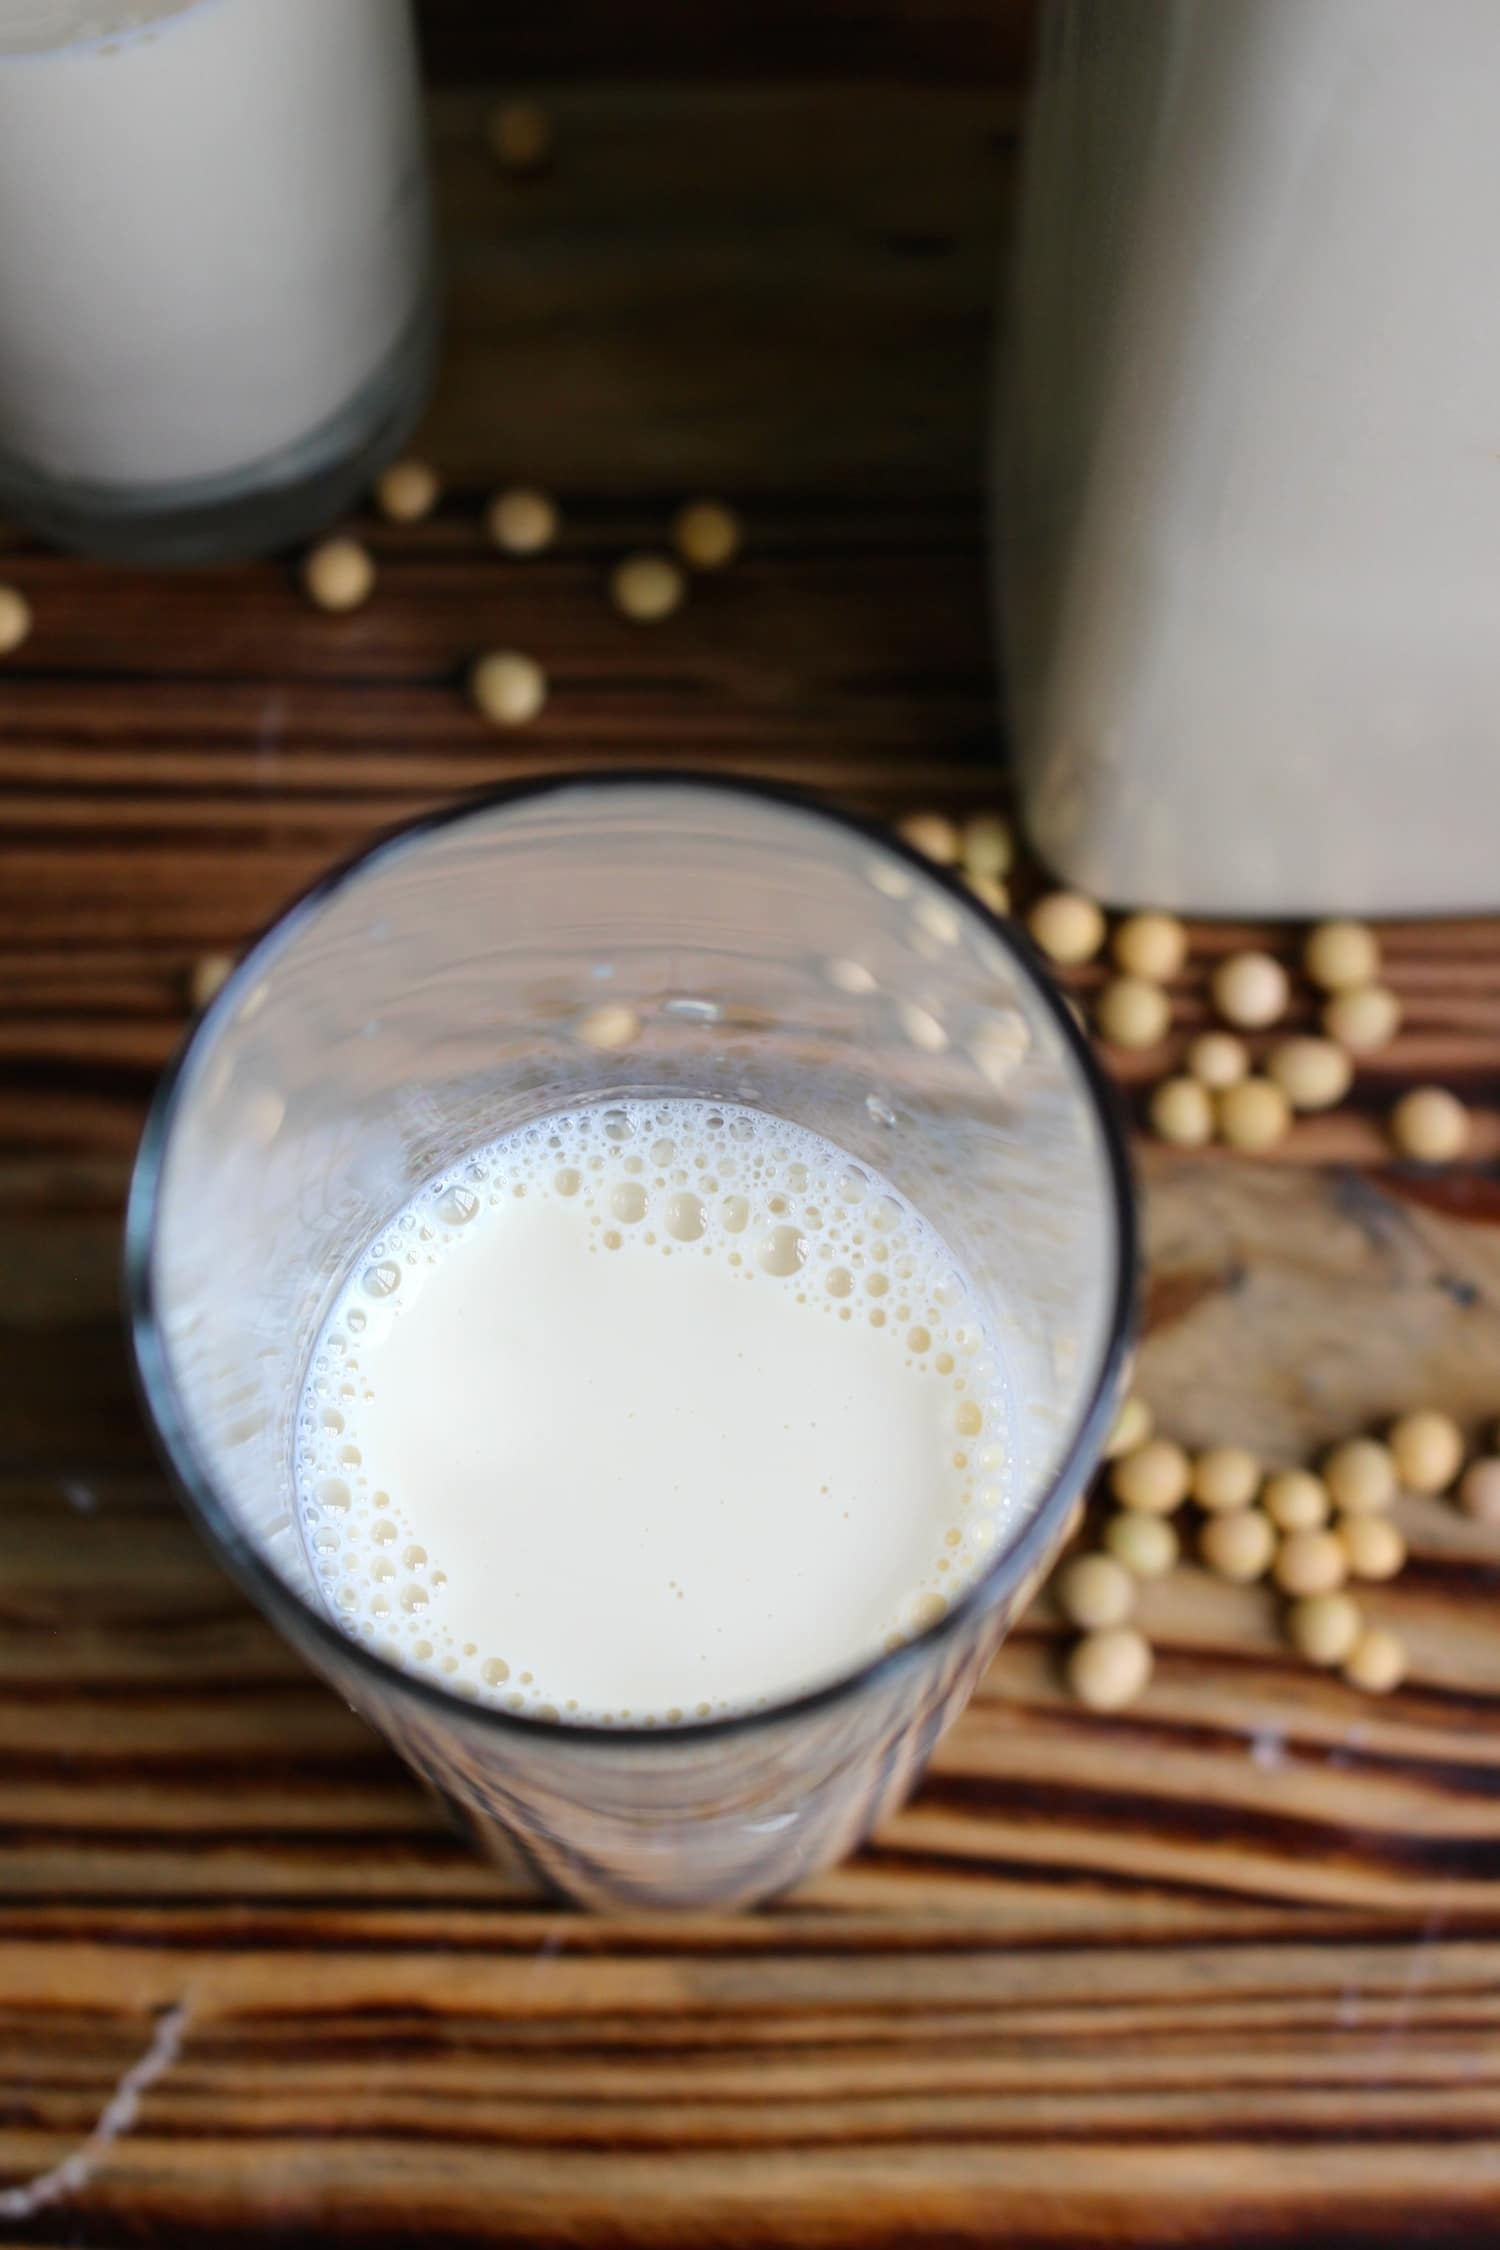
You can easily flavor and sweetened the boiled and cooled soy milk to create a sweet, delicious homemade soy milk.
Simply blend the finished strained and boiled soy milk with some dates and vanilla bean for Homemade Sweetened Vanilla Soy Milk.
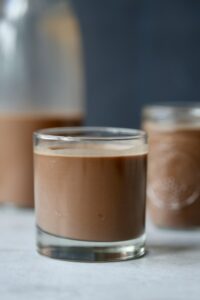
Or blend it with dates, cocoa powder and pinch of sea salt for chocolate soy milk. YUM!
If you're looking for a cheaper non-dairy milk alternative to homemade nut milks, then you should definitely try out this Homemade Soy Milk!
What to Do with the Leftover Soy Milk Pulp?
I briefly mentioned this above, but the pulp that's leftover once you strain the soy milk is called okara.
Don't throw it away!
Okara is often used as food for livestock or as a natural fertilizer or compost.
But you can also cook with it!
Below are some simple and delicious recipe that use okara!
If you like this homemade soy milk, then you'll definitely like this creamy homemade oat milk!
📖 Recipe
Homemade Soy Milk
Equipment
Ingredients
- 2 cups soy beans
- 8 cups filtered water
- 6 medjool pitted dates optional
- 1 inch piece vanilla bean optional
Instructions
- Place your soy beans in a large bowl, cover them with water, and allow them to soak overnight. Make sure you cover them with lots of water as they'll absorb a lot of water while soaking.
- The next day, drain and rinse the soy beans. In batches in your , blend 2 cups of the soaked soy beans with 4 cups of filtered water. Strain the milk through a nut milk bag, ringing out all the milk until your left with just the soy bean pulp. Discard the soy bean pulp and repeat this process 1 more time until you have about 8 cups of strained soy milk in your sauce pan. (Feel free to continue this process until you use up all of the soaked soy beans!
- In your saucepan, bring the soy milk up to a boil, watching carefully and stirring often. Be careful as the soy milk will foam and expand when heated so make sure it doesn't overflow!! Once the milk comes to a boil, reduce the heat to medium-low and allow the milk to cook for 15-20 minutes. Stir often and watch carefully so that it doesn't overflow!
- Discard any thick foam that may form during the cooking process.
- After 20 minutes, allow the milk to cool to room temperature. Scrape of the skin that forms on the top while cooling.
- Optional: If wanting to make sweetened vanilla soy milk, place the milk back into your rinsed out blender (in batches if necessary) and blend in medjool dates and vanilla bean to taste.
- Store the cooled soy milk in an airtight bottle in the fridge for 3-4 days.




Oscar says
Hey - I have the same bottle from IKEA. I put my almond milk in it. I clean the bottle with a teaspoon of rice and some liquid soap. Works like a dream. Better than a brush 🙂
Faith says
That's awesome Oscar! I ordered it on Taobao when we moved here and it's perfect for homemade milk. Thanks for the cleaning tip!! It's perfect as I'll be able to find rice very easily here:)
Liz @ I Heart Vegetables says
I've done homemade almond milk but I've never tried making soymilk! The extra protein would be nice!
Faith says
So true! I feel like soy milk sticks with me longer because of that very reason! You should try making it sometime Liz:)