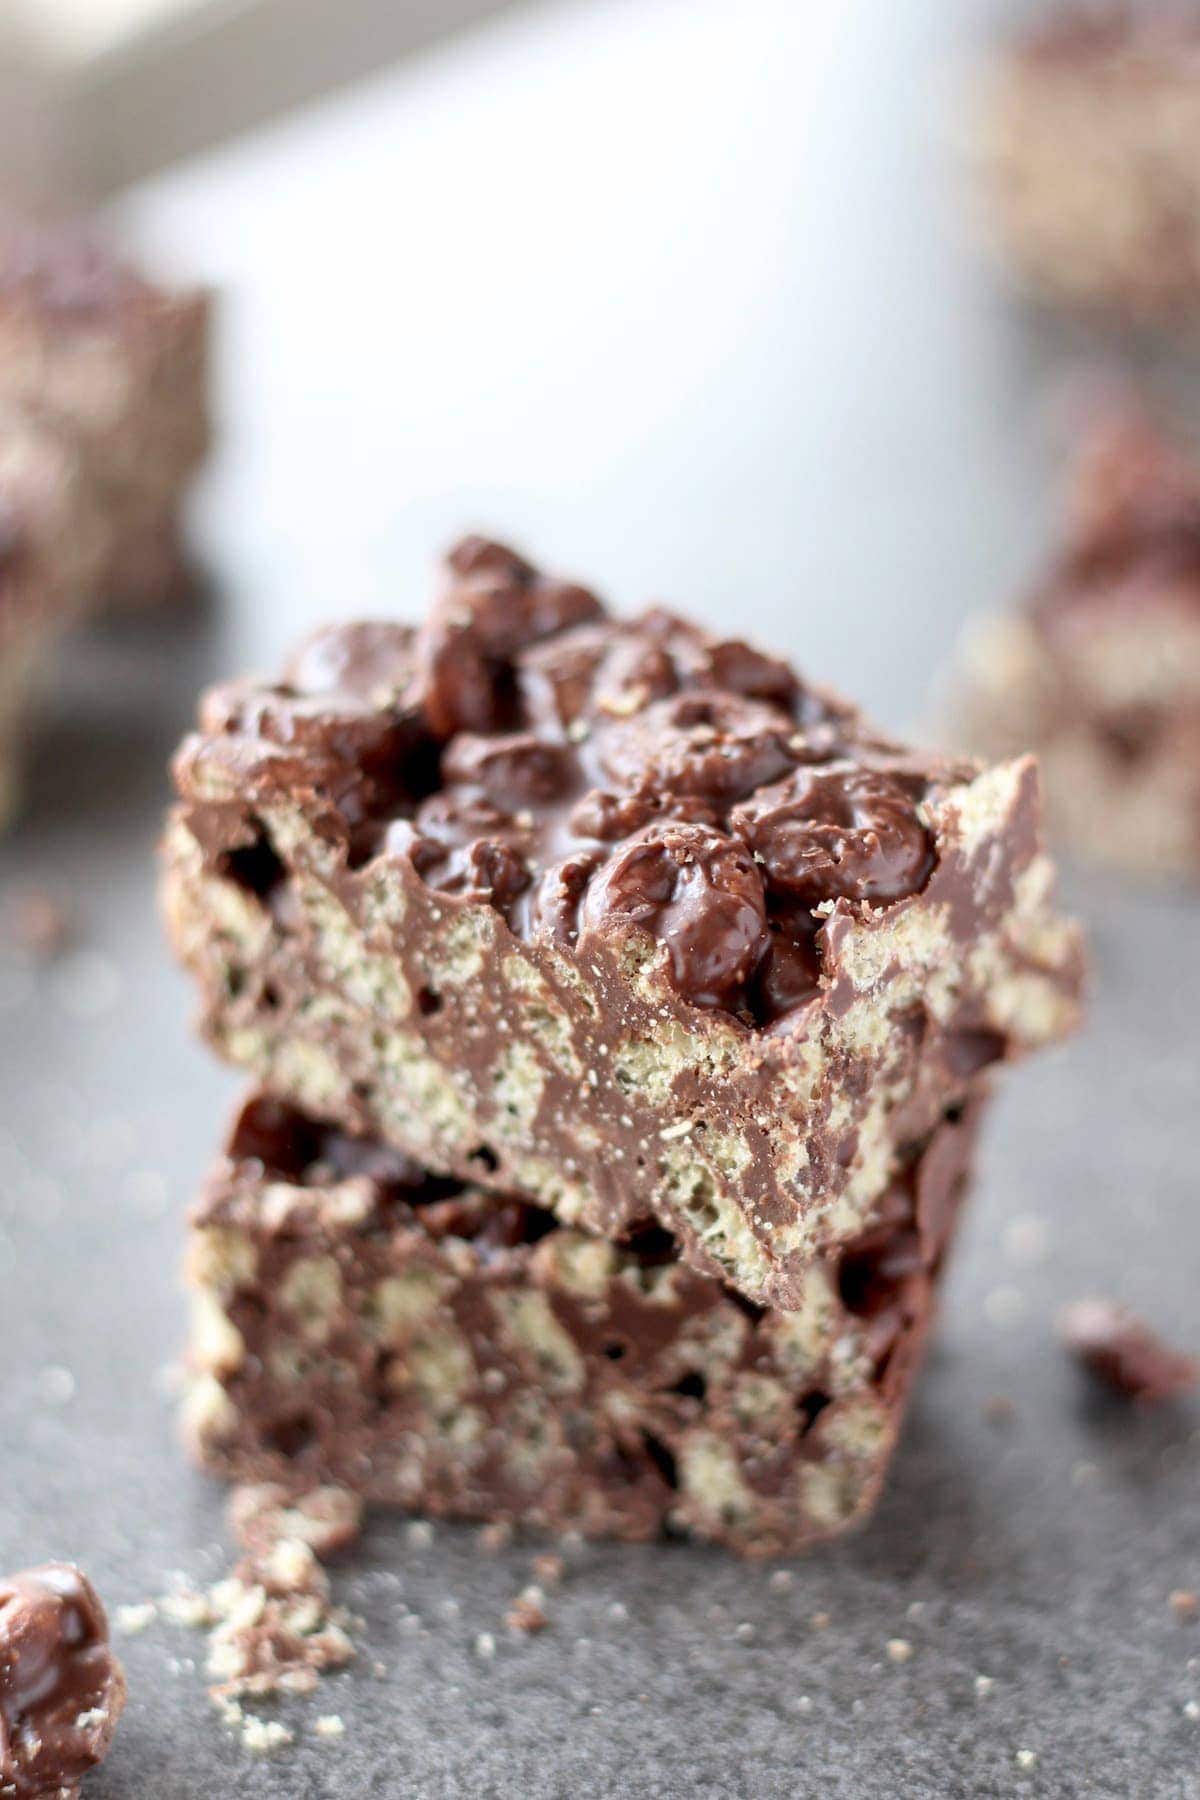
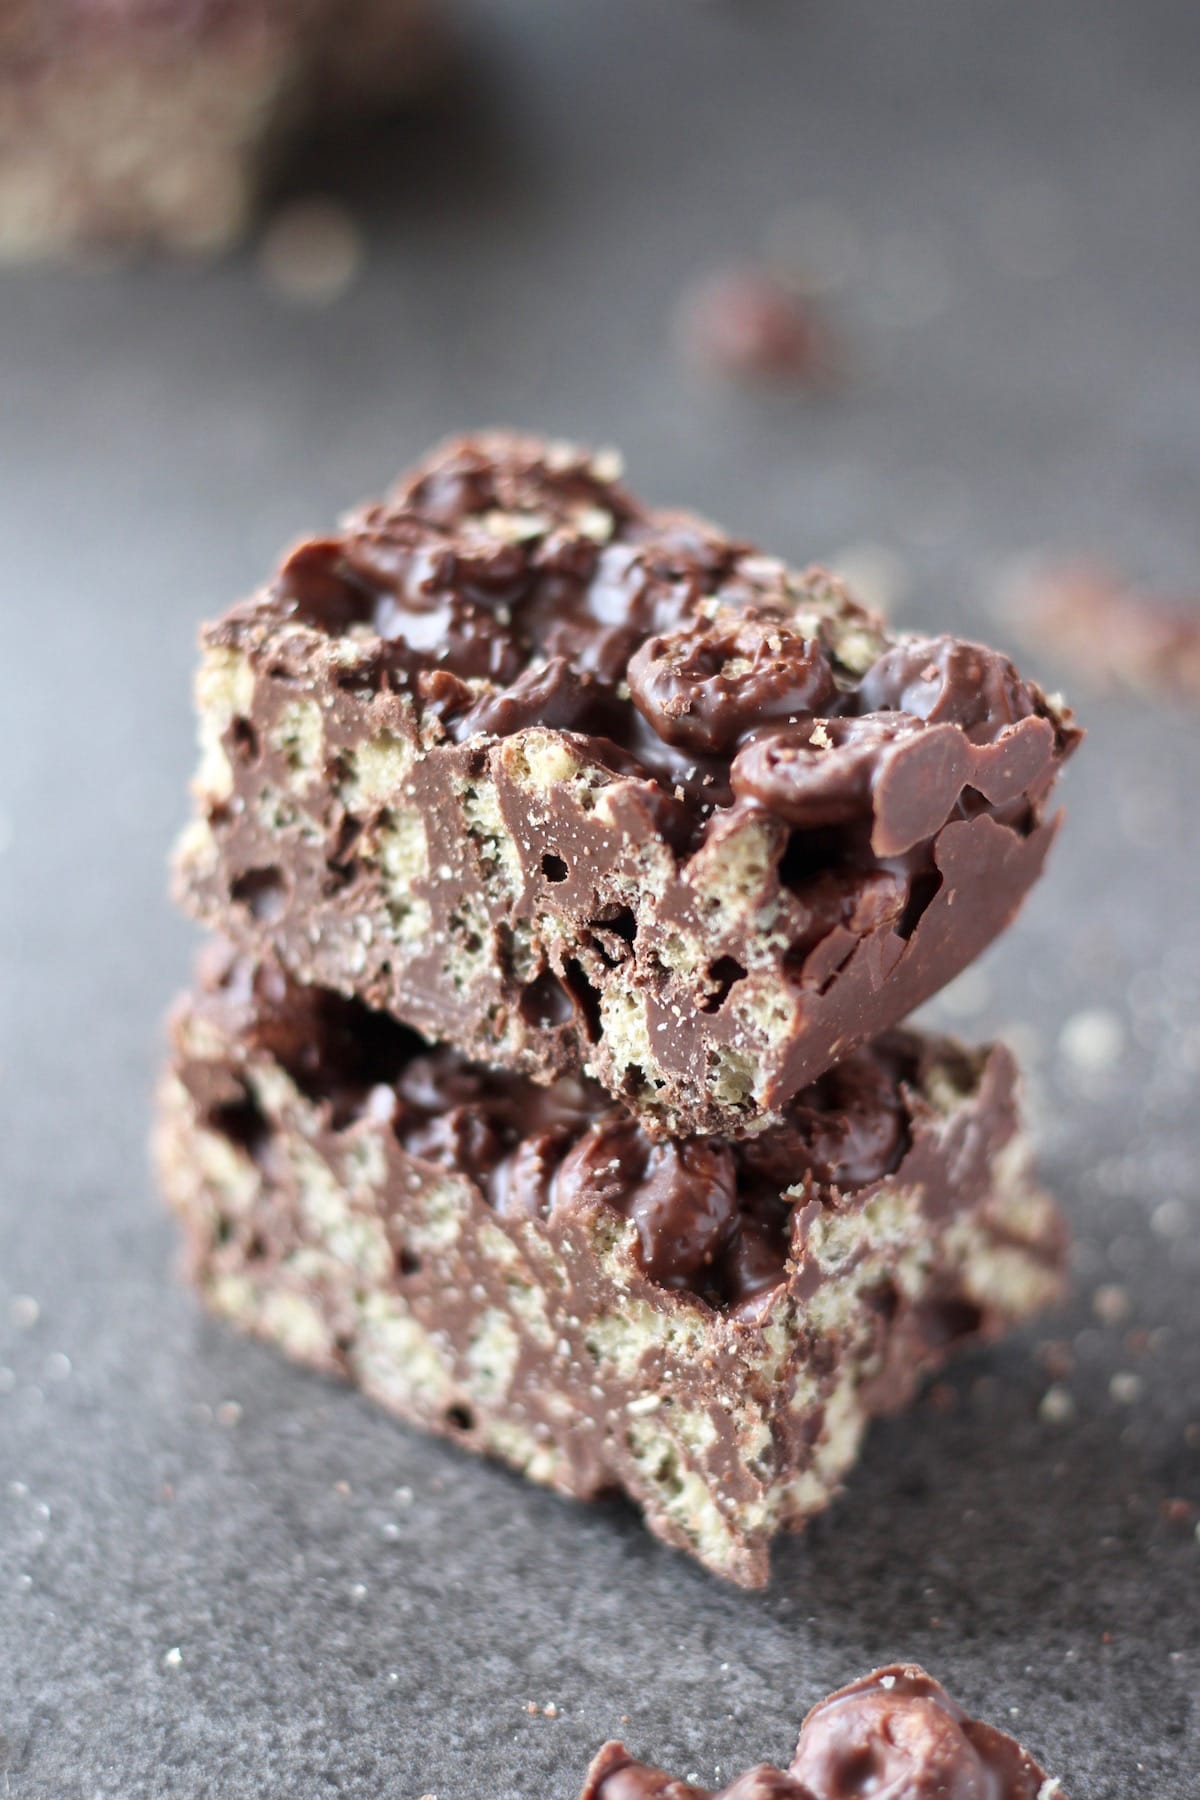
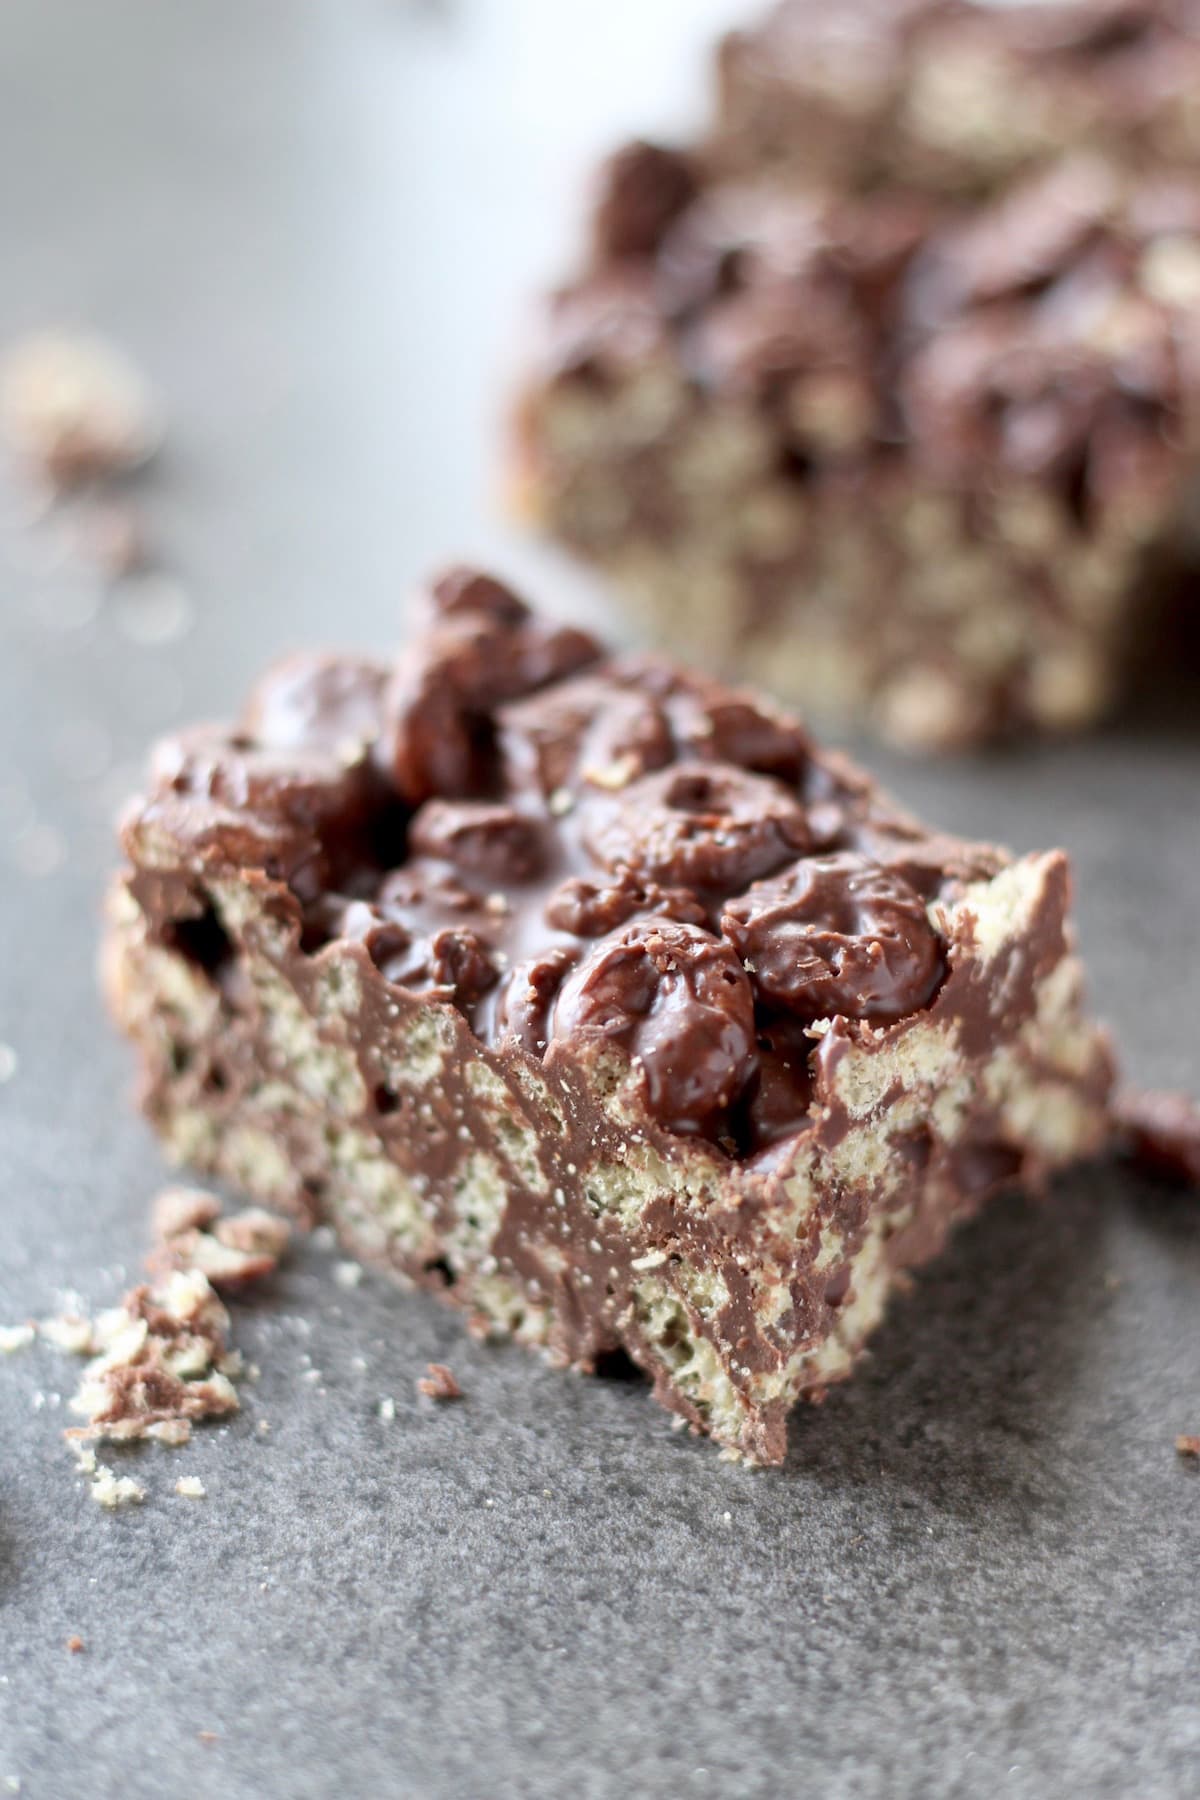
Made with just three ingredients, these Reese's Cereal Crunch Bars are an easy, delicious, and healthier way to eat your favorite candy bar!
Jump To
Also Featured In
This recipe is also featured in the following vegan recipe roundups:
I love cereal in all forms. These homemade bran flakes make a weekly appearance in my diet. And for a sweet treat, I love this vegan puppy chow recipe made with Chex cereal or today's recipe for cereal crunch bars!
Do you guys remember Nestlé Crunch Bars? I was always so pumped to see the mini-versions in my halloween bag as a child. They were definitely one of my favorite candies (those and Krackel chocolate) and for good reason. They're chocolate based (uh, chocolate addict here!) They're crunchy (give me all the textures!) And they're, well, delicious. I never passed up a crunch bar growing up.
What Are Crunch Bars Made Of?
Nestlé Crunch Bars are basically made by coating crisped cereal with milk chocolate. This sadly means that they are not vegan or plant-based. Good news is, it's really easy to veganize these delicious bars and you can use lots of different kinds of cereal to do so! The fact that I used cheerio-style cereal to make these no-bake crunch bars was actually an accident. I was initially wanting to make a crunchy cereal dessert bar using puffed millet that I picked up at the grocery store one day. After stirring some peanut butter into melting chocolate, I open my bag of puffed millet only to discover that the cute little pebble-shaped balls inside were soft and stale in texture. Not exactly what I had in mind. While my chocolate was still warm, I quickly rummaged in our pantry to see what I could use. A box of gluten-free Whole O's cereal caught my eye and voila! These amazing, crunchy, no-bake cereal crunch bars were born!
Ingredients in Homemade Crunch Bars
These homemade, cereal-based crunch bars are everything I hoped for in a dessert. They are easy to make, are full of rich, chocolate flavor, and only require 3 ingredients: dairy-free chocolate, peanut butter and cereal!
I'm pretty sure whenever I'm at a loss for what dessert to make when hosting friends, this recipe will be my go-to. I almost always have chocolate, peanut butter and cereal on hand and I'm almost positive most Americans are the same way. I'm also surprised at how well these crunch bars keep in the fridge.
Storage
You'd think they'd get stale or soggy, but they maintain their crispiness for a long time, which makes them an awesome dessert to keep on hand to enjoy throughout the week.
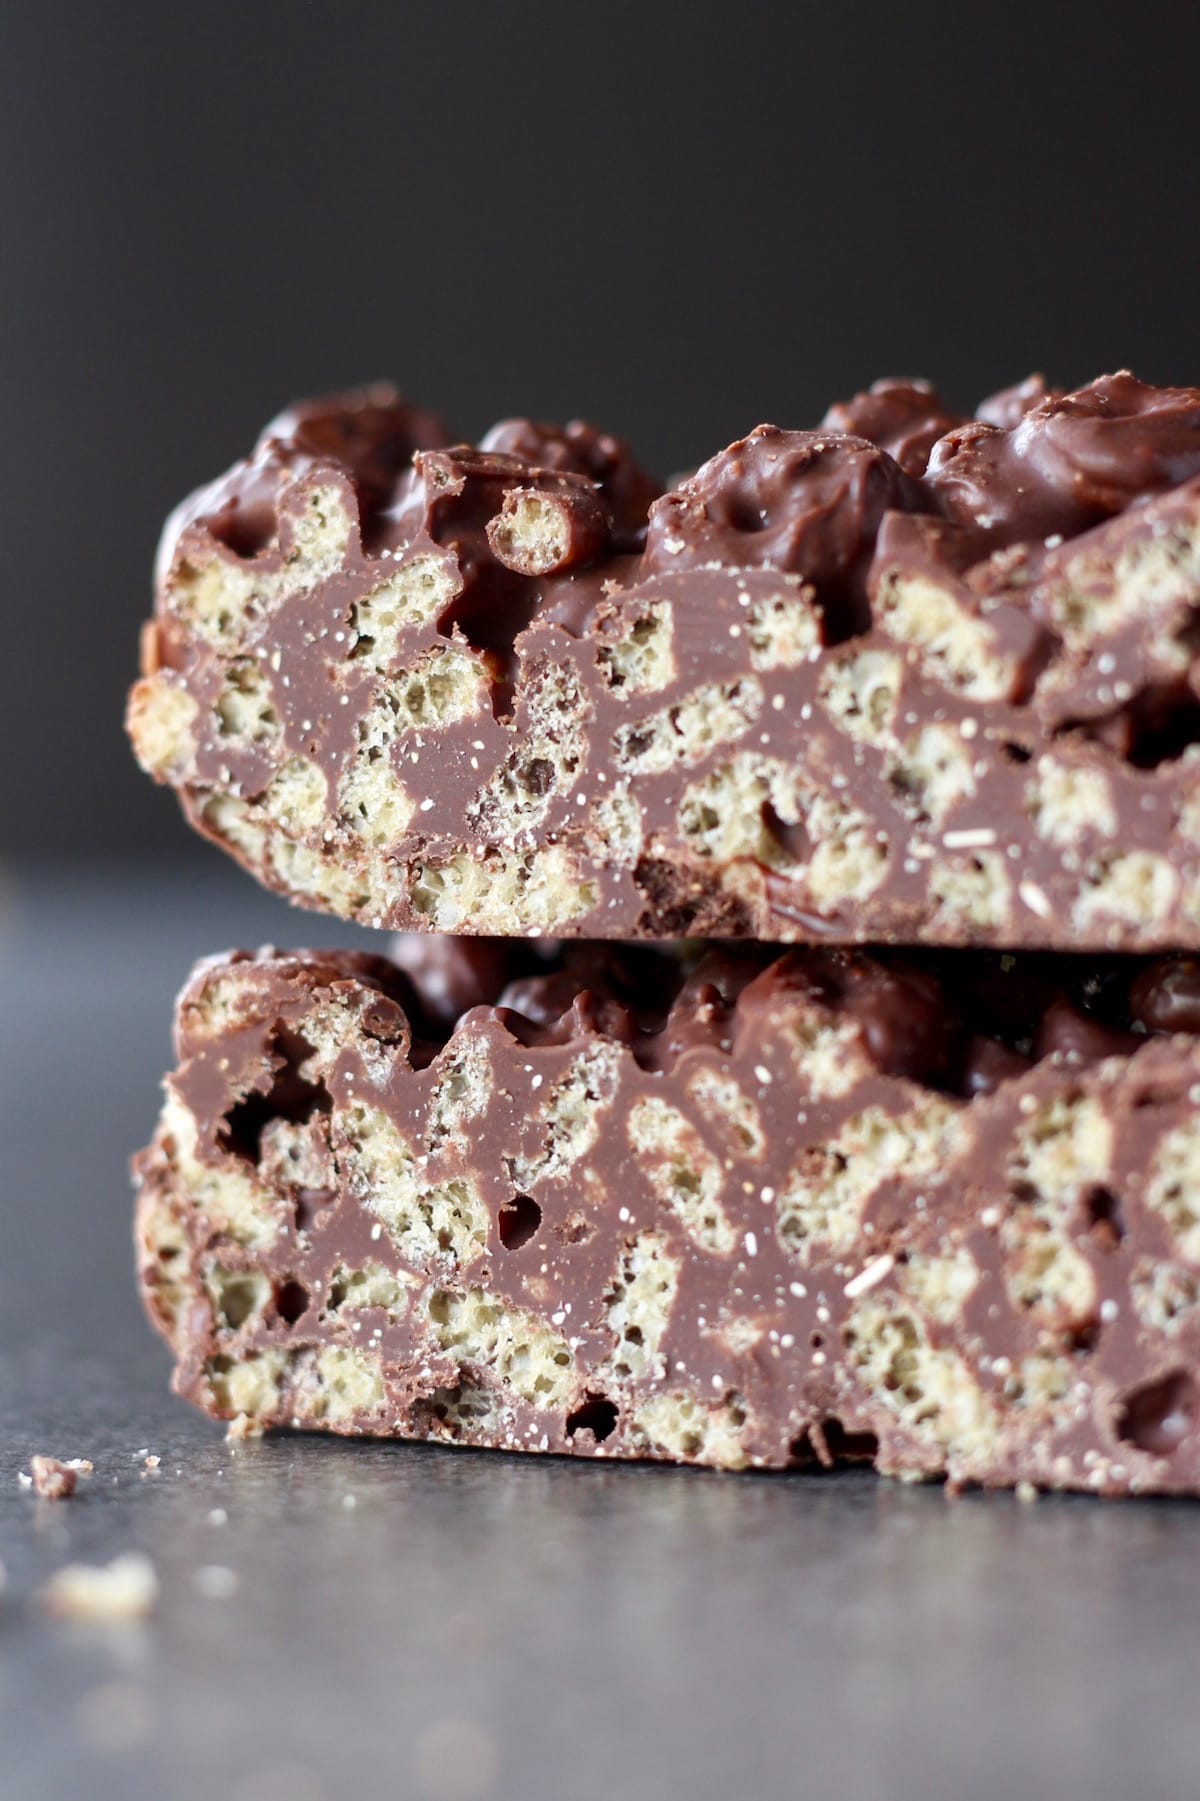
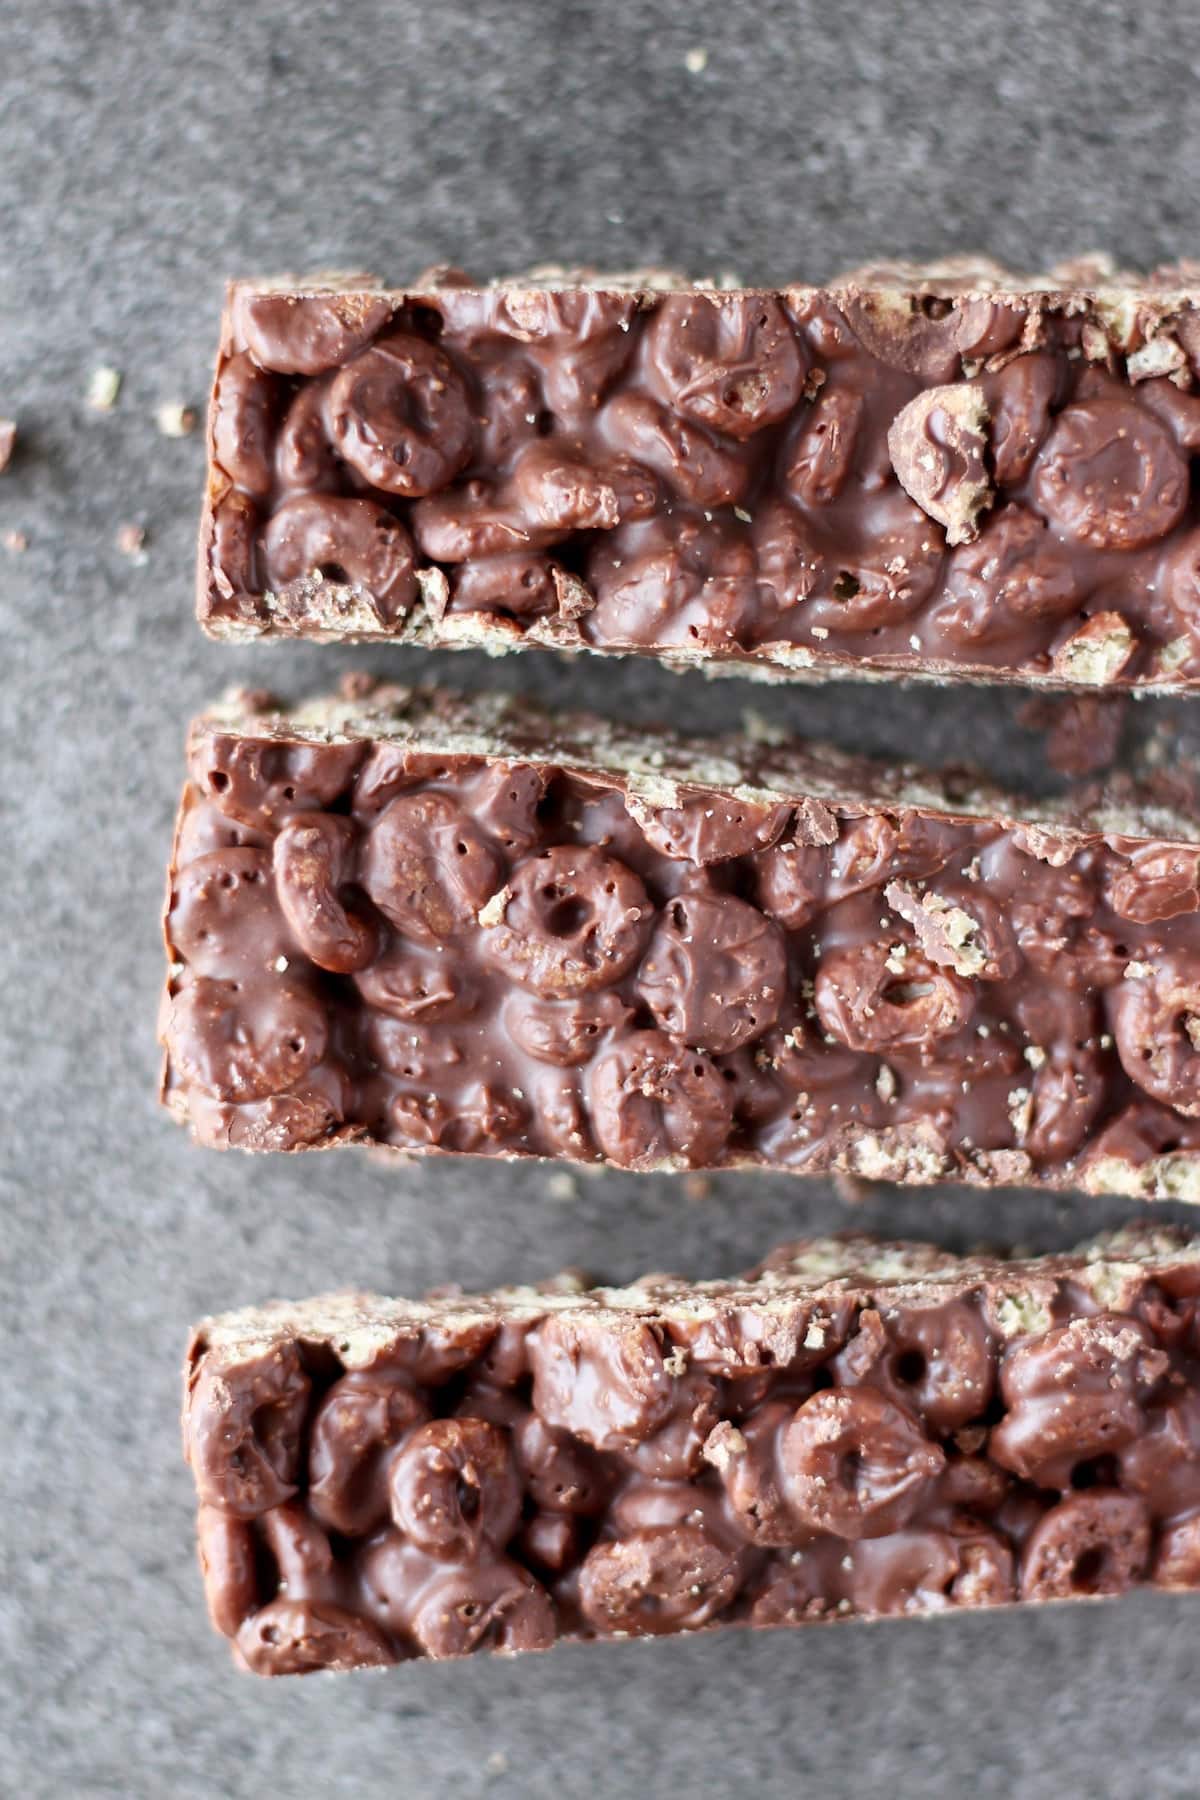
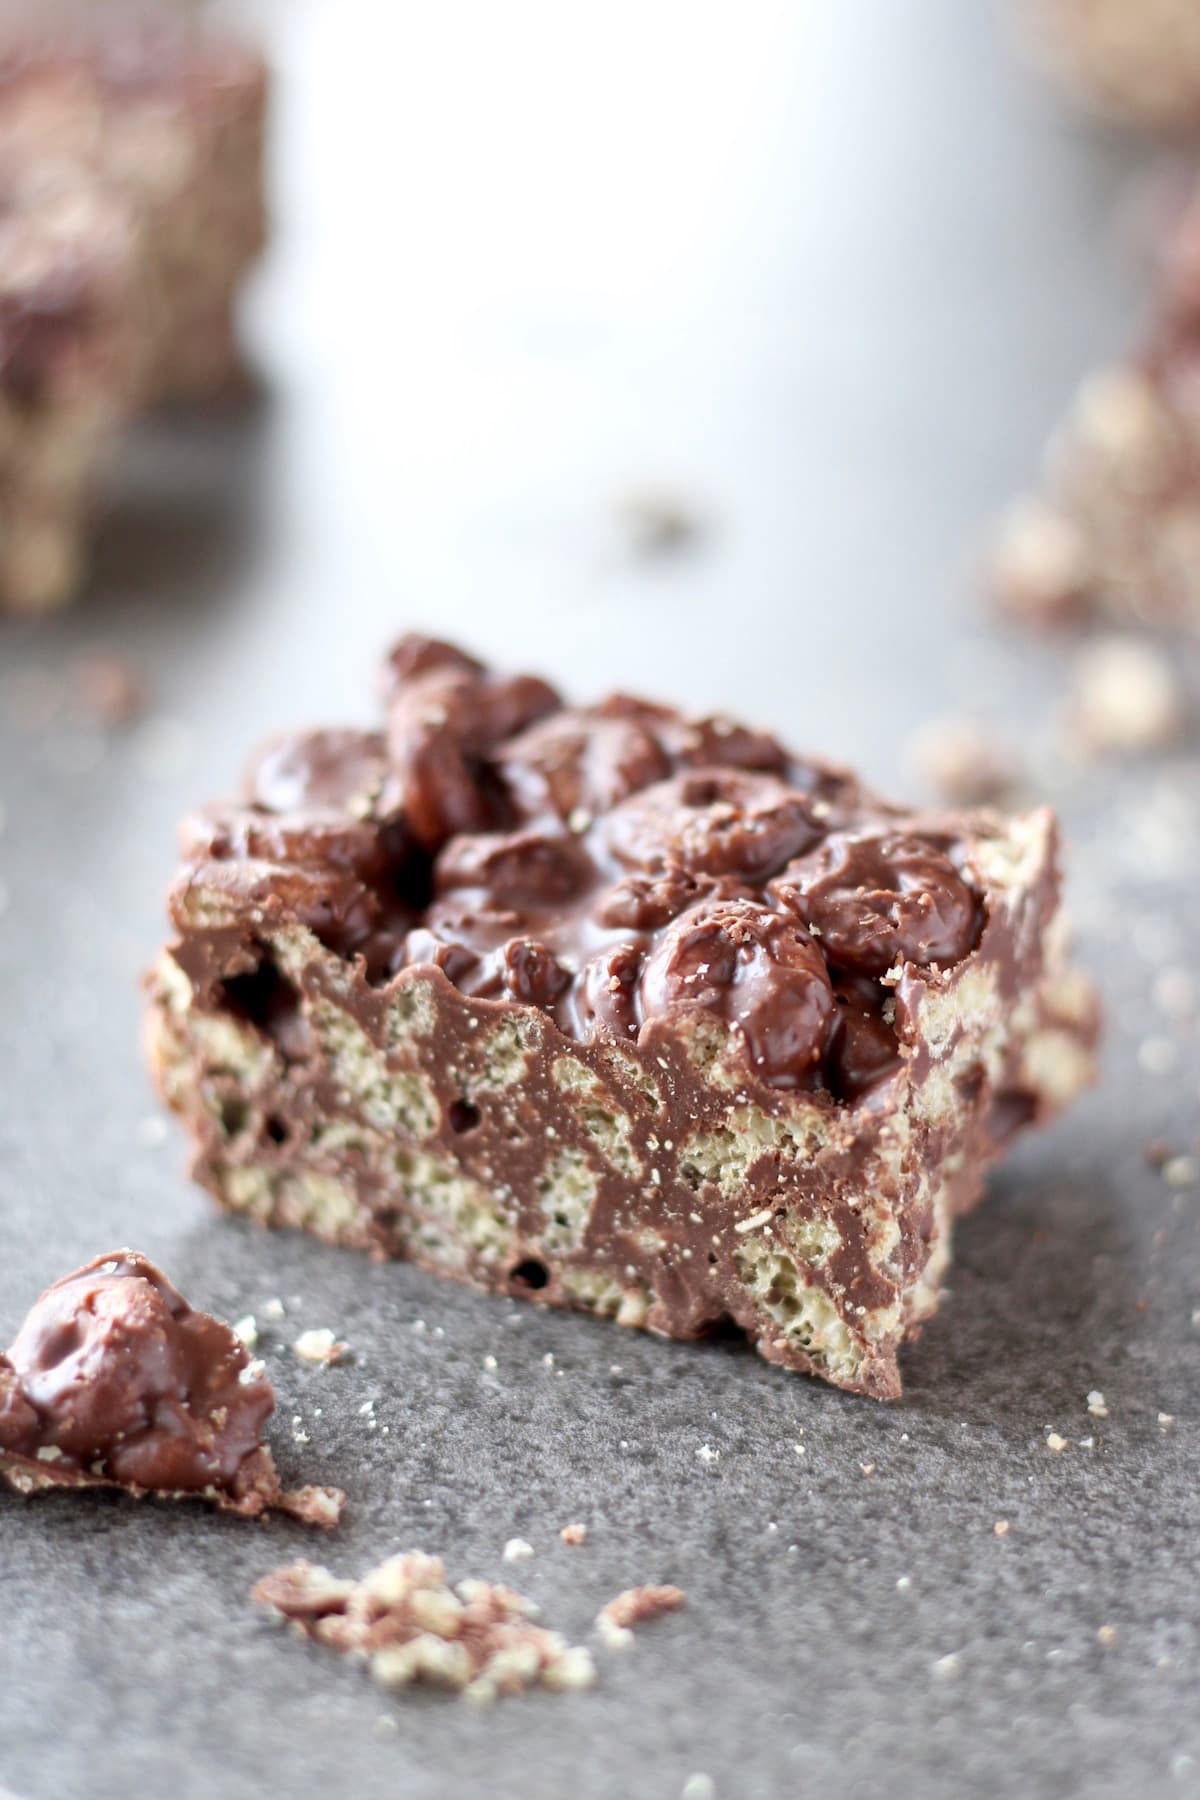
You can cut these bars into whatever size you want! For extra decadence you could even drizzle some dairy free white chocolate on top. The contrast would be beautiful and make for a simple, yet stunning dessert. I'll be serving these no-bake cereal crunch bars to our friends in the coming weeks and I hope you can make a batch as well! If you give this recipe a try, I'd love for you to leave a comment down below letting me know if you enjoyed them. Be sure to rate the recipe and share it with others as well!
More Vegan No-Bake Desserts
If you are like me and love no-bake cookies and desserts, be sure to check out the other amazing recipes below. They are some of my favorites!
Vegan Cashew Butter No-Bake Cookies
No-Bake Peanut Butter Oatmeal Bars
Chocolate Tahini No-Bake Cookies
Vegan Chocolate Covered Raisin Drop Cookies
5 Ingredient Peanut Butter No-Bake Cornflake Cookies
Photos
📖 Recipe
3 Ingredient Reese's Cereal Crunch Bars
Ingredients
- 1 cup dairy free chocolate chips
- ⅓ cup peanut butter
- 2 cups Cheerios or Whole O's cereal*
Instructions
- Line a loaf pan with parchment paper and set aside.
- Pour the dairy-free chocolate chips into a large microwave-safe bowl and microwave the chips in 30 second intervals, stirring after each 30 seconds, until the chips are almost melted.
- Once the chocolate is mostly melted and only a few whole chips remain, add in the peanut butter and stir to combine. The unmelted chocolate chips should melt eventually as you stir.
- Next pour in your cereal and stir well until all the cereal has been coated in the chocolate peanut butter mixture.
- Pour the mixture into your prepared loaf pan and, using a spatula, press the mixture down until it's compact and level. Depending on how thick you want your bars to be, the mixture may not fill up the entire loaf pan.
- Place the pan into the fridge for about 20 minutes or until hard.
- To serve, use the parchment paper to remove the hardened slab of chocolate coated cereal from the loaf pan and cut the slab into bars.
- Store the bars in an airtight container in the fridge for a few days






Please Leave A Star Review In The Recipe Card!