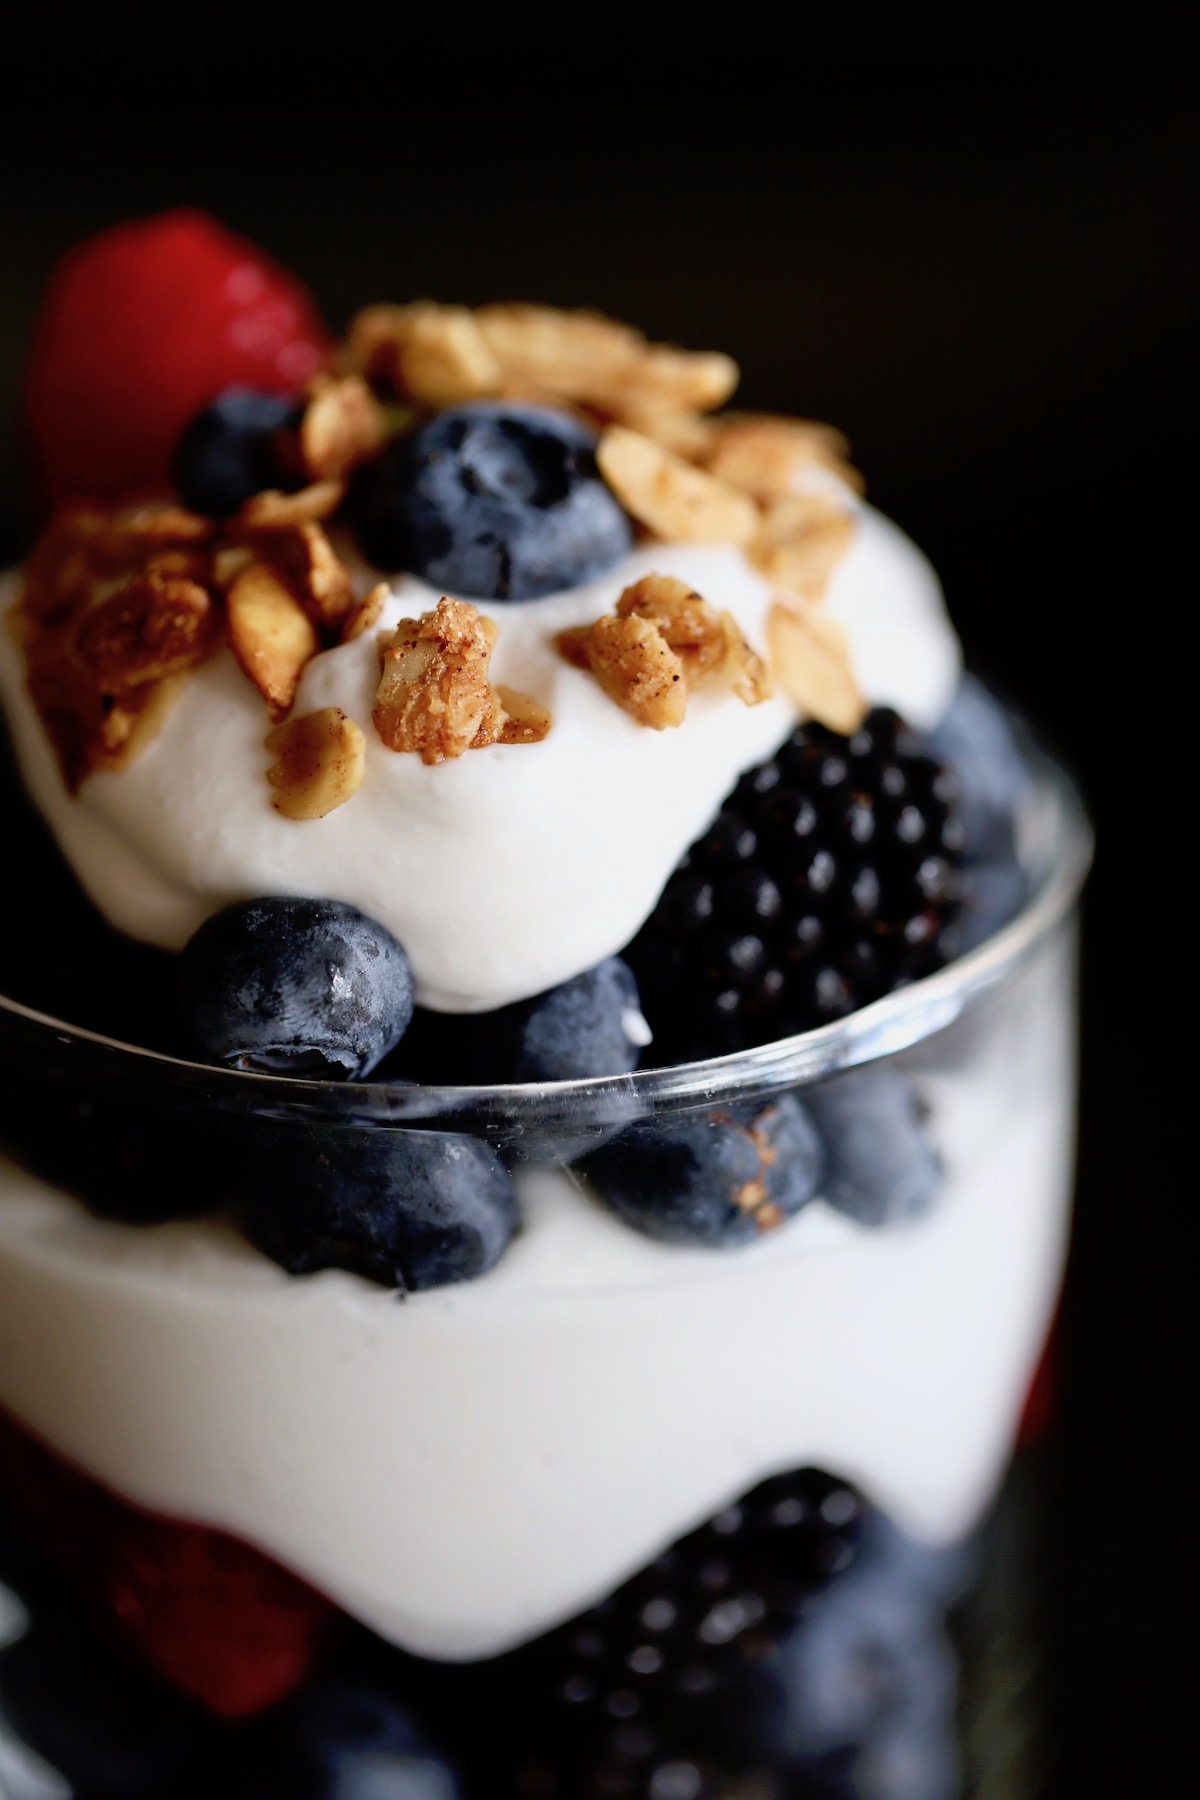
Today I'm going to share with you how to make Coconut Milk Whipped Cream with just a little bit of hands on time and a few ingredients. You'll want to dollop it on top of all your summer desserts!
Is there anything coconut milk can't do?
Coconut milk is such a great pantry staple to have on hand.
I love coconut milk, because it can make both sweet and savory foods.
We love coconut milk in these Creamy Brownie Bite Fudgesicles AND in this Creamy Peanut Butter Sweet Potato Curry.
Coconut milk is also perfect for making the BEST No-Churn Vegan Ice Cream and Homemade Coconut Whipped Cream.
Basically, you need to have coconut milk on hand at all times!
Okay, let me show you how to make Coconut Milk Whipped Cream!
Ingredients You'll Need for Homemade Coconut Milk Whipped Cream
Whipped cream really couldn't be easier to make.
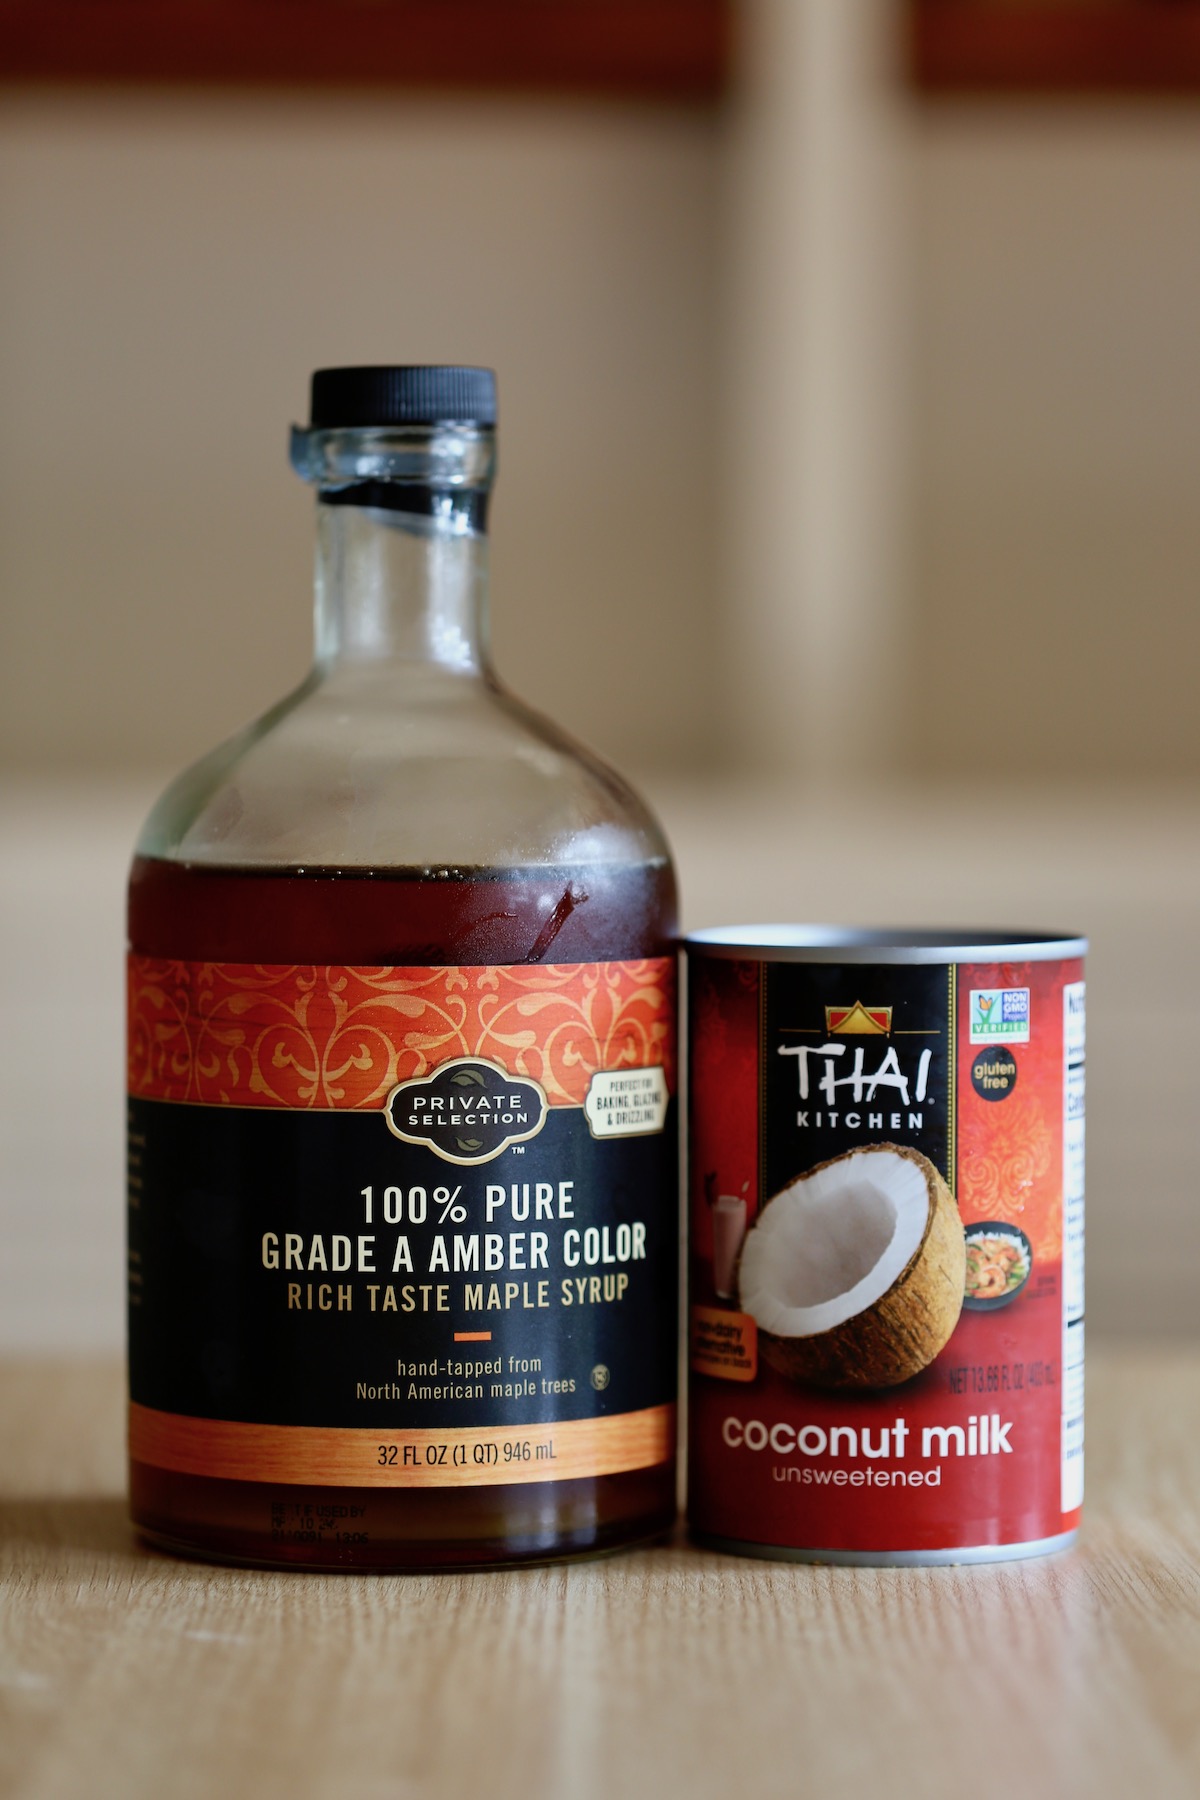
Plus, you only technically need one ingredient. However, to make it extra delicious, you'll want to grab three simple ingredients which I'll list out below:
- Full-fat coconut milk (Thai Kitchen works great for this!)
- Maple syrup (or other sweetener of choice)
- Vanilla extract
Easy peasy, right?!
How to Make Whipped Cream
Okay, now that you have all the ingredient you need to make coconut milk whipped cream, let me walk you through how to make it with these step-by-step instructions.
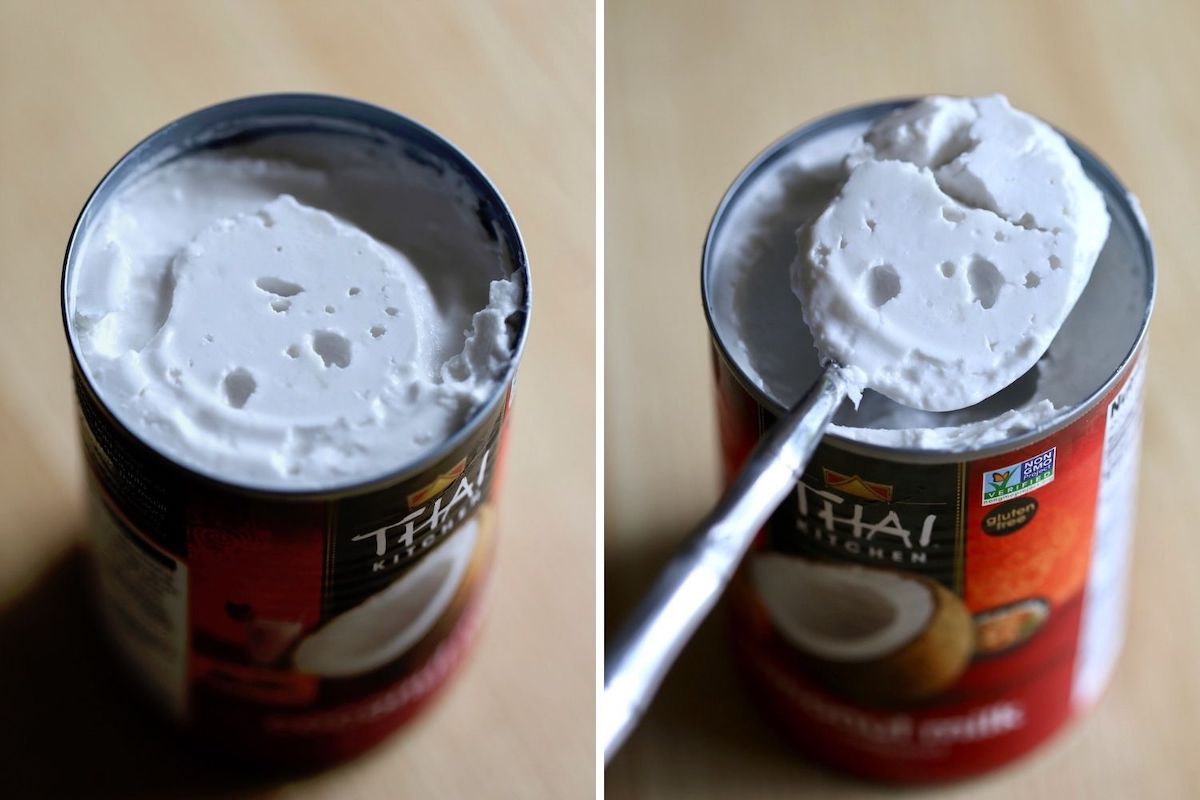
- Step 1: The day before you need your whipped cream, place the cans of coconut milk in the refrigerator. This will allow the coconut water and cream to separate and for the cream to harden.
- Step 2: Without shaking them too much, remove the coconut milk cans from the fridge and open them with a can opener. Use a spoon to scoop the hardened coconut cream from the top of the can into a large bowl or your stand mixer.
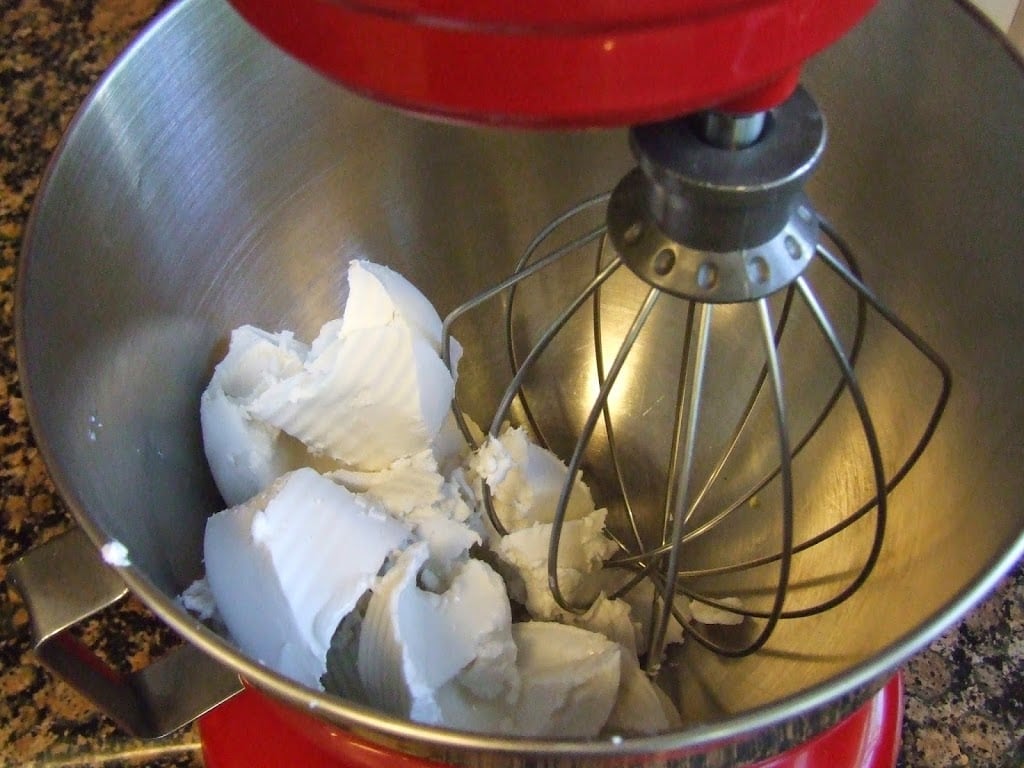
- Step 3: With a hand mixer or your stand mixer fitted with the whisk attachment, whisk the hard cream until it begins to soften and stiff peaks form. This will take about 4-5 minutes.
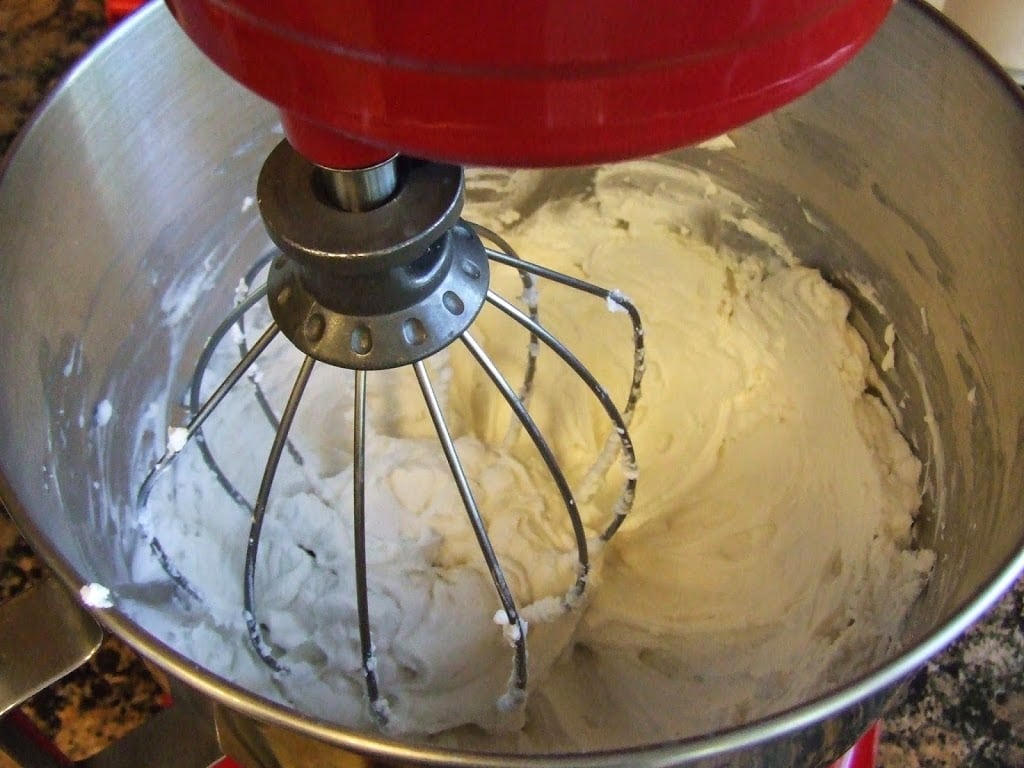
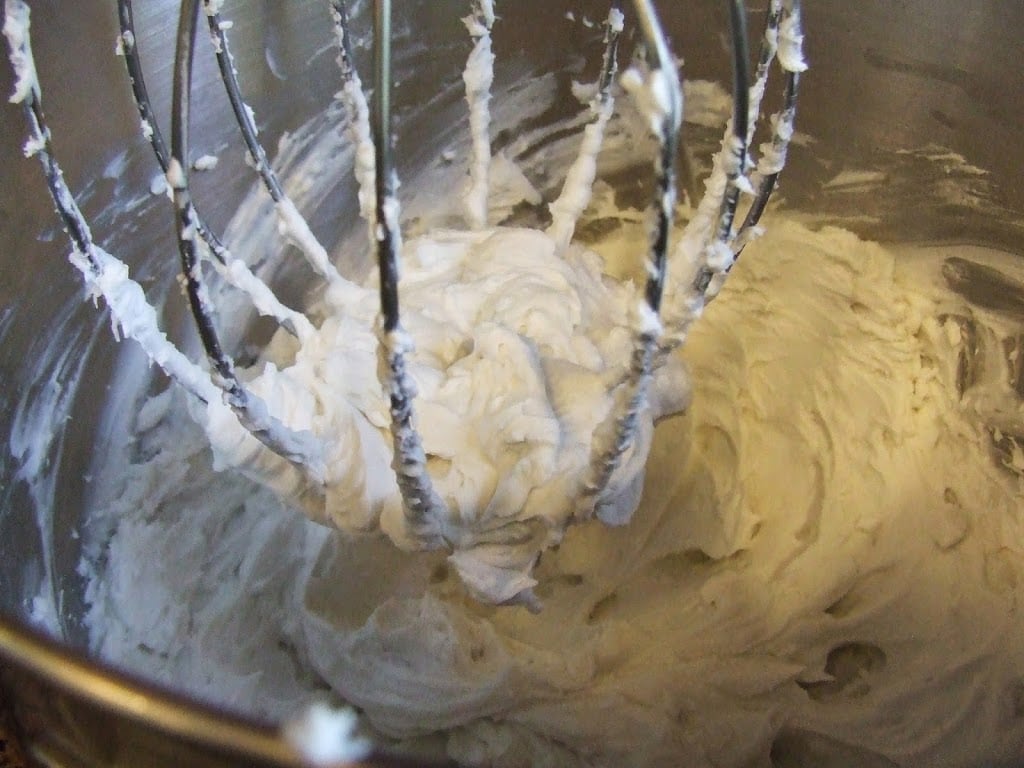
- Step 4: Add in the vanilla and 3 tablespoons of sweetener and mix thoroughly to combine.
- Step 5: Taste for sweetness and add more sweetener if desired.
- Step 6: Dollop and enjoy!
Best Ways to Enjoy Coconut Milk Whipped Cream
Really, any way that you would usually enjoy dairy whipped cream is how you can enjoy coconut milk whipped cream.
But in case you feel stumped for ideas on how to serve your homemade whipped cream, let me list out some ideas below:
- Use it as a frosting for cake
- Dollop it on Vegan Ice Cream with bananas and chocolate sauce for a sundae
- Layer it with berries and granola for a Berries and Cream Parfait
- Serve it on Vegan Strawberry Shortcake
- Serve it on vegan pancakes for a decadent breakfast
- Serve it with vegan scones for a substitute for clotted cream
How to Store Leftover Whipped Cream
This coconut milk whipped cream never last long in our house, but if you happen to have leftovers, don't worry! You can easily store it for a later use.
To store leftover whipped cream, simply place it in an airtight container in the fridge for up to 3 days.
📖 Recipe

Coconut Milk Whipped Cream
Equipment
Ingredients
- 2 cans full fat coconut milk Thai Kitchen is awesome for this
- 2 teaspoons vanilla
- 2-3 tablespoons sweetener such as agave maple syrup or powdered sugar
Instructions
- The day before you need your whipped cream, place the cans of coconut milk in the refrigerator. This will allow the coconut water and cream to separate and for the cream to harden.
- Without shaking them too much, remove the coconut milk cans from the fridge and open them with a can opener. Use a spoon to scoop the hardened coconut cream from the top of the can into a large bowl or your stand mixer.
- With a hand mixer or your stand mixer fitted with the whisk attachment, whisk the hard cream until it begins to soften and stiff peaks form. This will take about 4-5 minutes.
- Add in the vanilla and 3 tablespoons of sweetener and mix thoroughly to combine.
- Taste for sweetness and add more sweetener if desired.
- Dollop and enjoy!






Please Leave A Star Review In The Recipe Card!